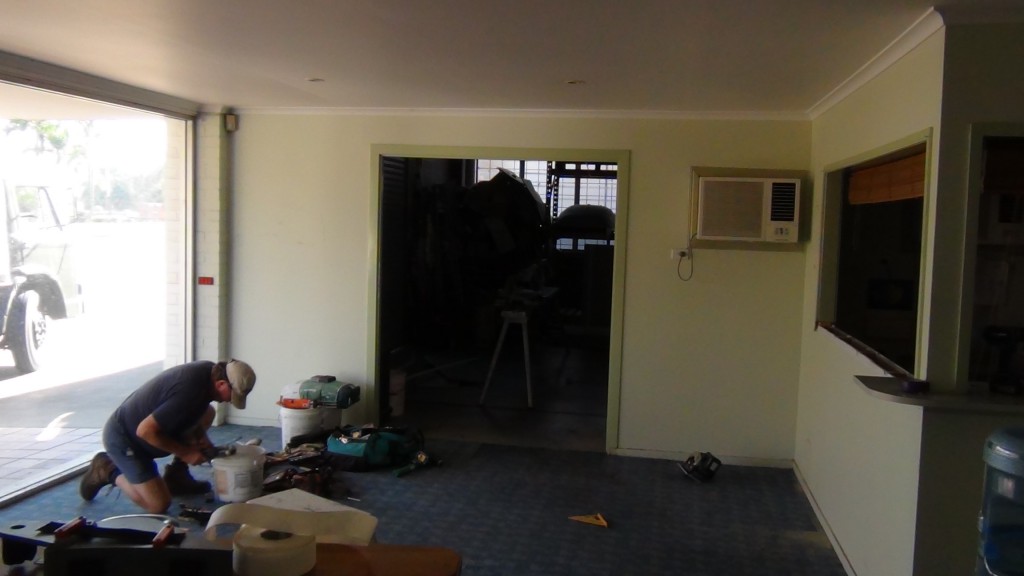
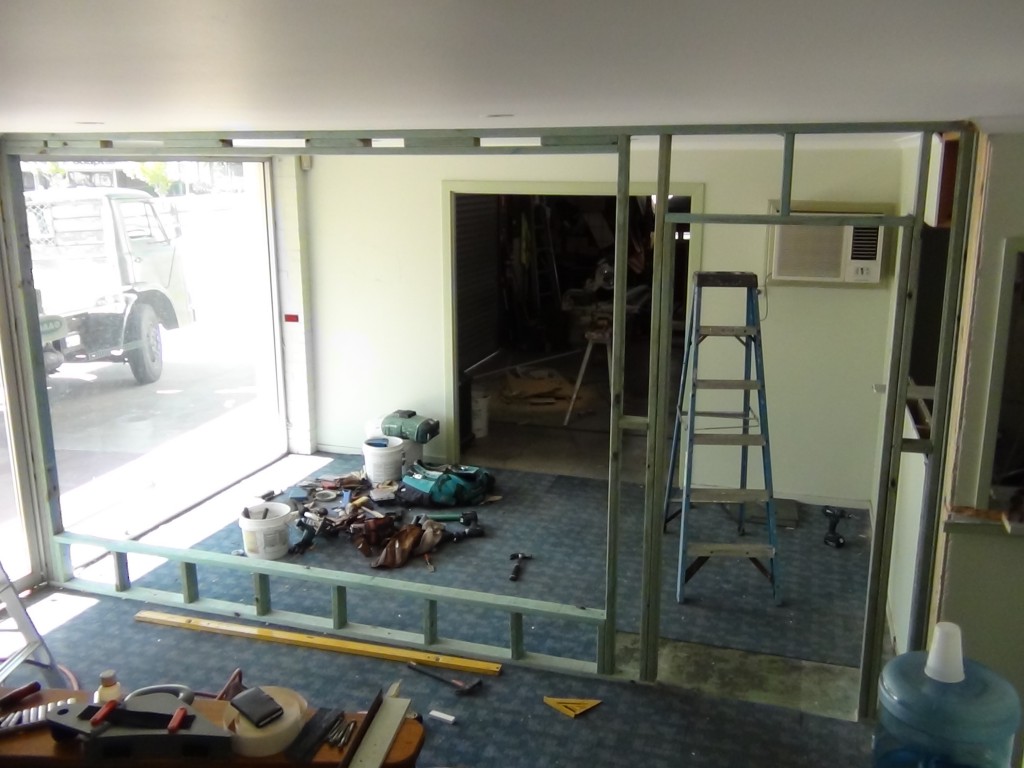
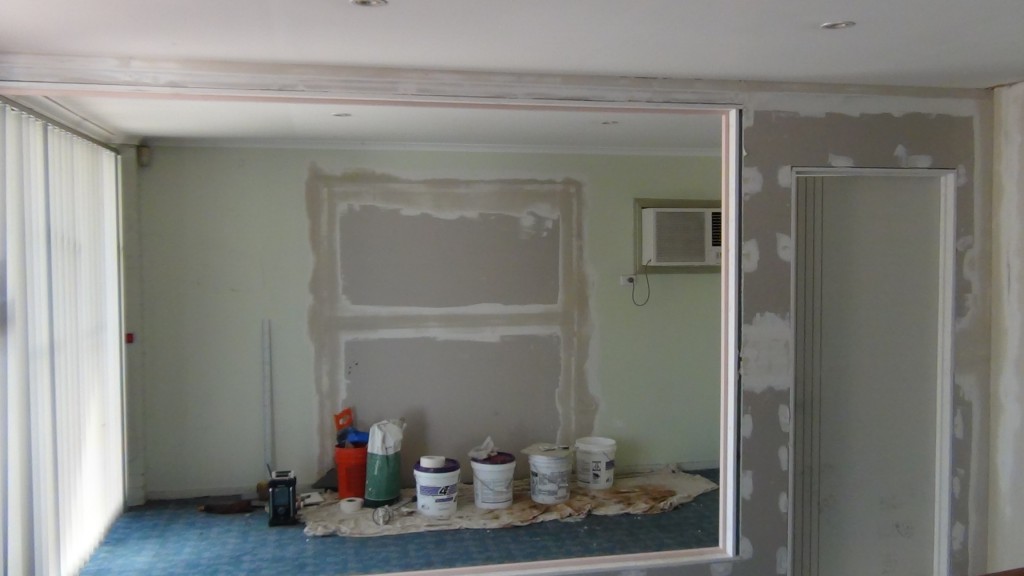
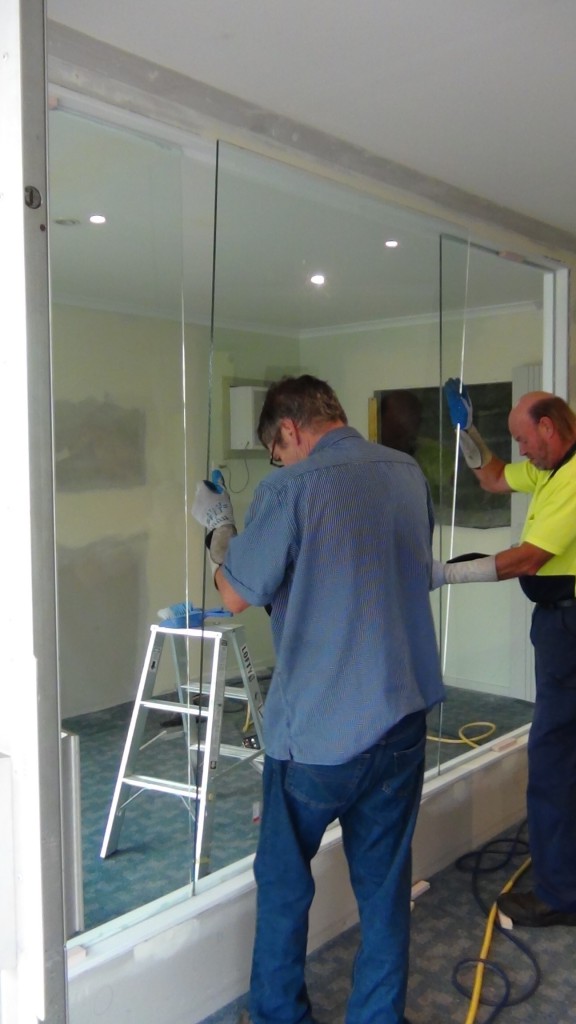
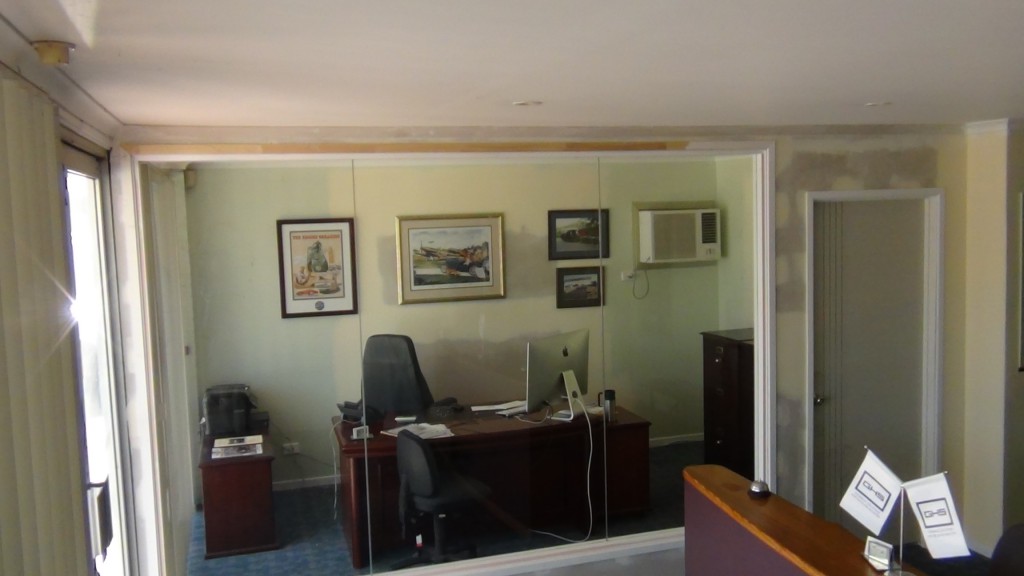
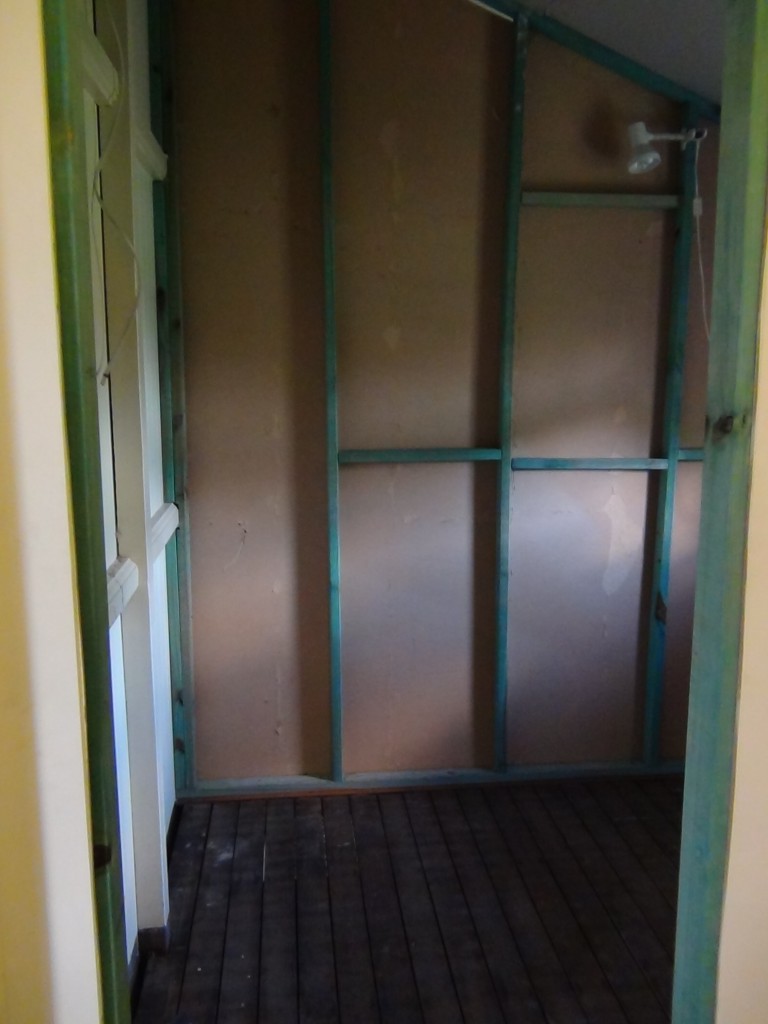
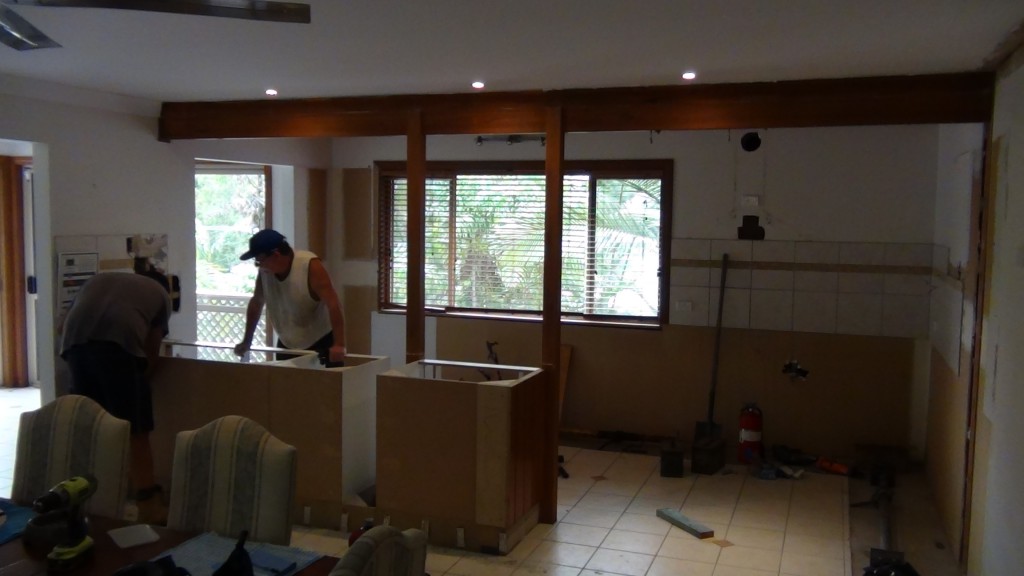
An old client needed to relocate his office in the building. He wanted a frame built to support the glass sheets with a door entryway into the room.
All posts by robert.kaplan
The Process
First of all we had to check the squareness of the room. Then we had to flick a chalk line and mark the carpet. The carpet was cut and then the measurements for the walls frame were done. The exterior builing wall was out by 50mm.
Tip. If you find out that one wall is out by this much measure the bottom plate separately to the top plate. The wall that is straight on the other end should be the side you measure your stud spacings from. Temporarly laminate the two studs together with three or four framing nails, don’t drive the nails home or you won’t get them out easily. Do your marks on the side of the plates then nail off your studs leaving the last one for the bad side. Nail that one once the frame is in position.
Once the frame was in position and plumb it was nailed off and sheeted. Base coat and final coat were applied before finish off carpentry and glass installation.
The client wants to do his own painting in his own time. So this is as far as we took this job.
Task
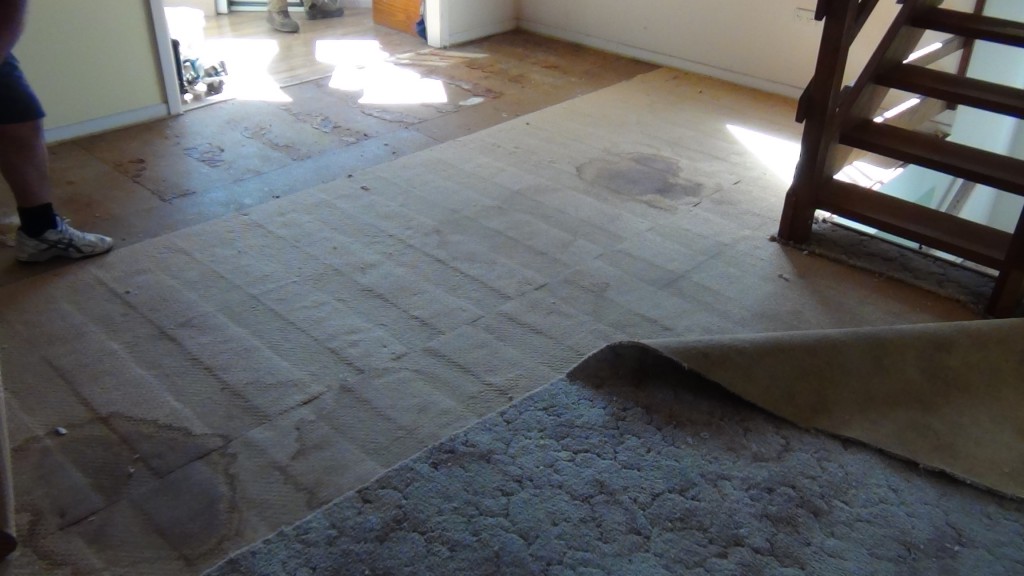
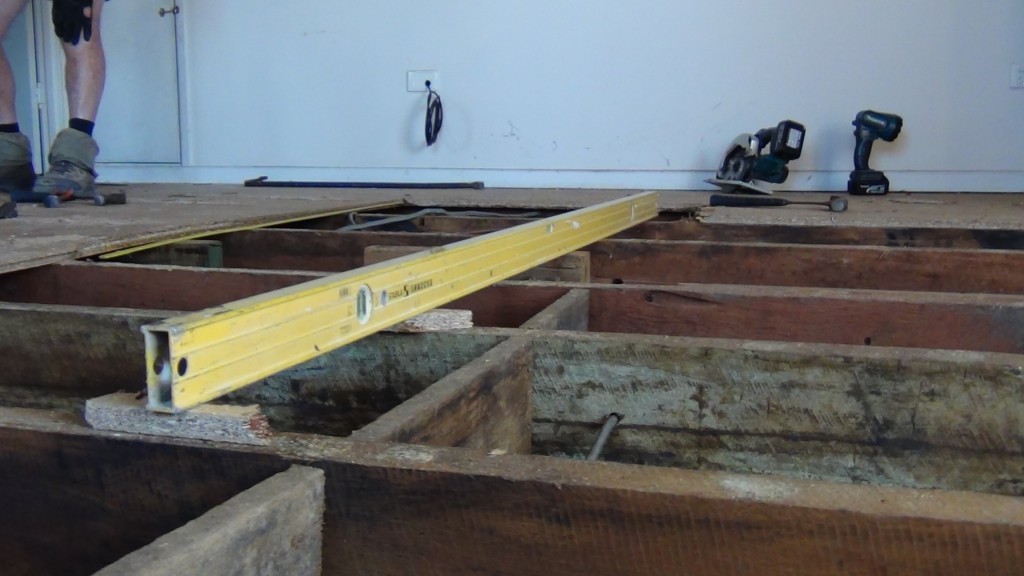
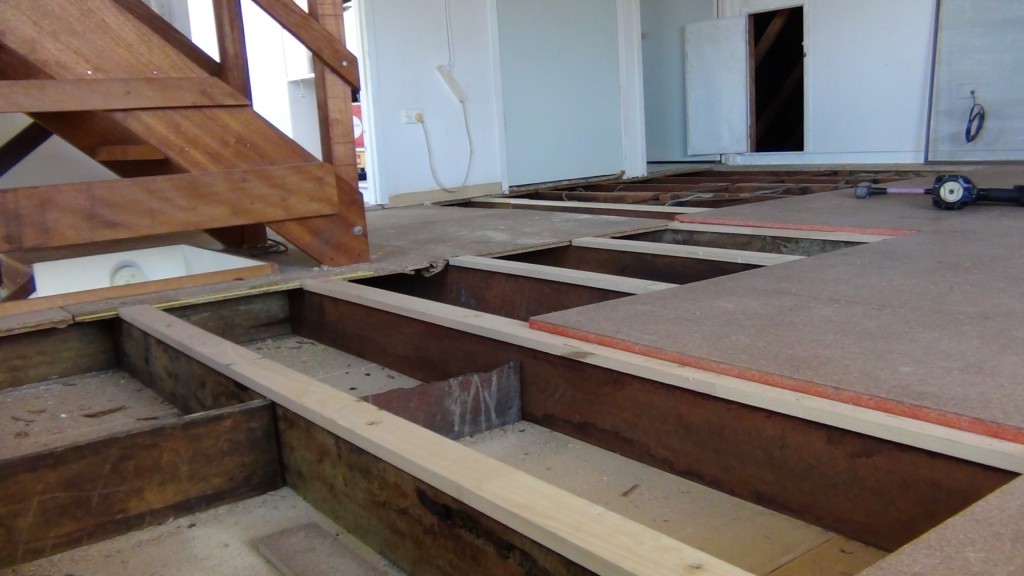
We were asked by the client who is a friend of mine to inspect their floor as it creaked and squeaked and seemed to have dips and rises. We had to remove the carpet and underlay. Upon removal we could clearly see that the floor was not level and the only way to fix it was to lift up the floor and inspect the joists.
What we saw raised a few hairs and me being bold, it’s hard to do in the best of times.
The Process
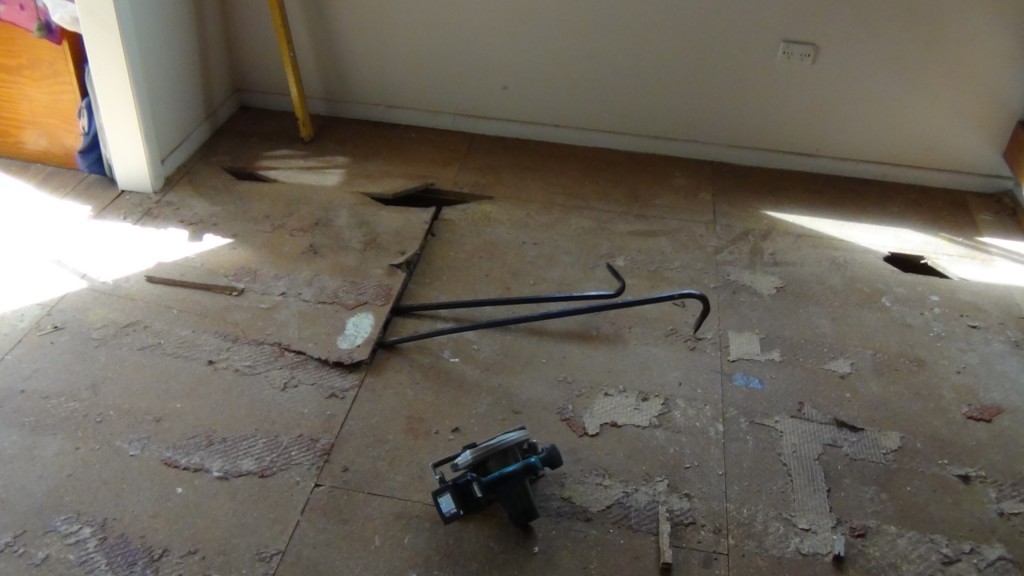
We had to pull up the old chipboard floor with pinch bars. I must say it was a bit of a task getting it up.
Tip. When pulling up flooring or decking cut it into along the direction of the joists so to that you minimise the resistance in surface area. What I mean by that is that you can easily pull up small areas of floor apposed to larger areas. The only thing is that you can’t reuse the material so you need to weigh up the cost of time apposed to material and ecstatic outcome.
A VERY IMPORTANT TIP ! Always adjust your saw blade depth to cut the thickness of the floor only. I can’t stress this hard enough.
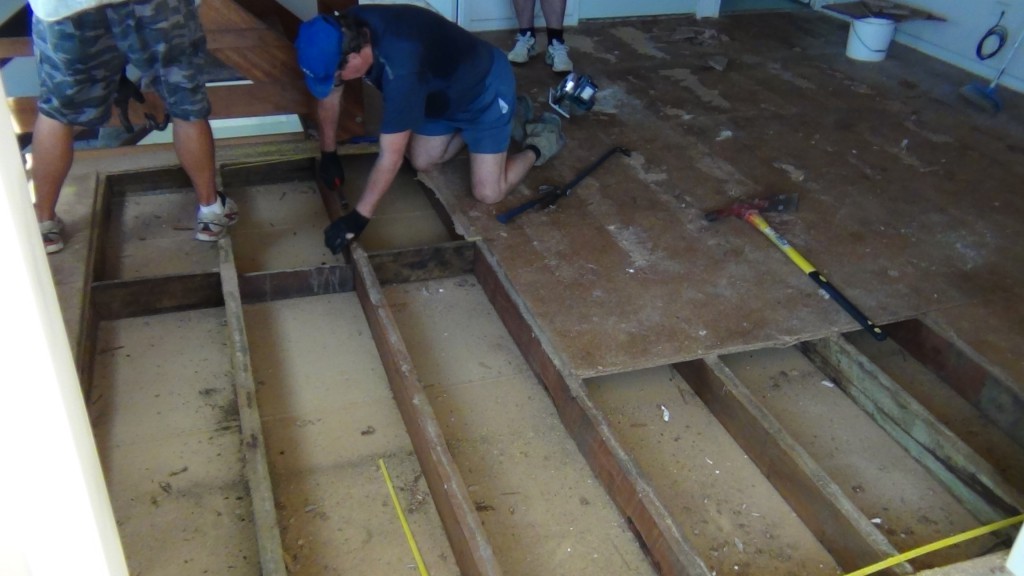
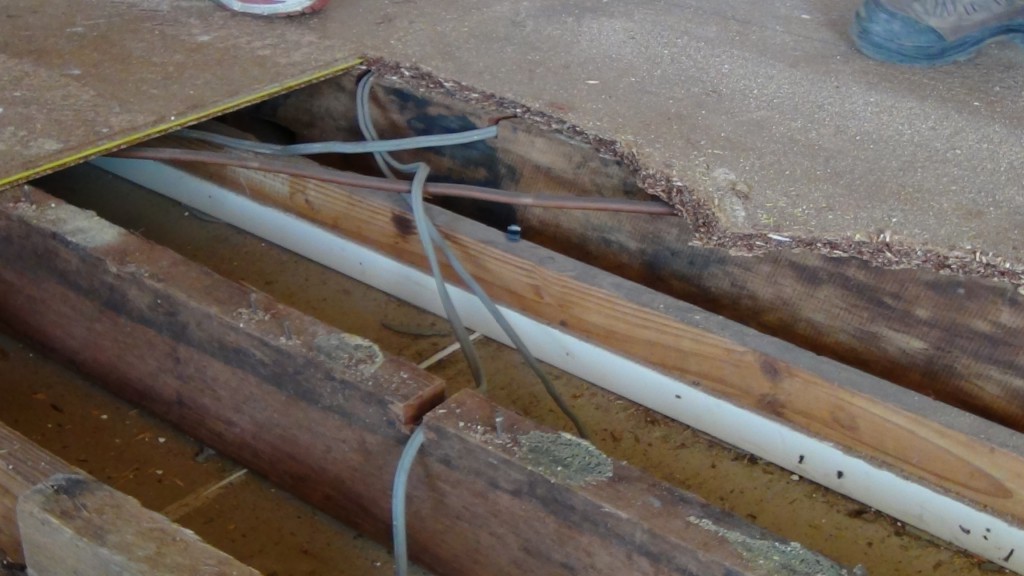
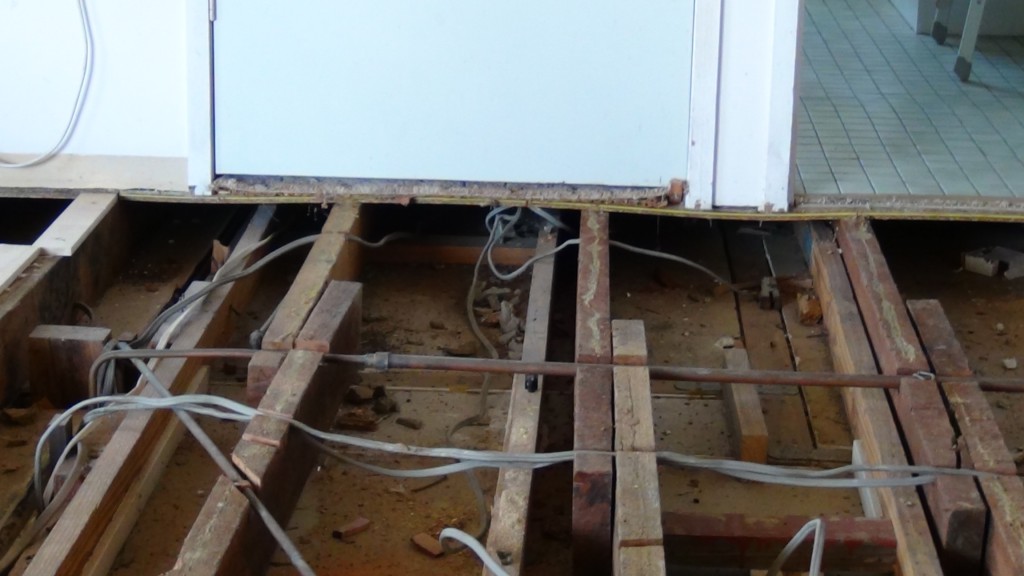
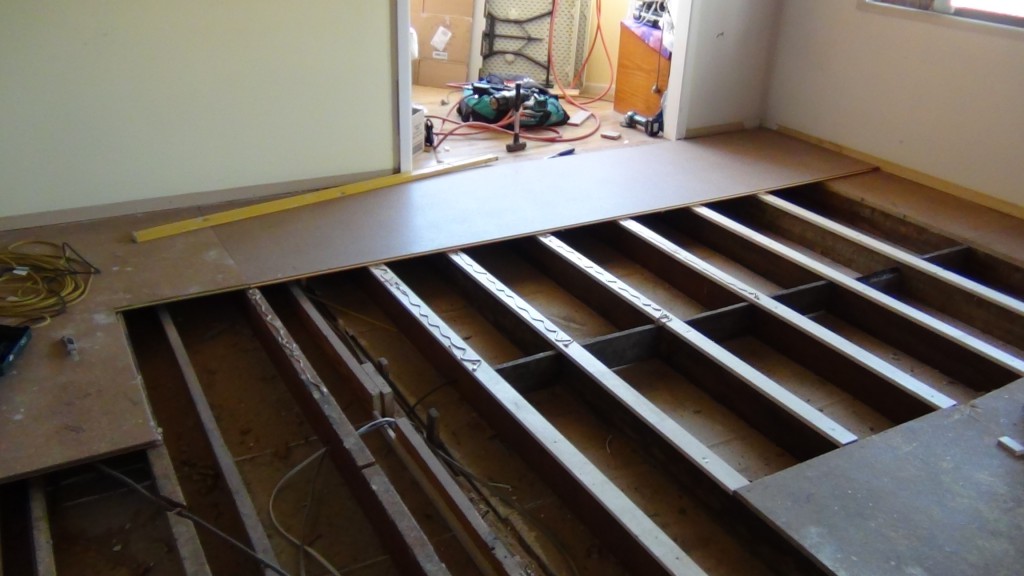
The photos below will show you what we uncovered.
You will see on the photo above that the carpentry was bad. There are no transfer blocks under the wall frames. Your load bearing pressure has put a sag in the floor and as a result the doors started to jamb up.
I have repaired too many jobs like this over the years. It’s disappointing to see that some tradespeople don’t take pride in their own work or they just don’t know. As far as for the electrical uncovering we turned of all the power once we realised what the workmanship was like and exposed our work area. We also called a licensed electrician to rectify the mess to a point. We wrote on the floor boards once they were nailed of the hazard below as well.
Job Rectification
Once the sparky (electrician) left we looked at the levels in the floor. In the past there was a renovation an add on, and the builder at the time didn’t get the floor levels right so there was a bow in the floor and over time the nails lost their grip and hence the squeaks and other.
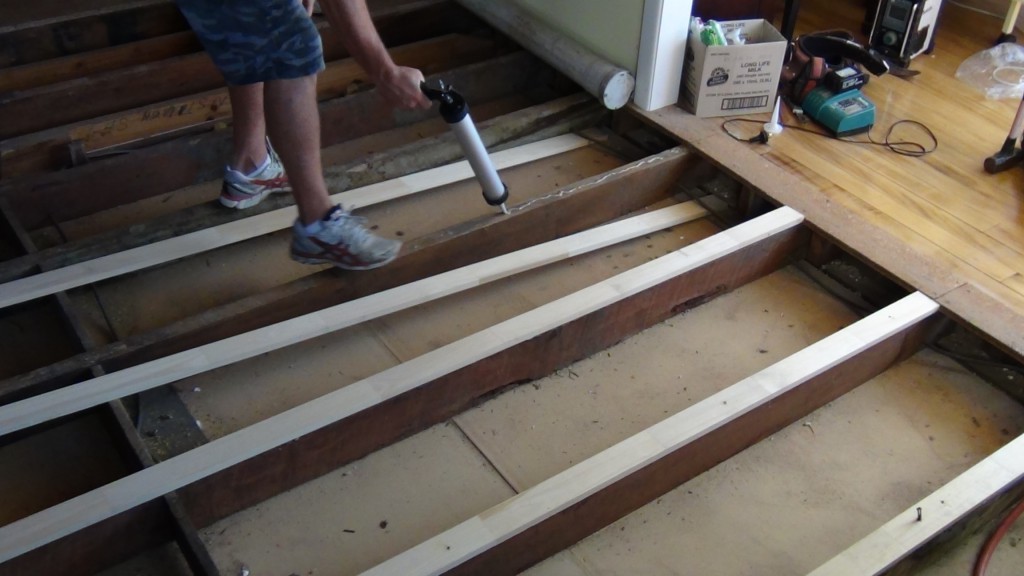
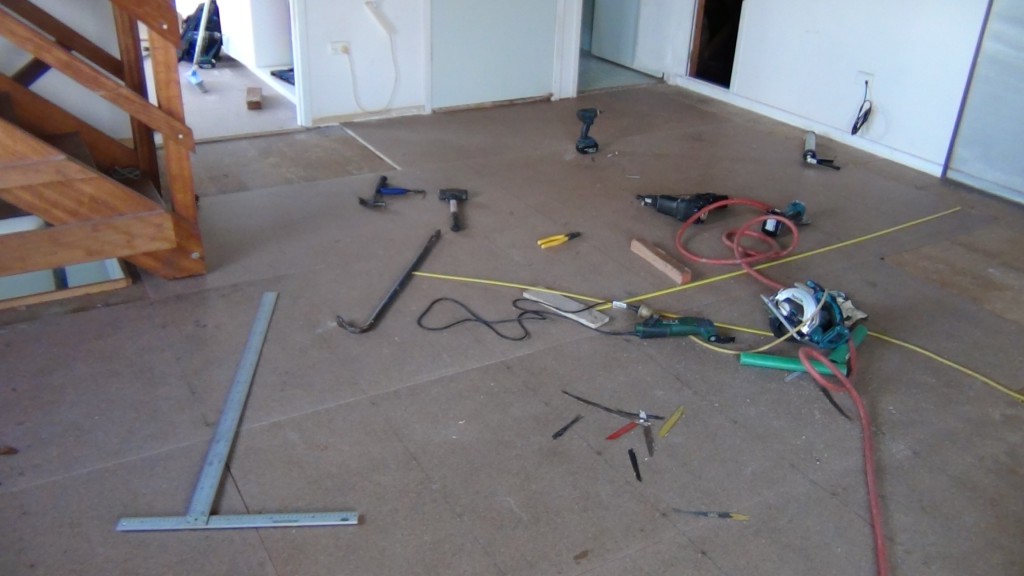
I decided that the easiest and cheapest fix was to pack the top of the joist and then lay the structural ply over the packing and existing sheeting. This was then liquid nailed and the ply was also battern screwed in some sections. The existing skirting was reused and the levels looked right and the floor sounded right. Which was no squeaks.
Task
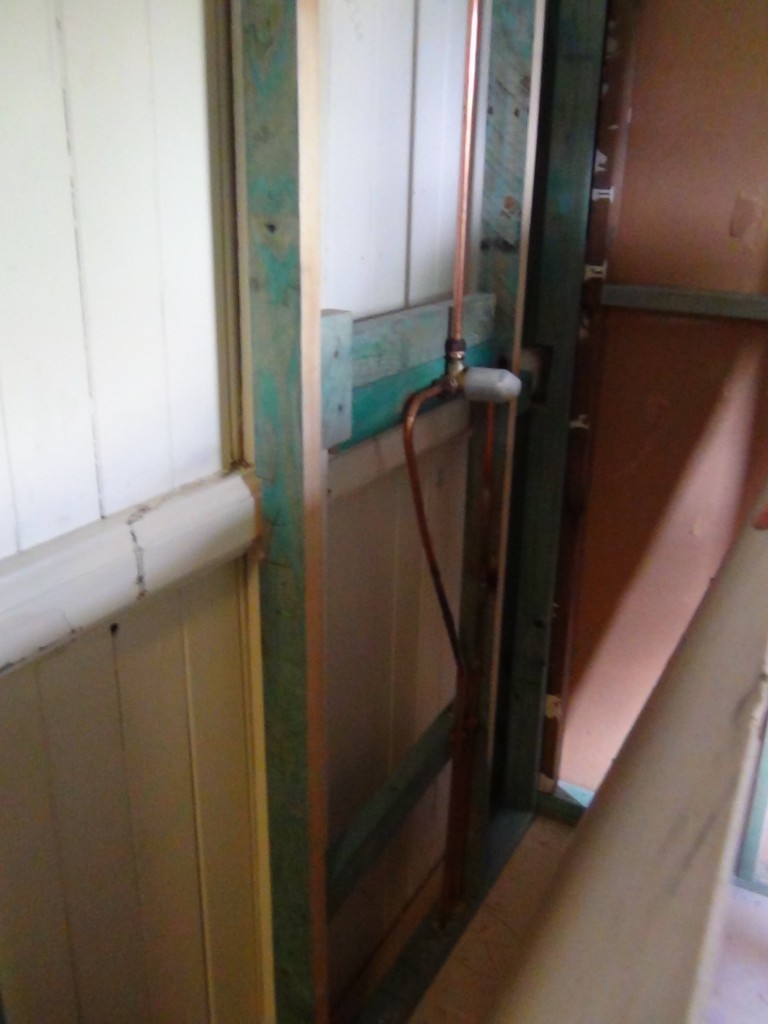
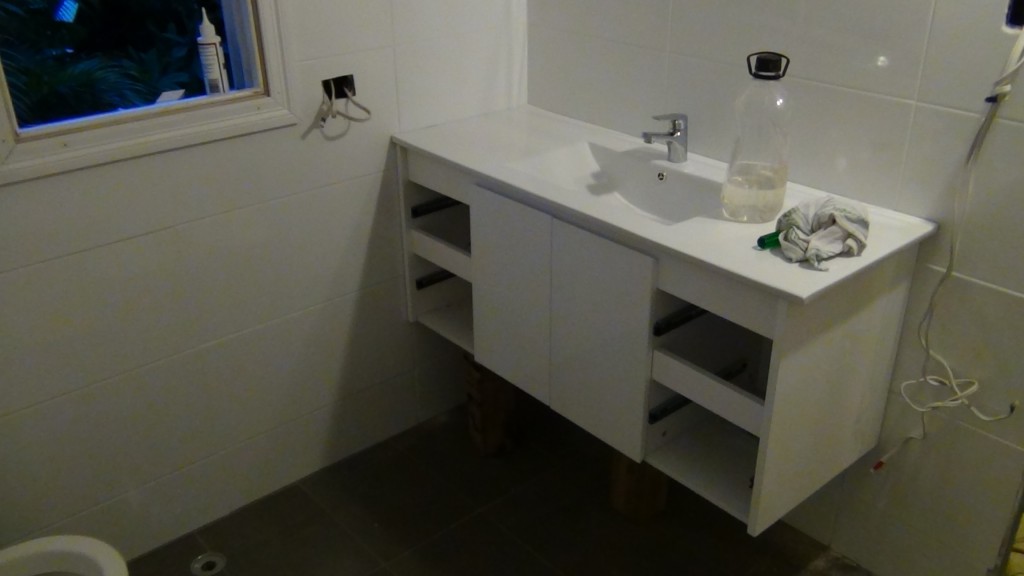
I was talking with my friend when he mentioned that he needed help with his ensuite. He had done the framing himself and believed that it was ready for services and sheeting. That was not to be the case. As the house is an old Queenslander it had settled down or sunk on one side. This meant that the whole wall was out of plumb by about 40 mm. We had to pack out the walls before we could sheet. The floor had decking boards so we had to sheet the floor with yellow tongue chip board before we place tile underlay.
Tip. Always check your levels horizontal and vertical on every wall. Check the squareness of the room with our friend Pythagoras. Only then you can begin. Below are two photos before we started and after packing.
The Process
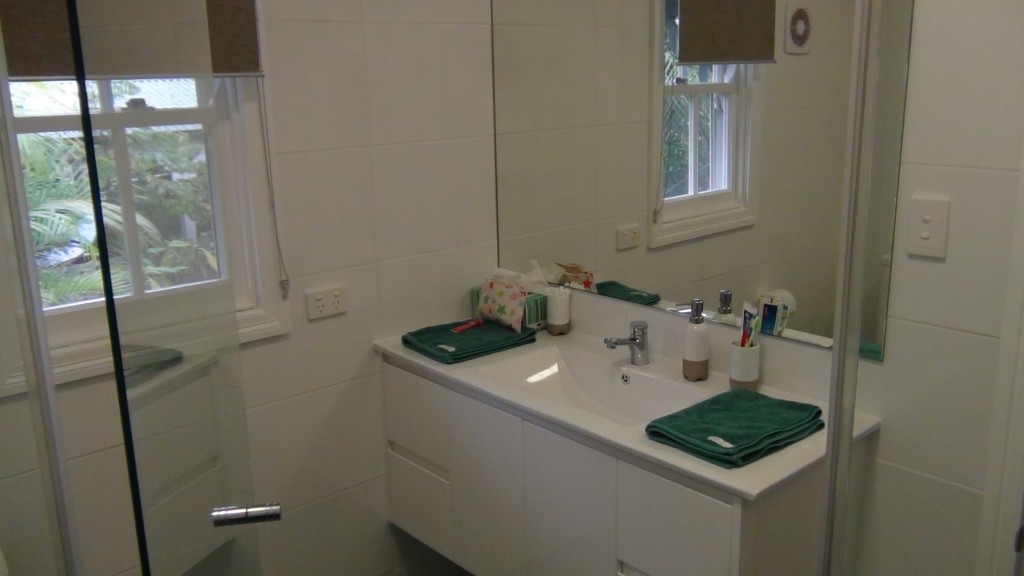
Once the walls were plumb it made tiling a lot easier. If things are out of plumb you can see it with the tile work when its finished because of the increase or decrease in your tile size up the wall. I made this mistake only once and it was too late as the tilers decided to tile that wall first. The builder that was working with me and I didn’t pick it up. The embarrassing thing was that the bathroom was published in Vogue magazine. I have included that article.
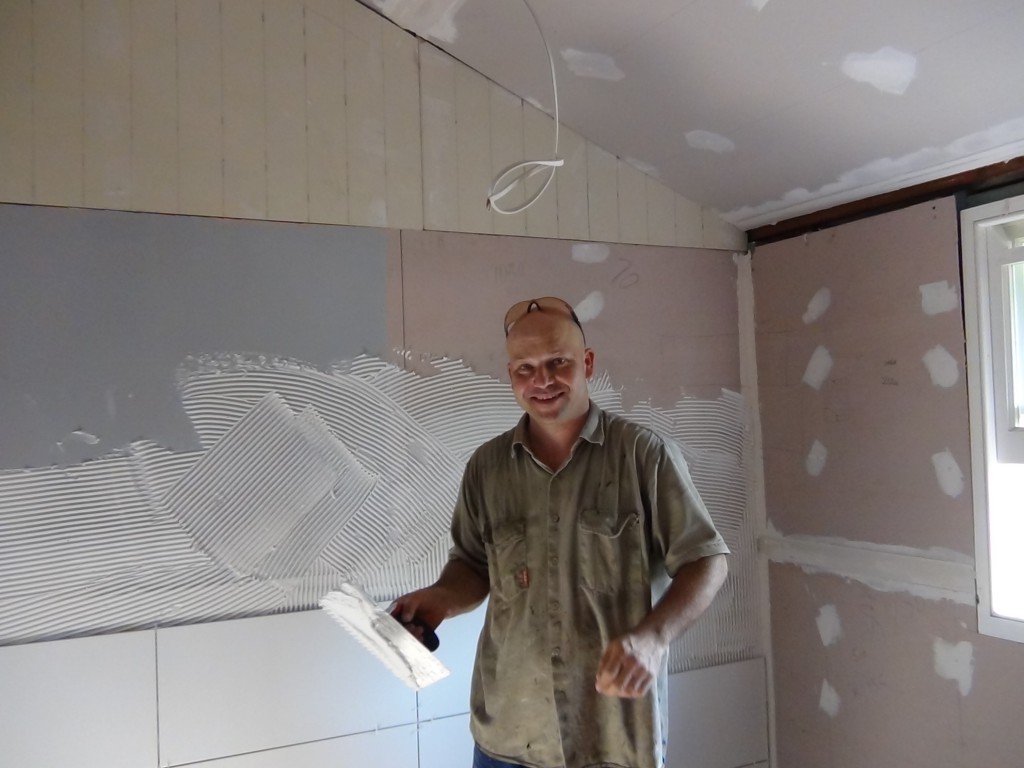
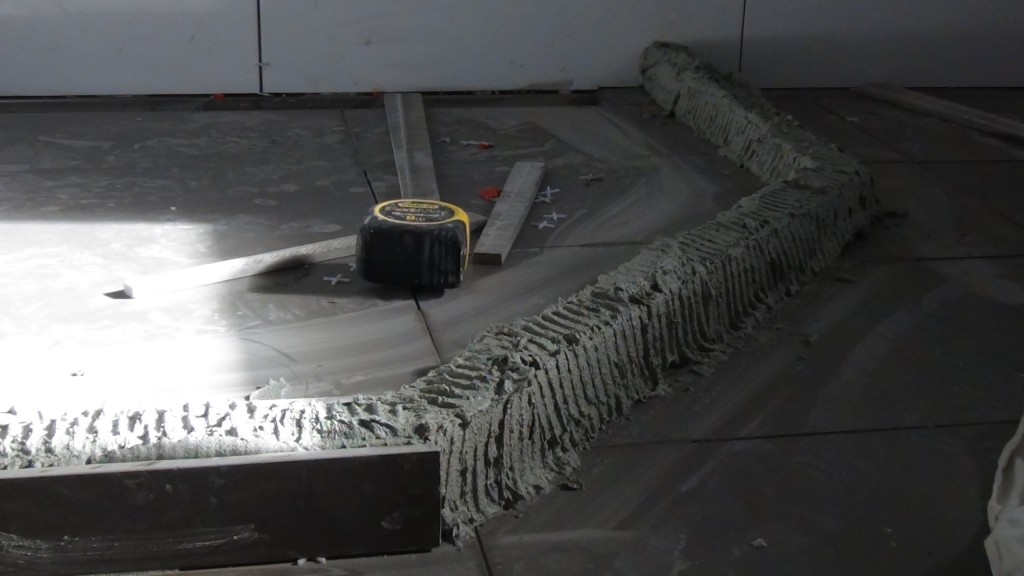
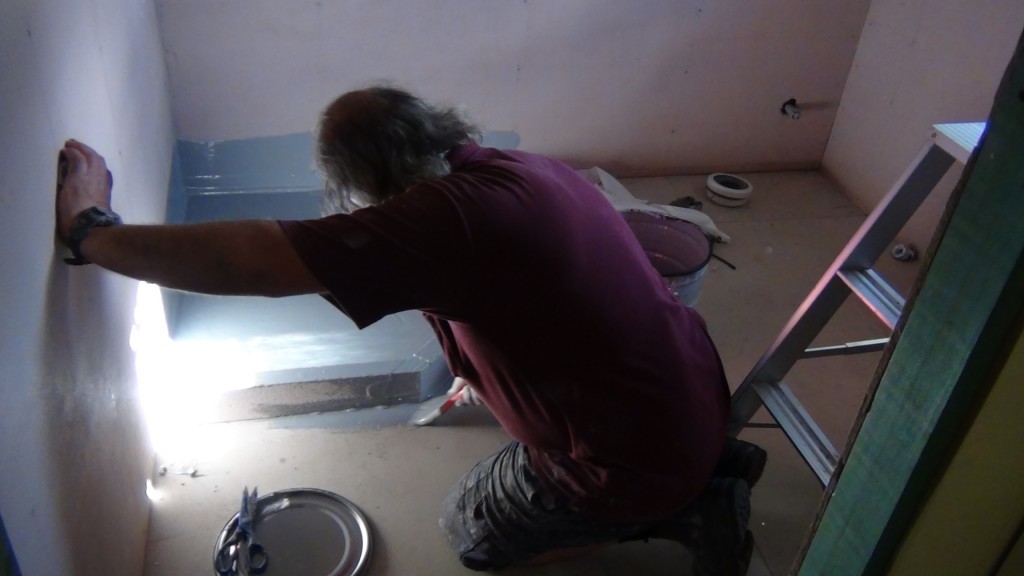
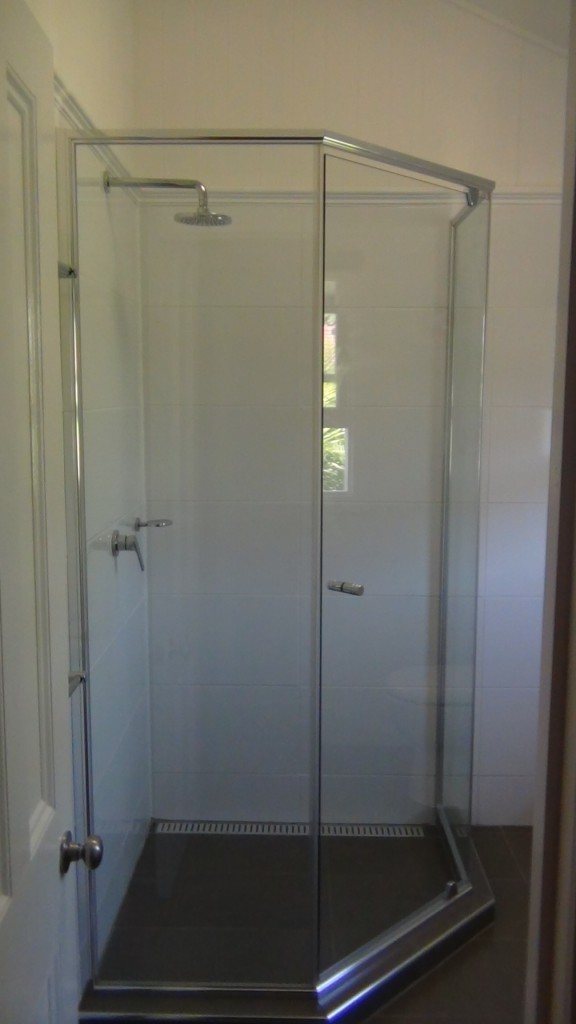
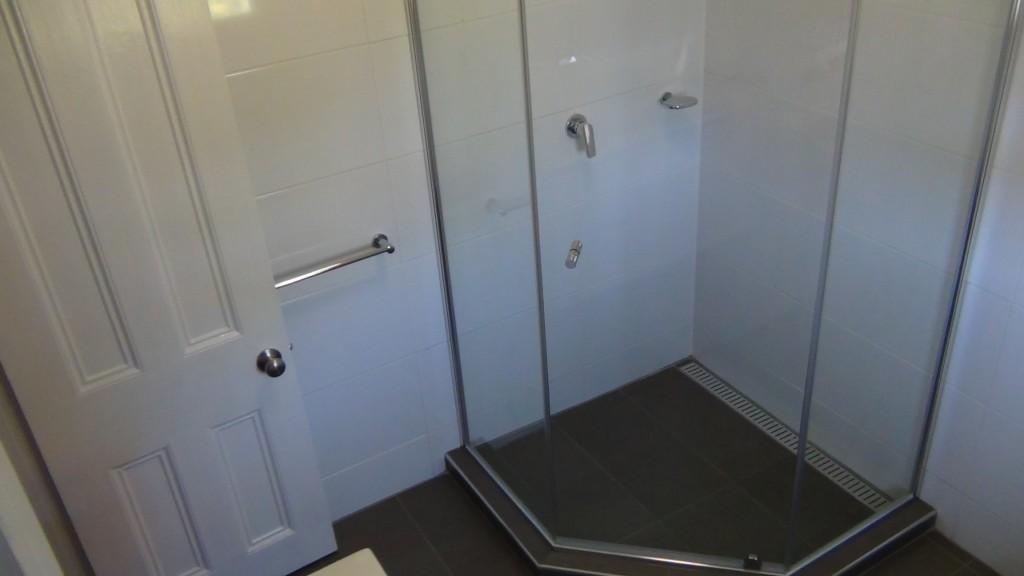
Rectified edge tiles were used on the floor and walls with a 1.5 mm gap. On timber floors always install a hob on the shower floor. When you are applying glue/adhesive always be generous, glue is cheap compared to repair costs.
The photos below show this including the hob gluing and waterproofing.

