Category Archives: Flooring

Task

We were asked by the client who is a friend of mine to inspect their floor as it creaked and squeaked and seemed to have dips and rises. We had to remove the carpet and underlay. Upon removal we could clearly see that the floor was not level and the only way to fix it was to lift up the floor and inspect the joists.

What we saw raised a few hairs and me being bold, it’s hard to do in the best of times.

Carpet removal

The Process

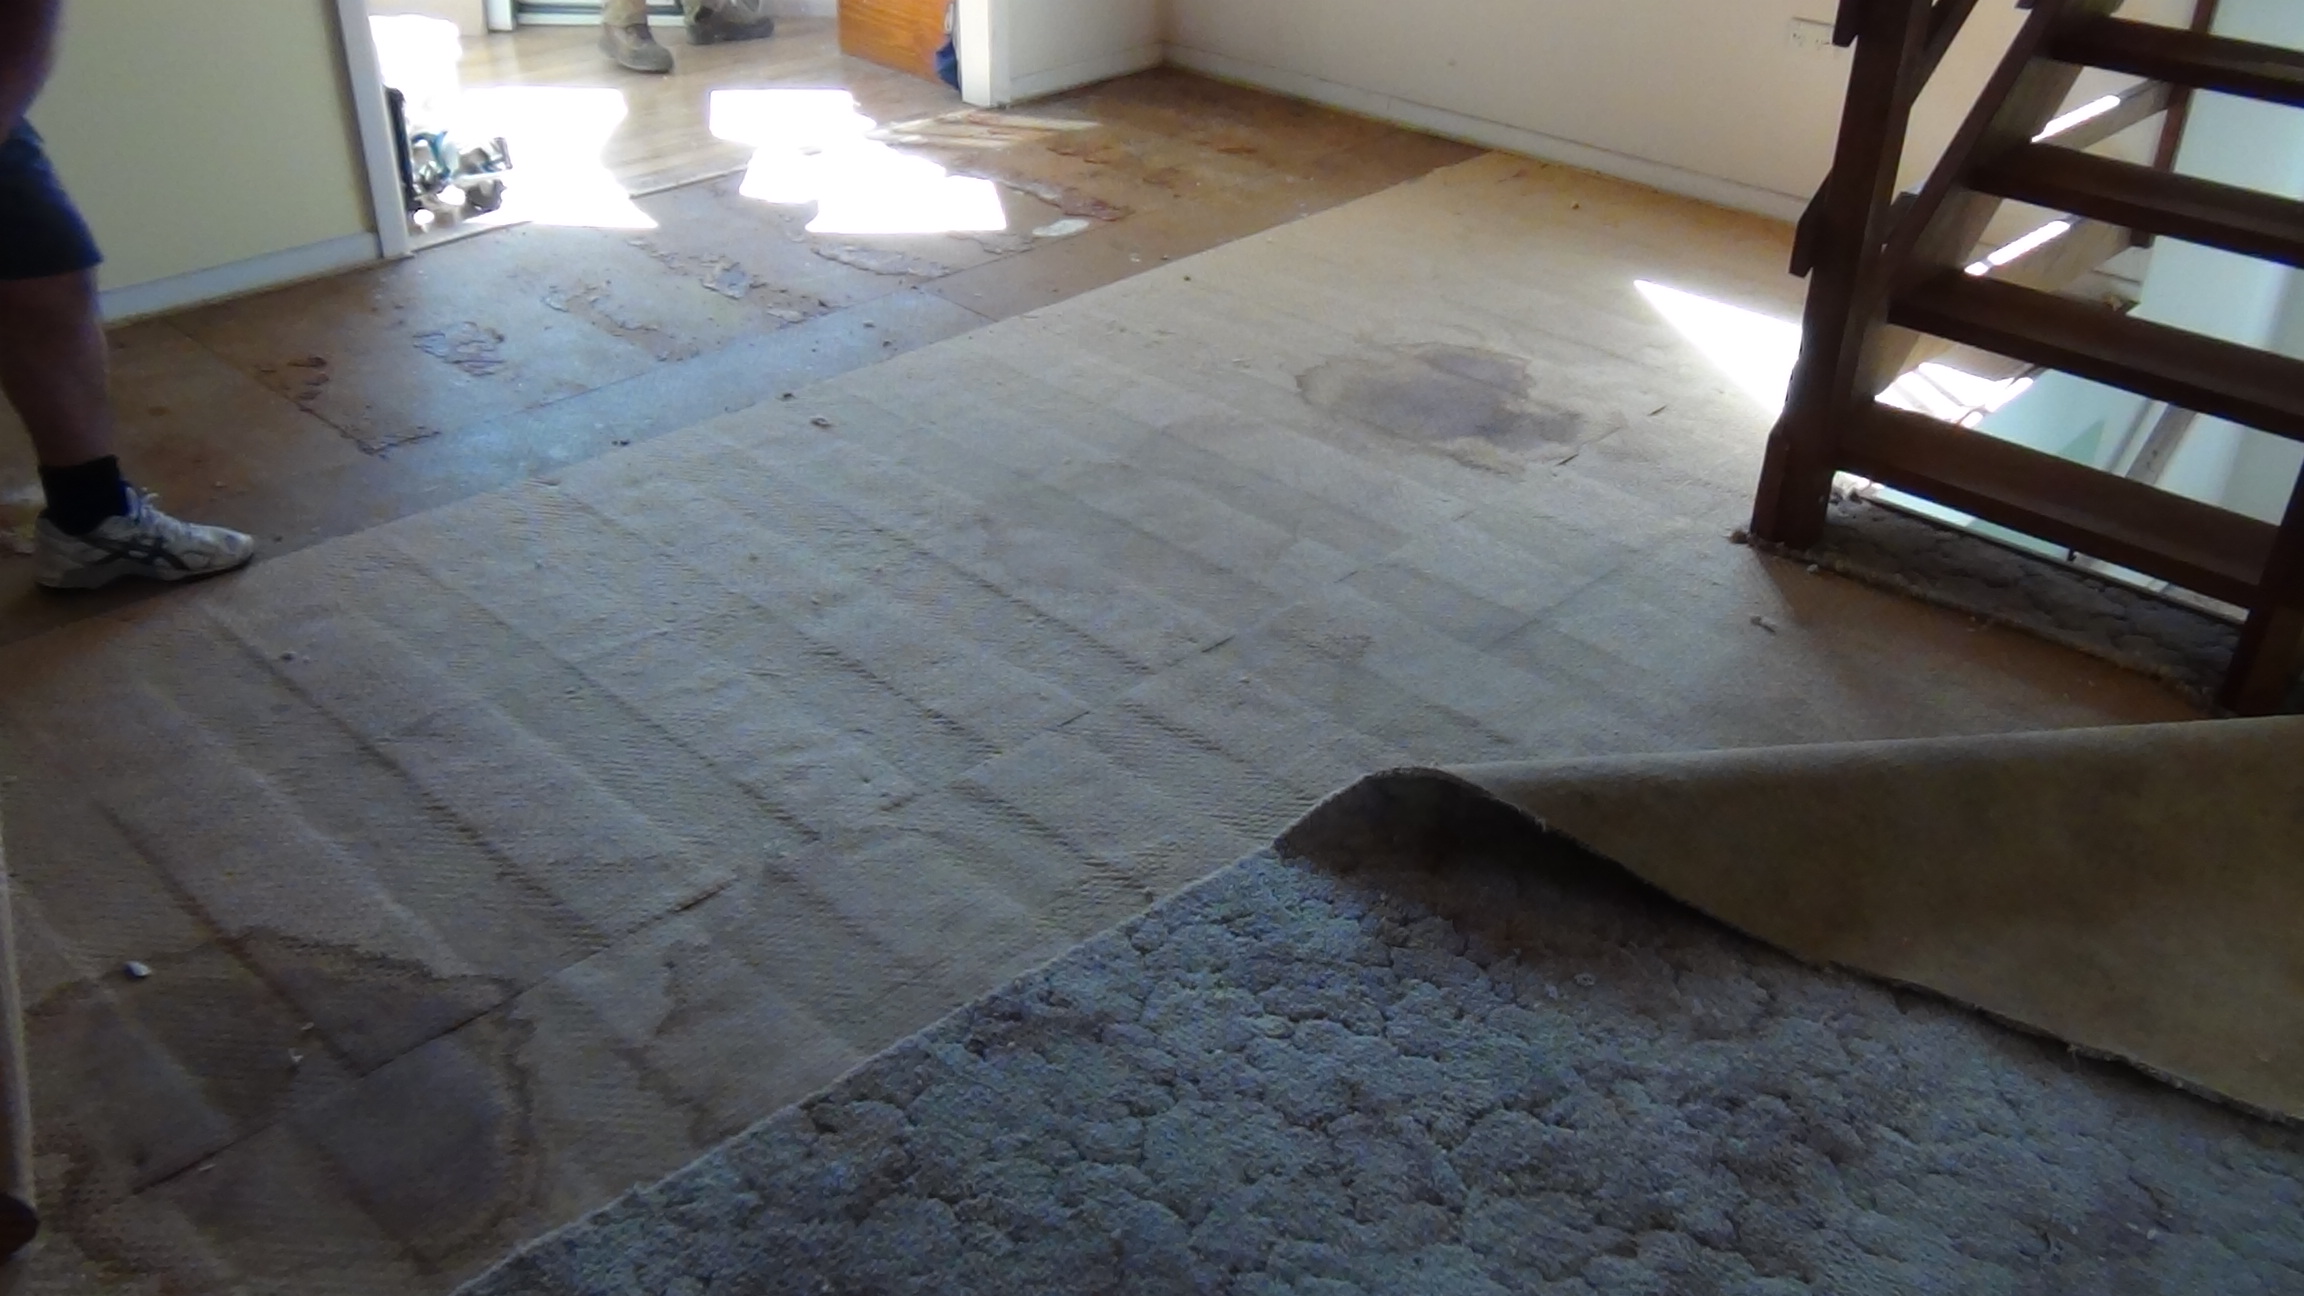
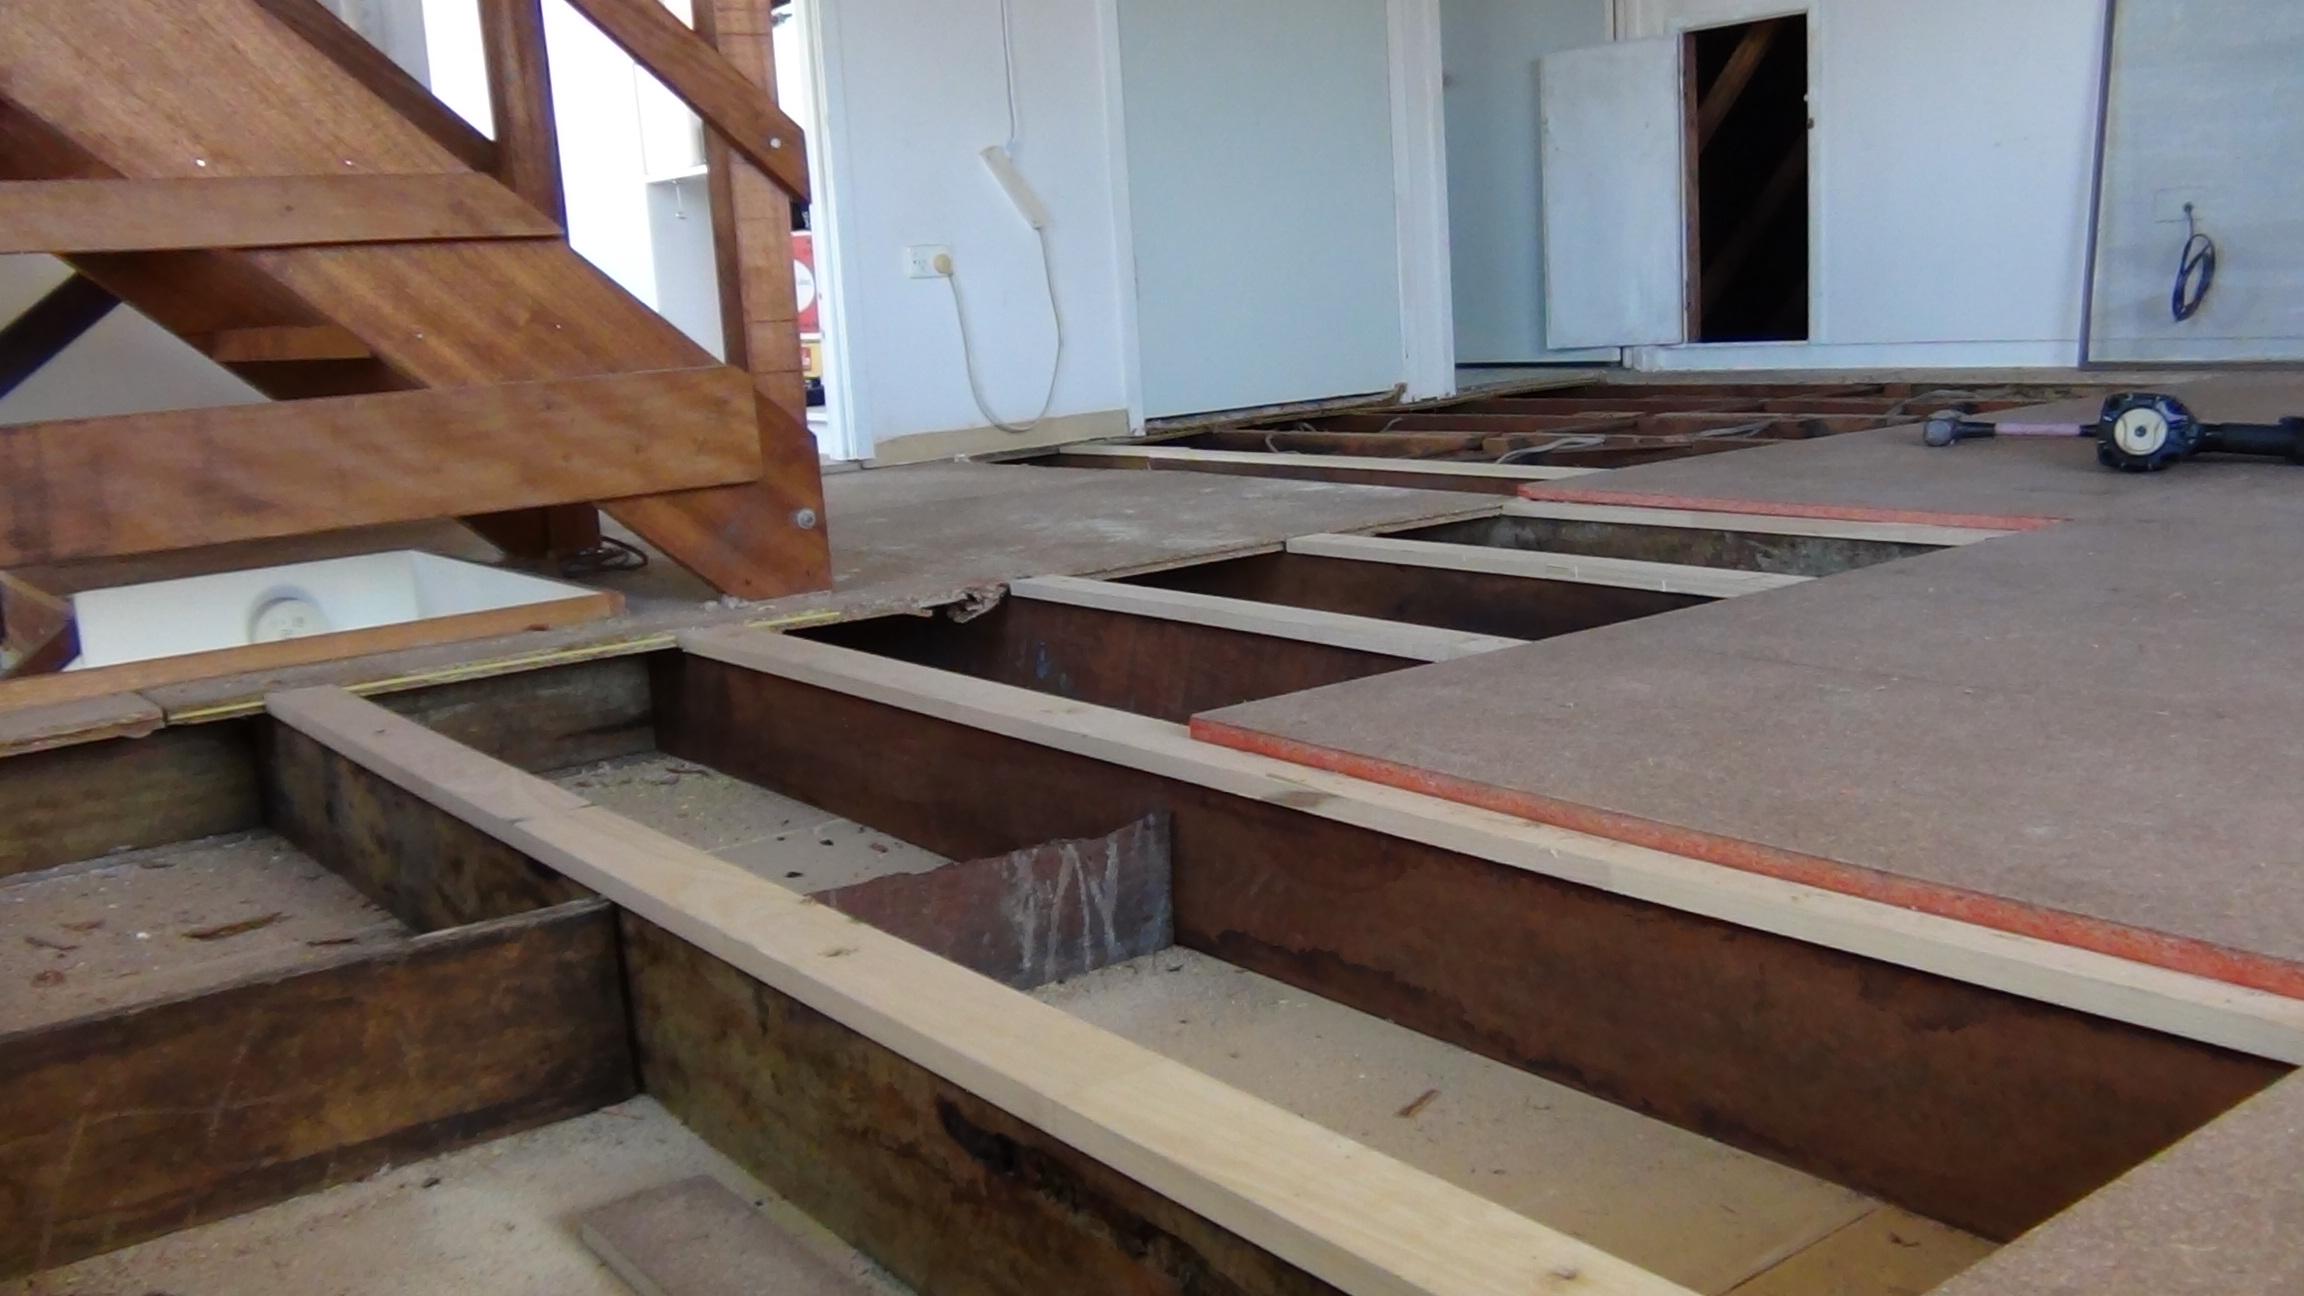
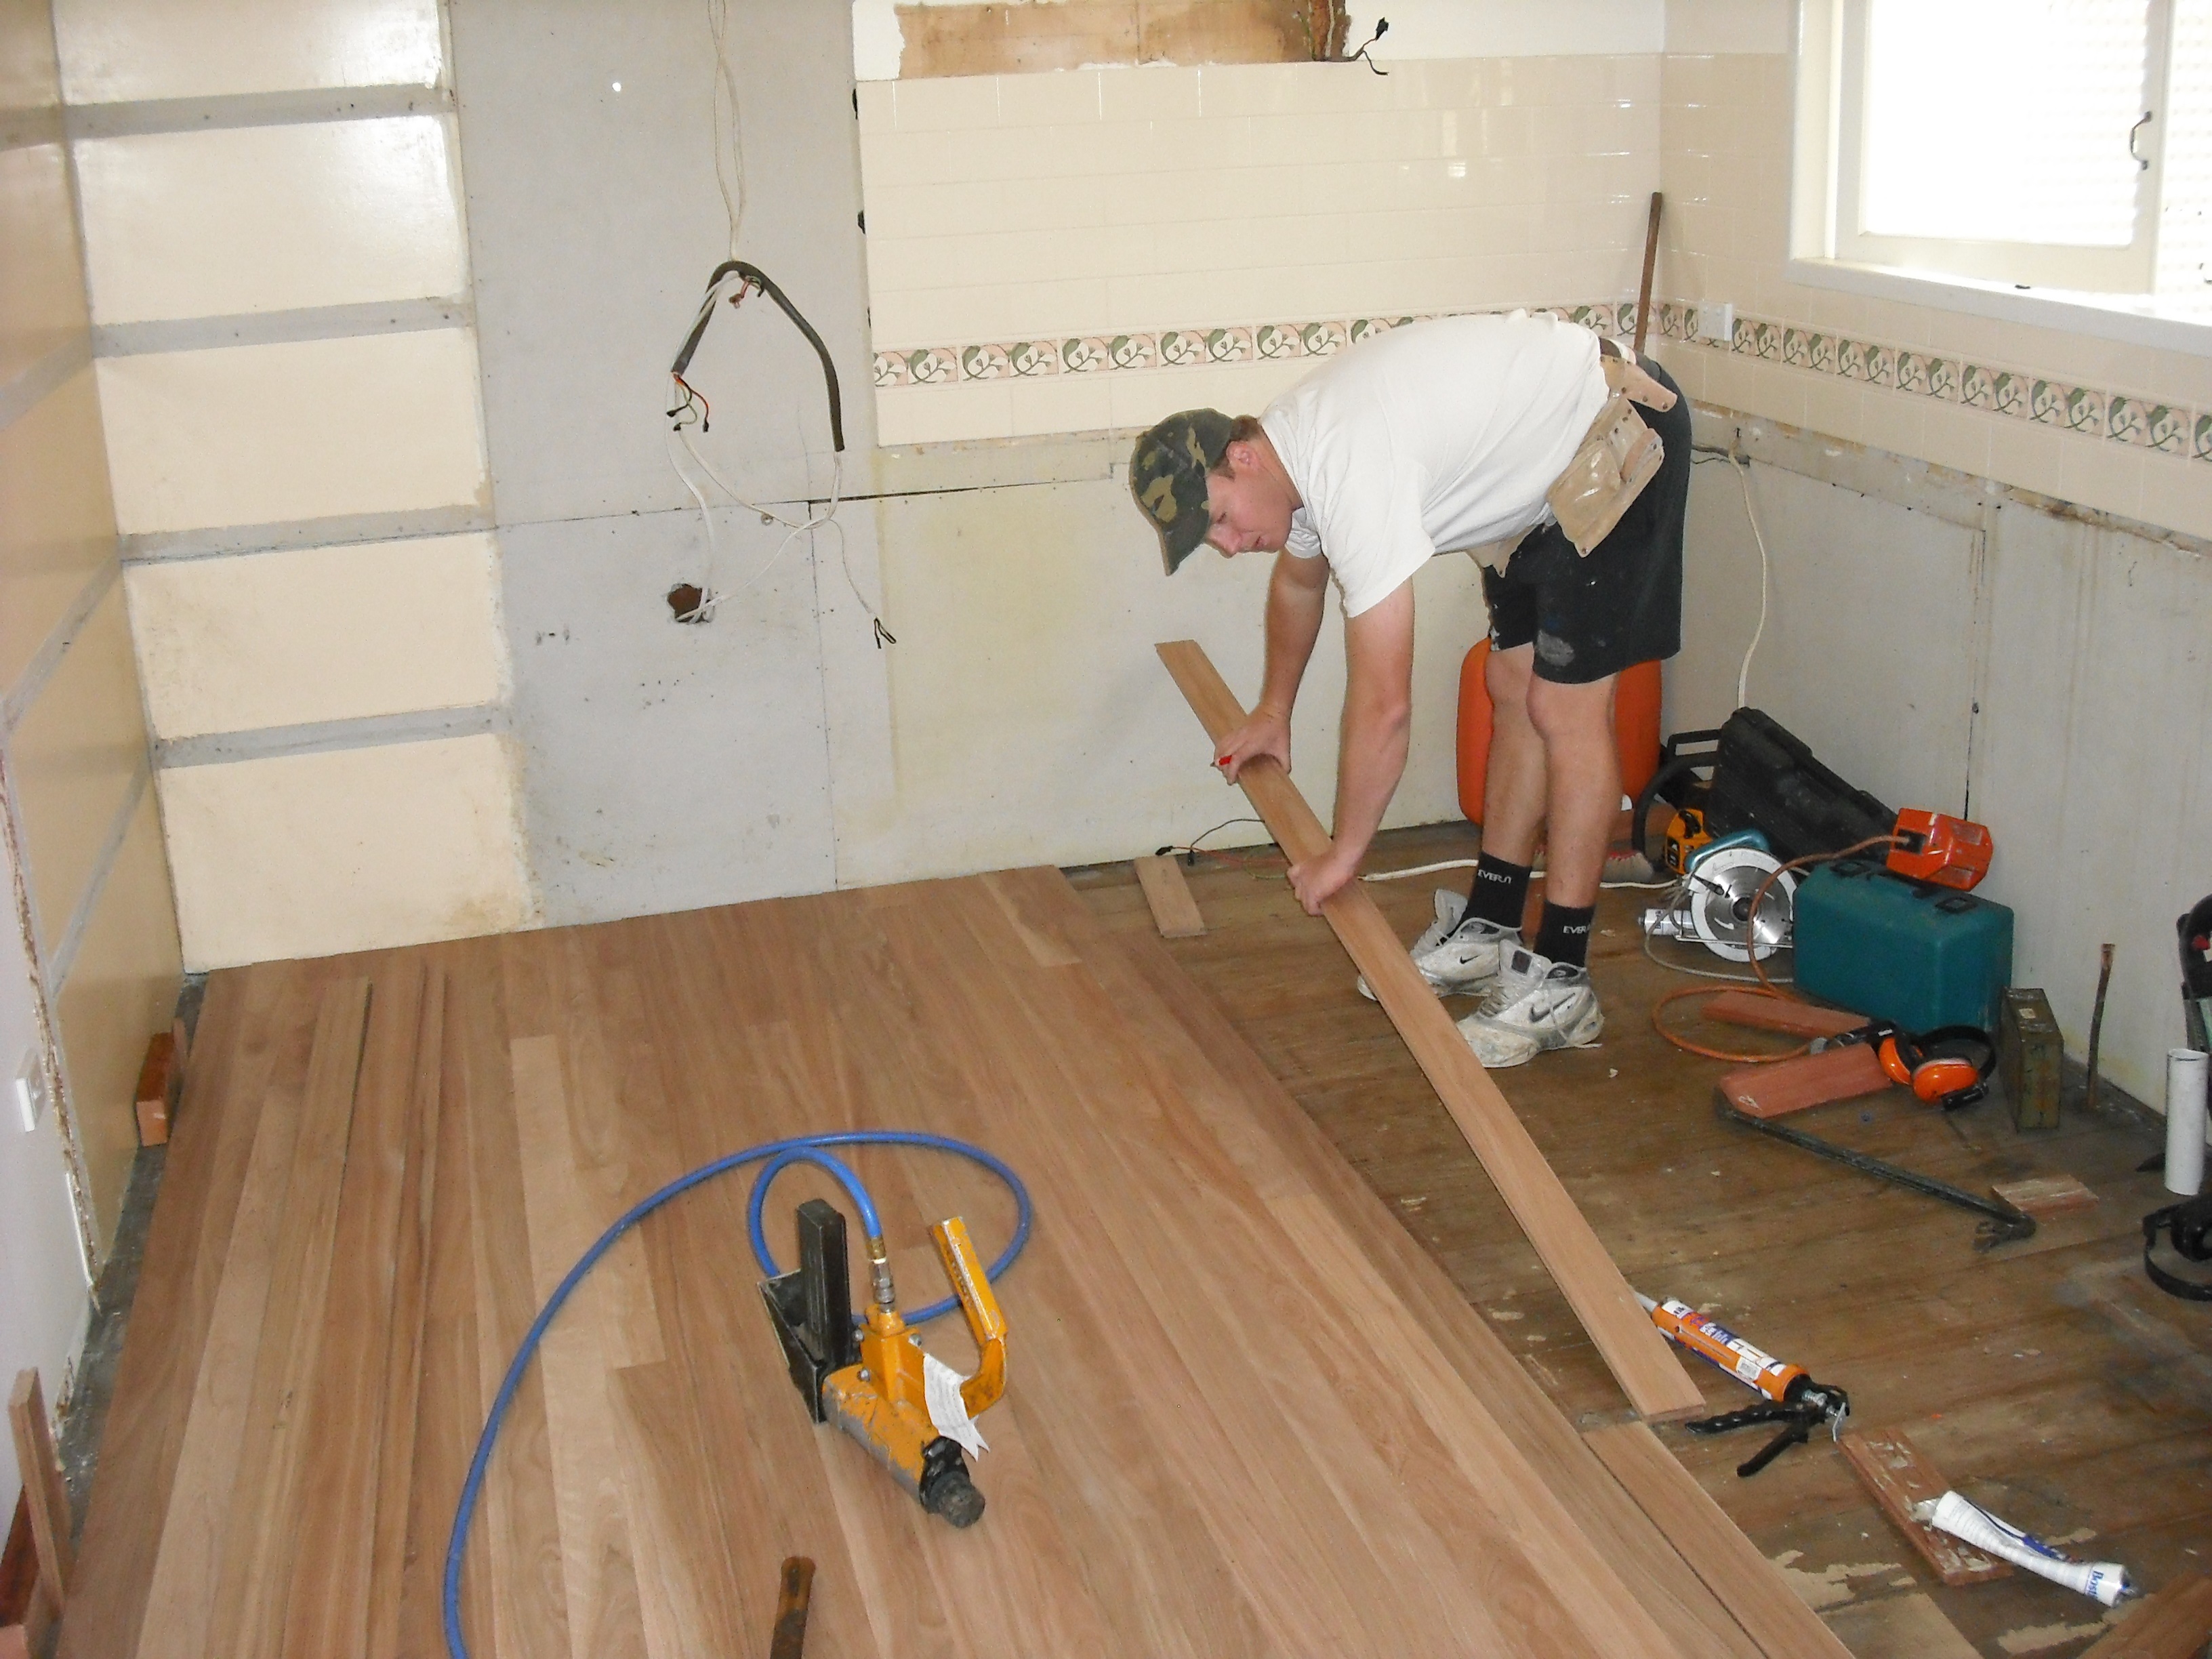
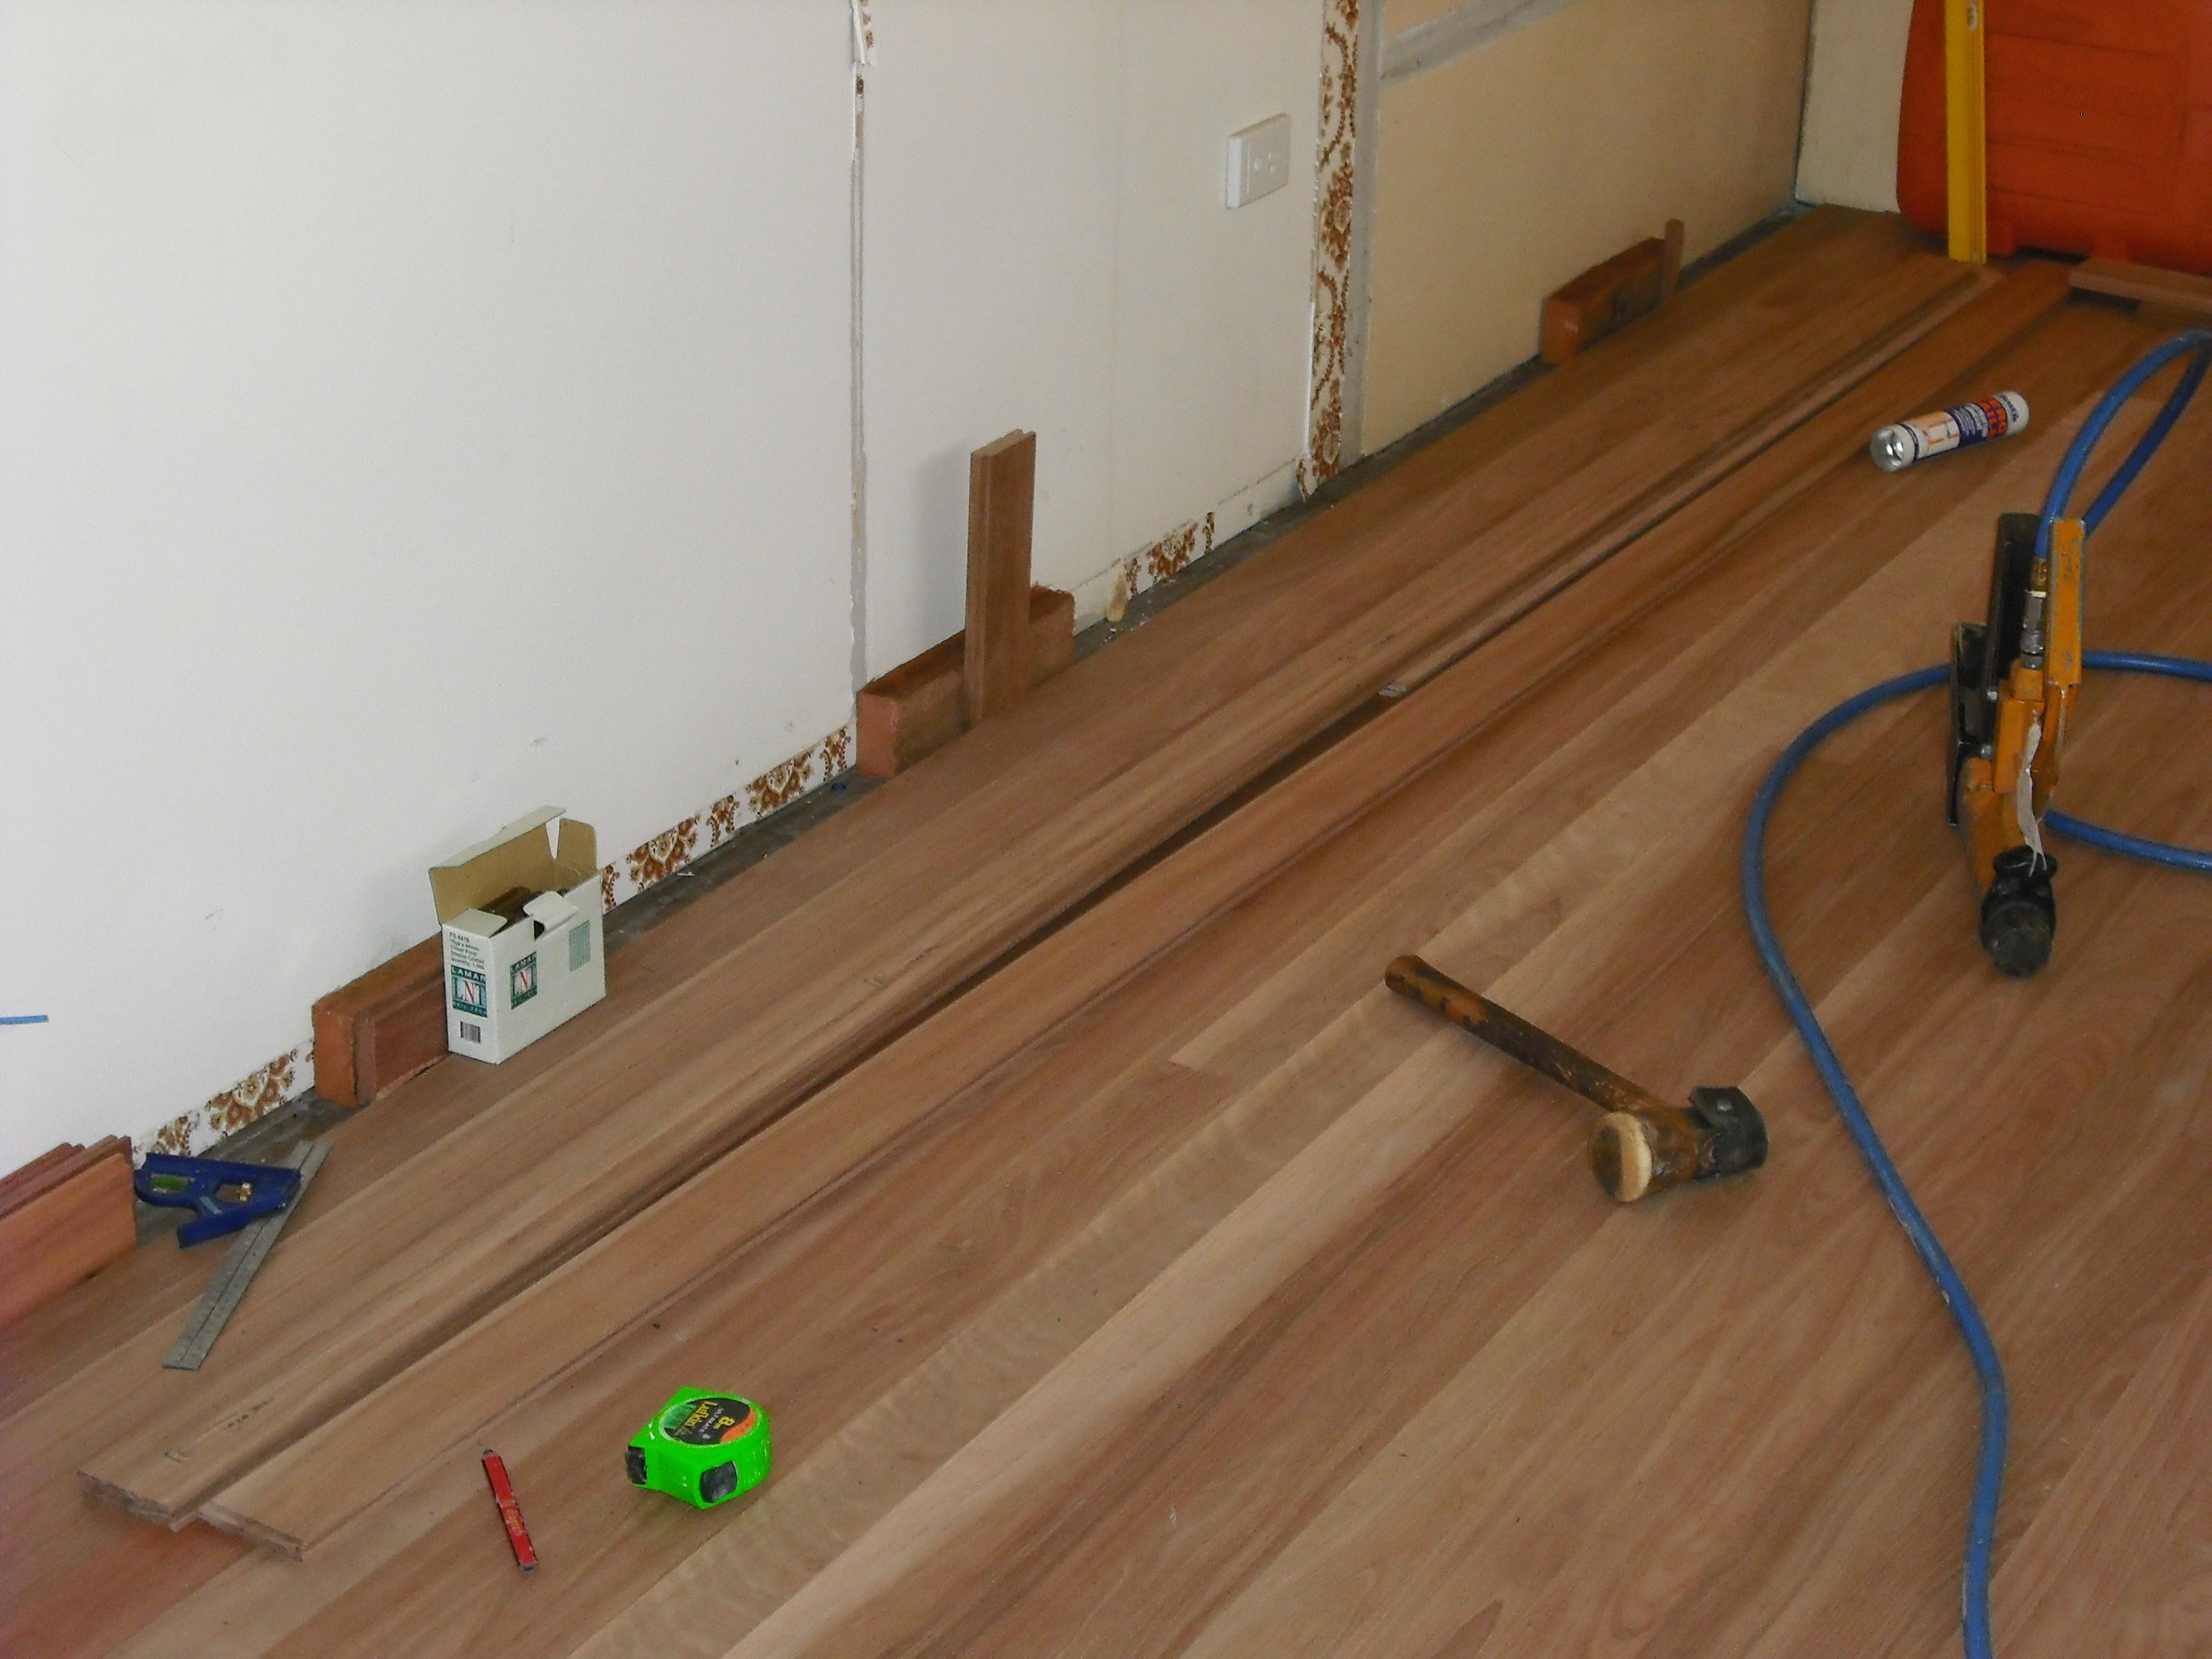
We had to pull up the old chipboard floor with pinch bars. I must say it was a bit of a task getting it up.

Tip. When pulling up flooring or decking cut it into along the direction of the joists so to that you minimise the resistance in surface area. What I mean by that is that you can easily pull up small areas of floor apposed to larger areas. The only thing is that you can’t reuse the material so you need to weigh up the cost of time apposed to material and ecstatic outcome.

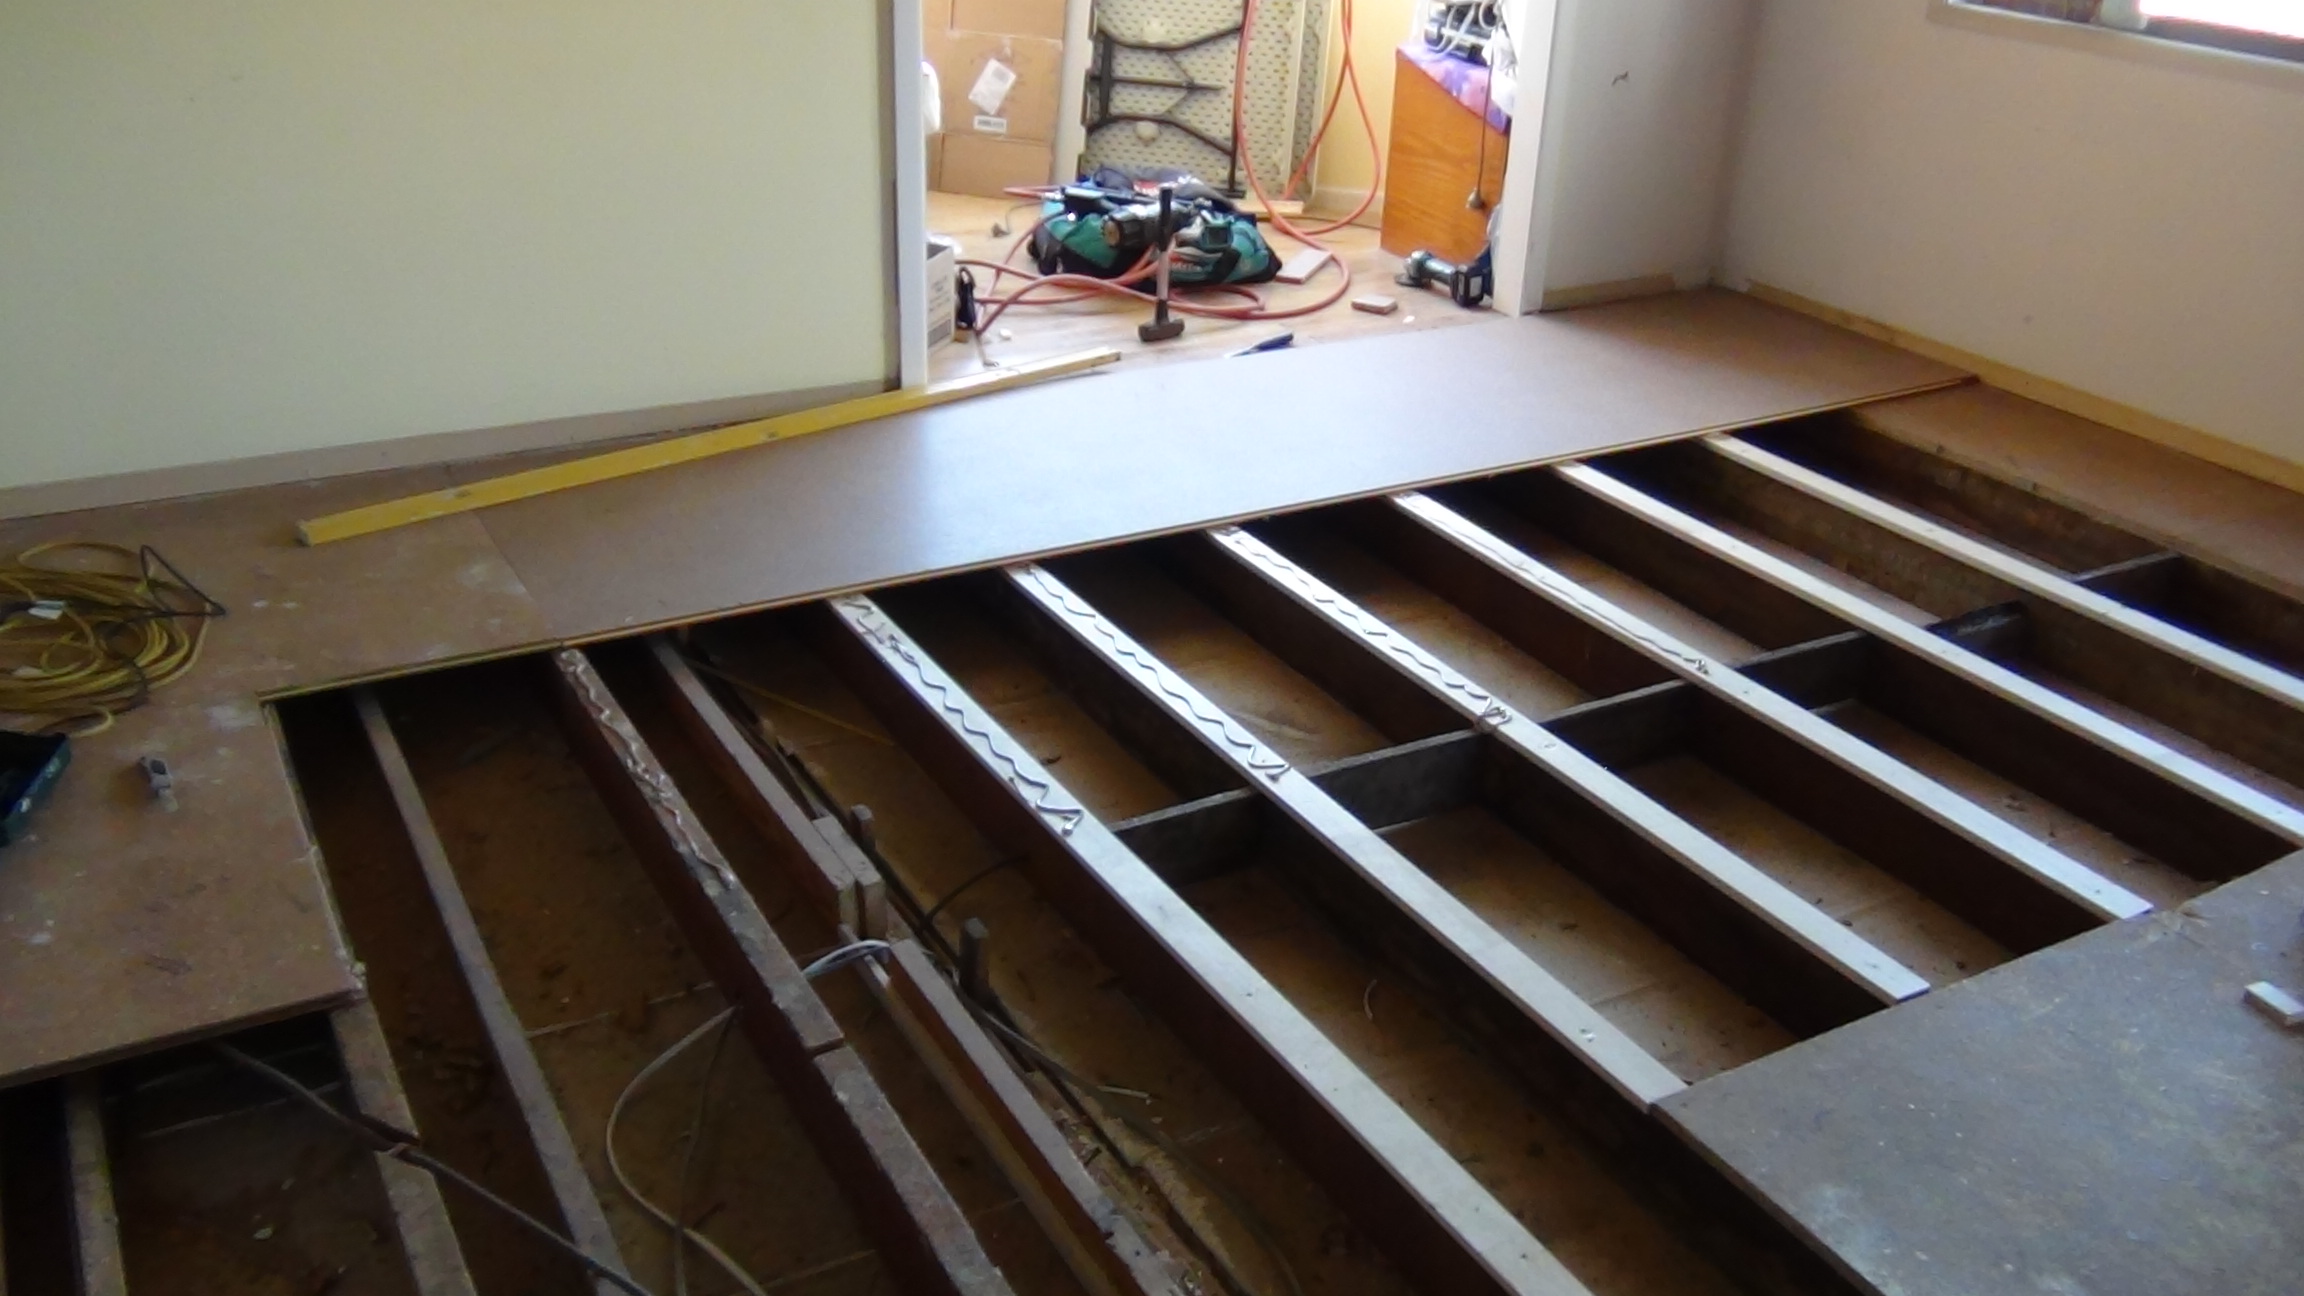
A VERY IMPORTANT TIP ! Always adjust your saw blade depth to cut the thickness of the floor only. I can’t stress this hard enough.

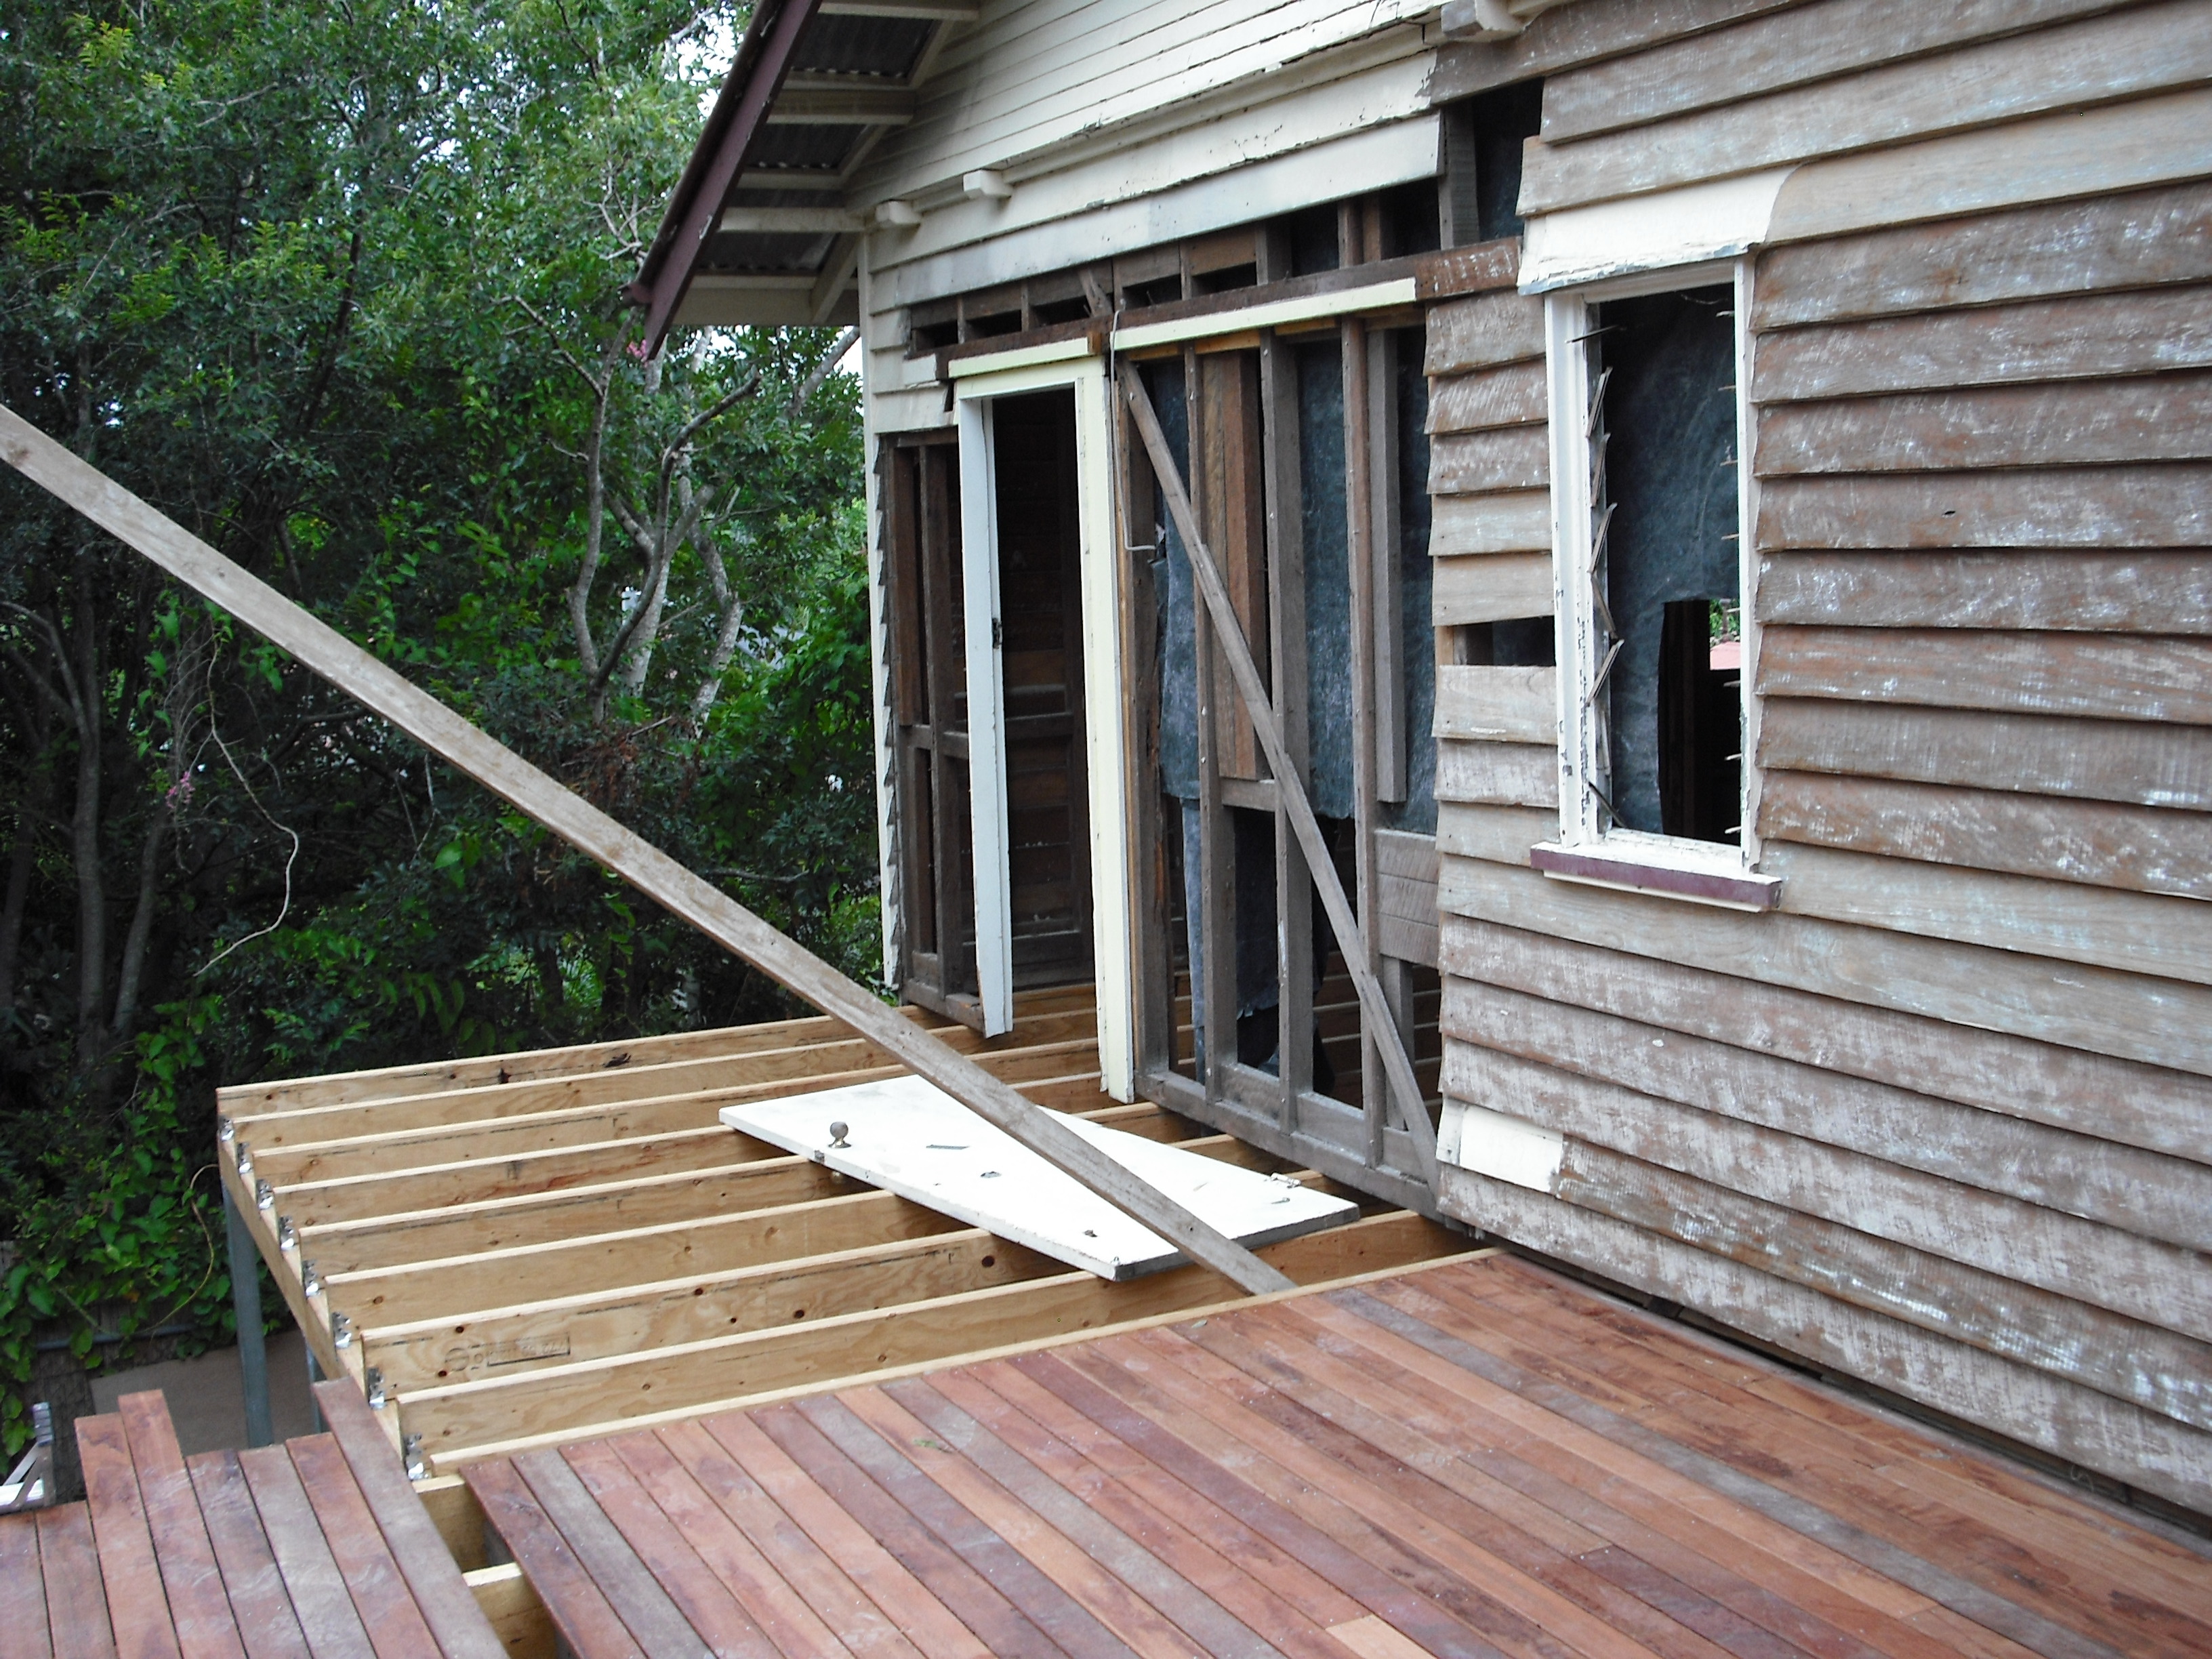
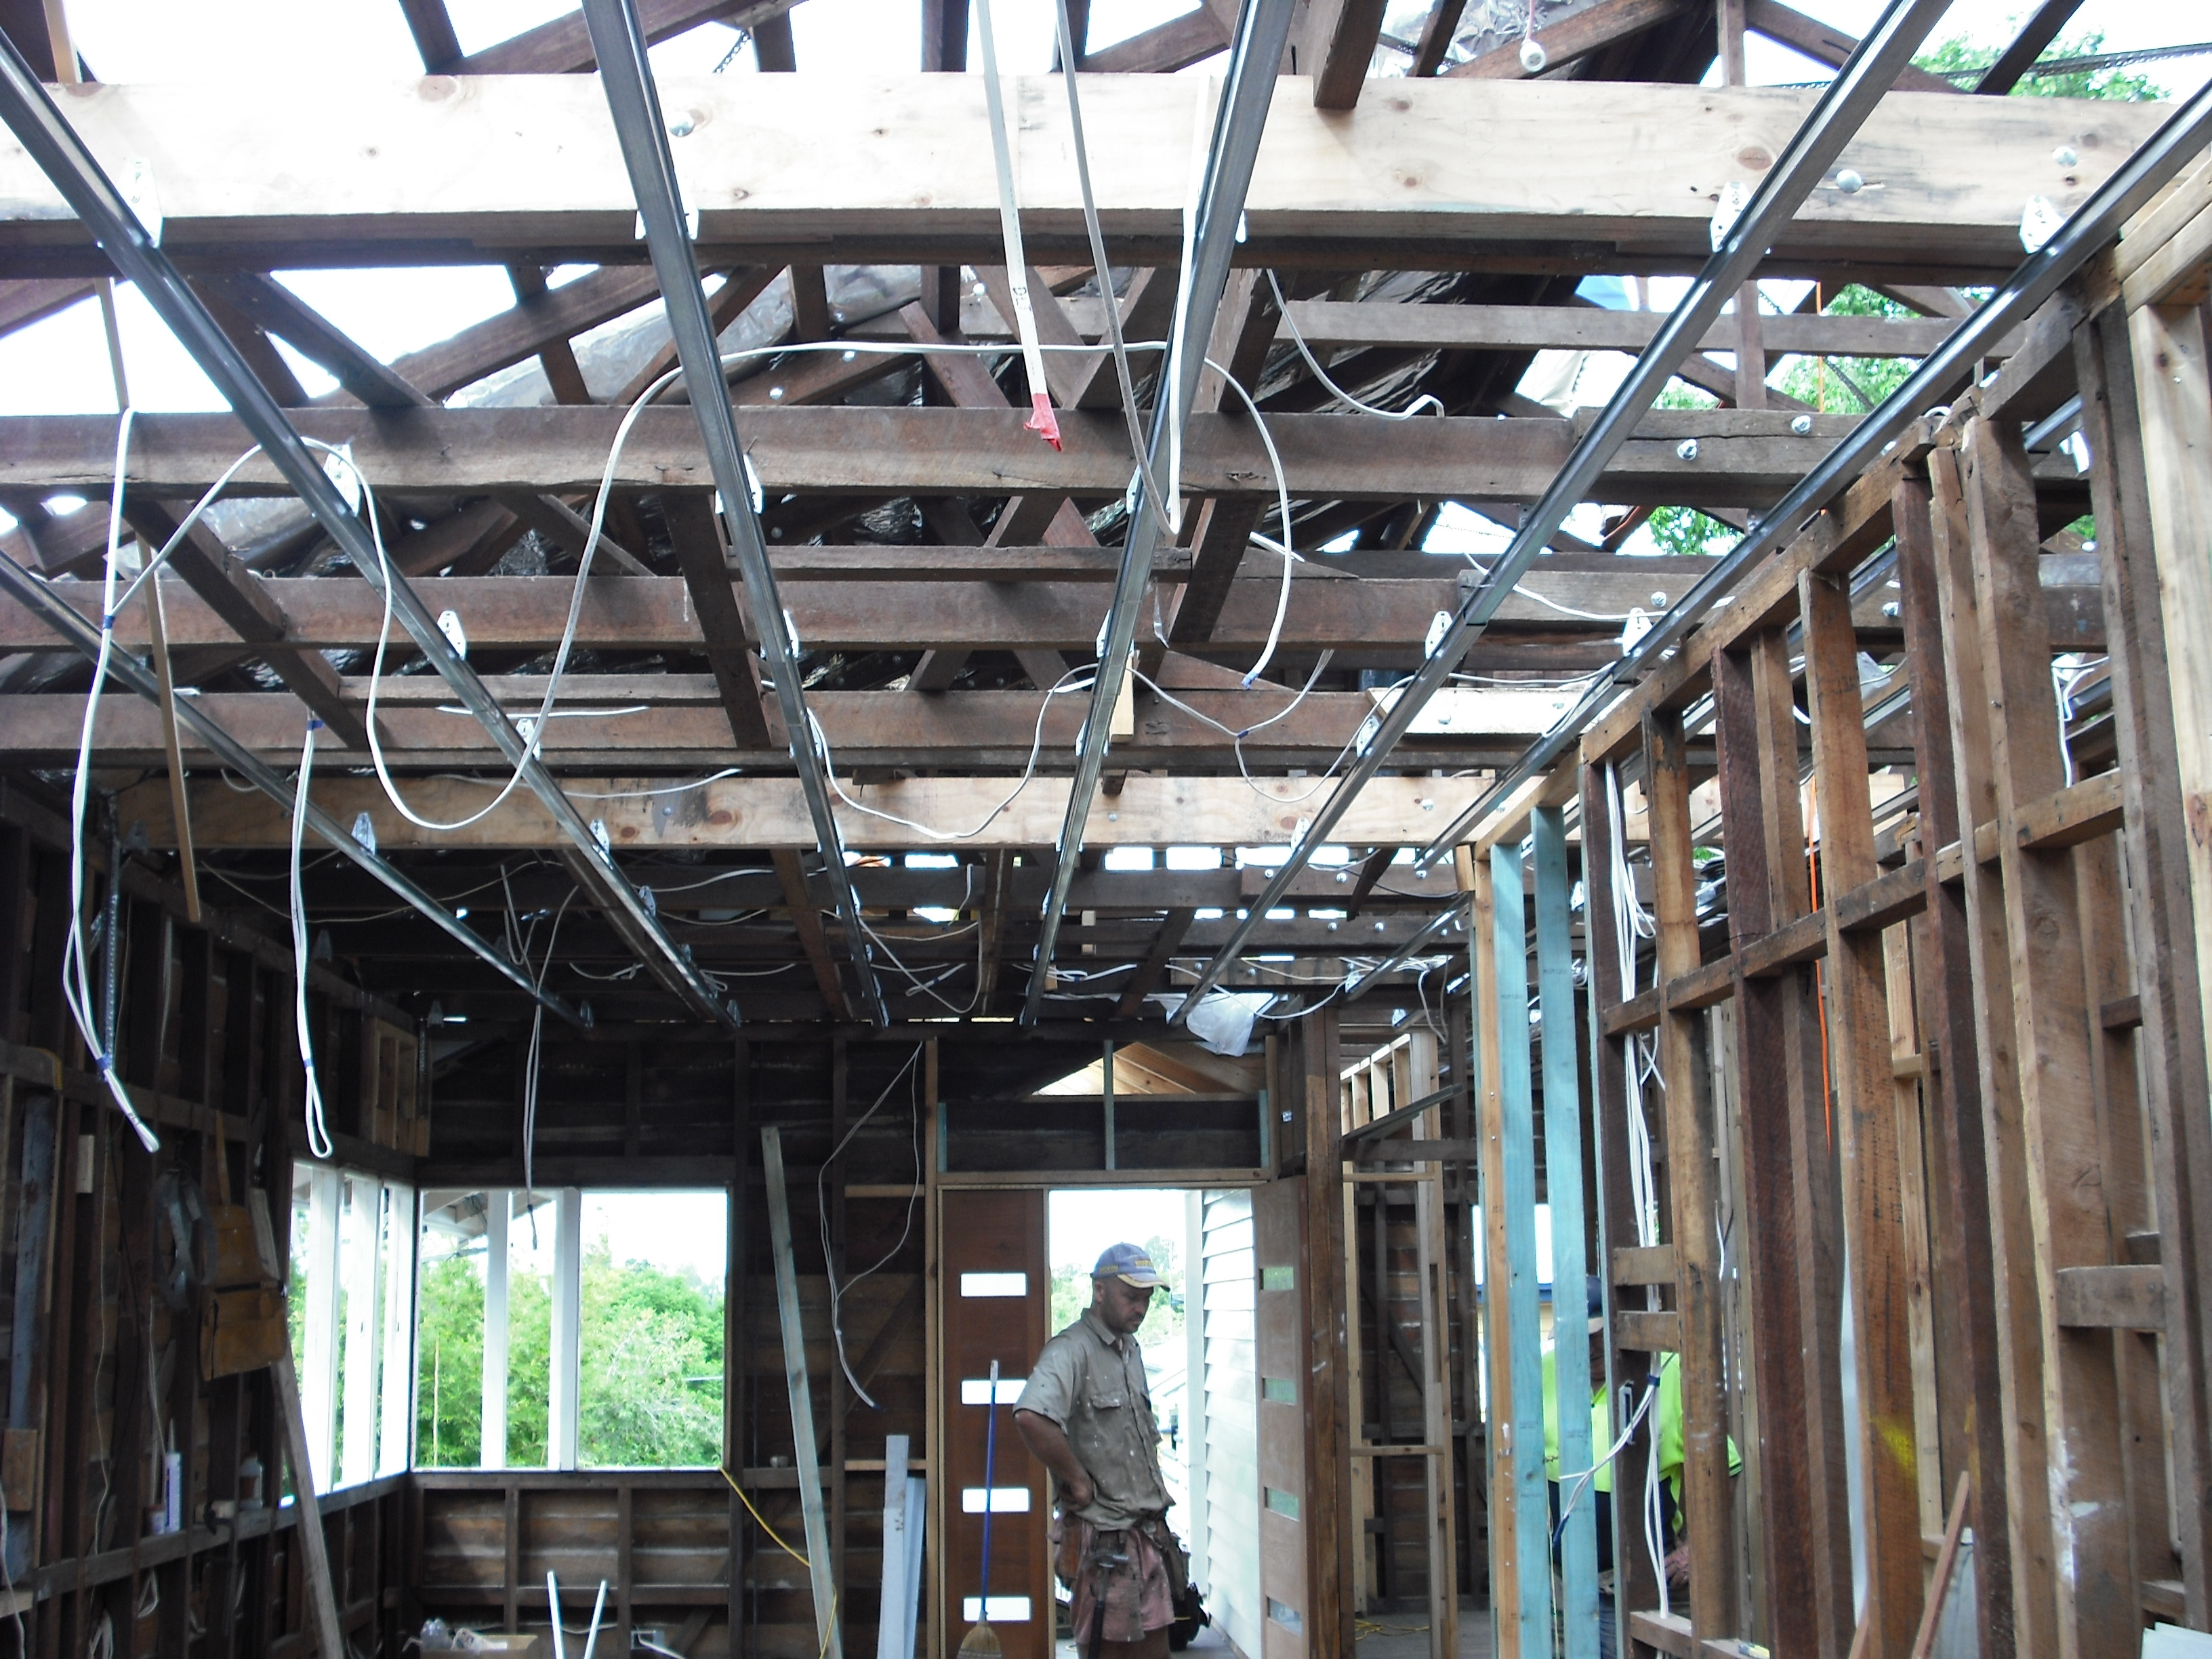
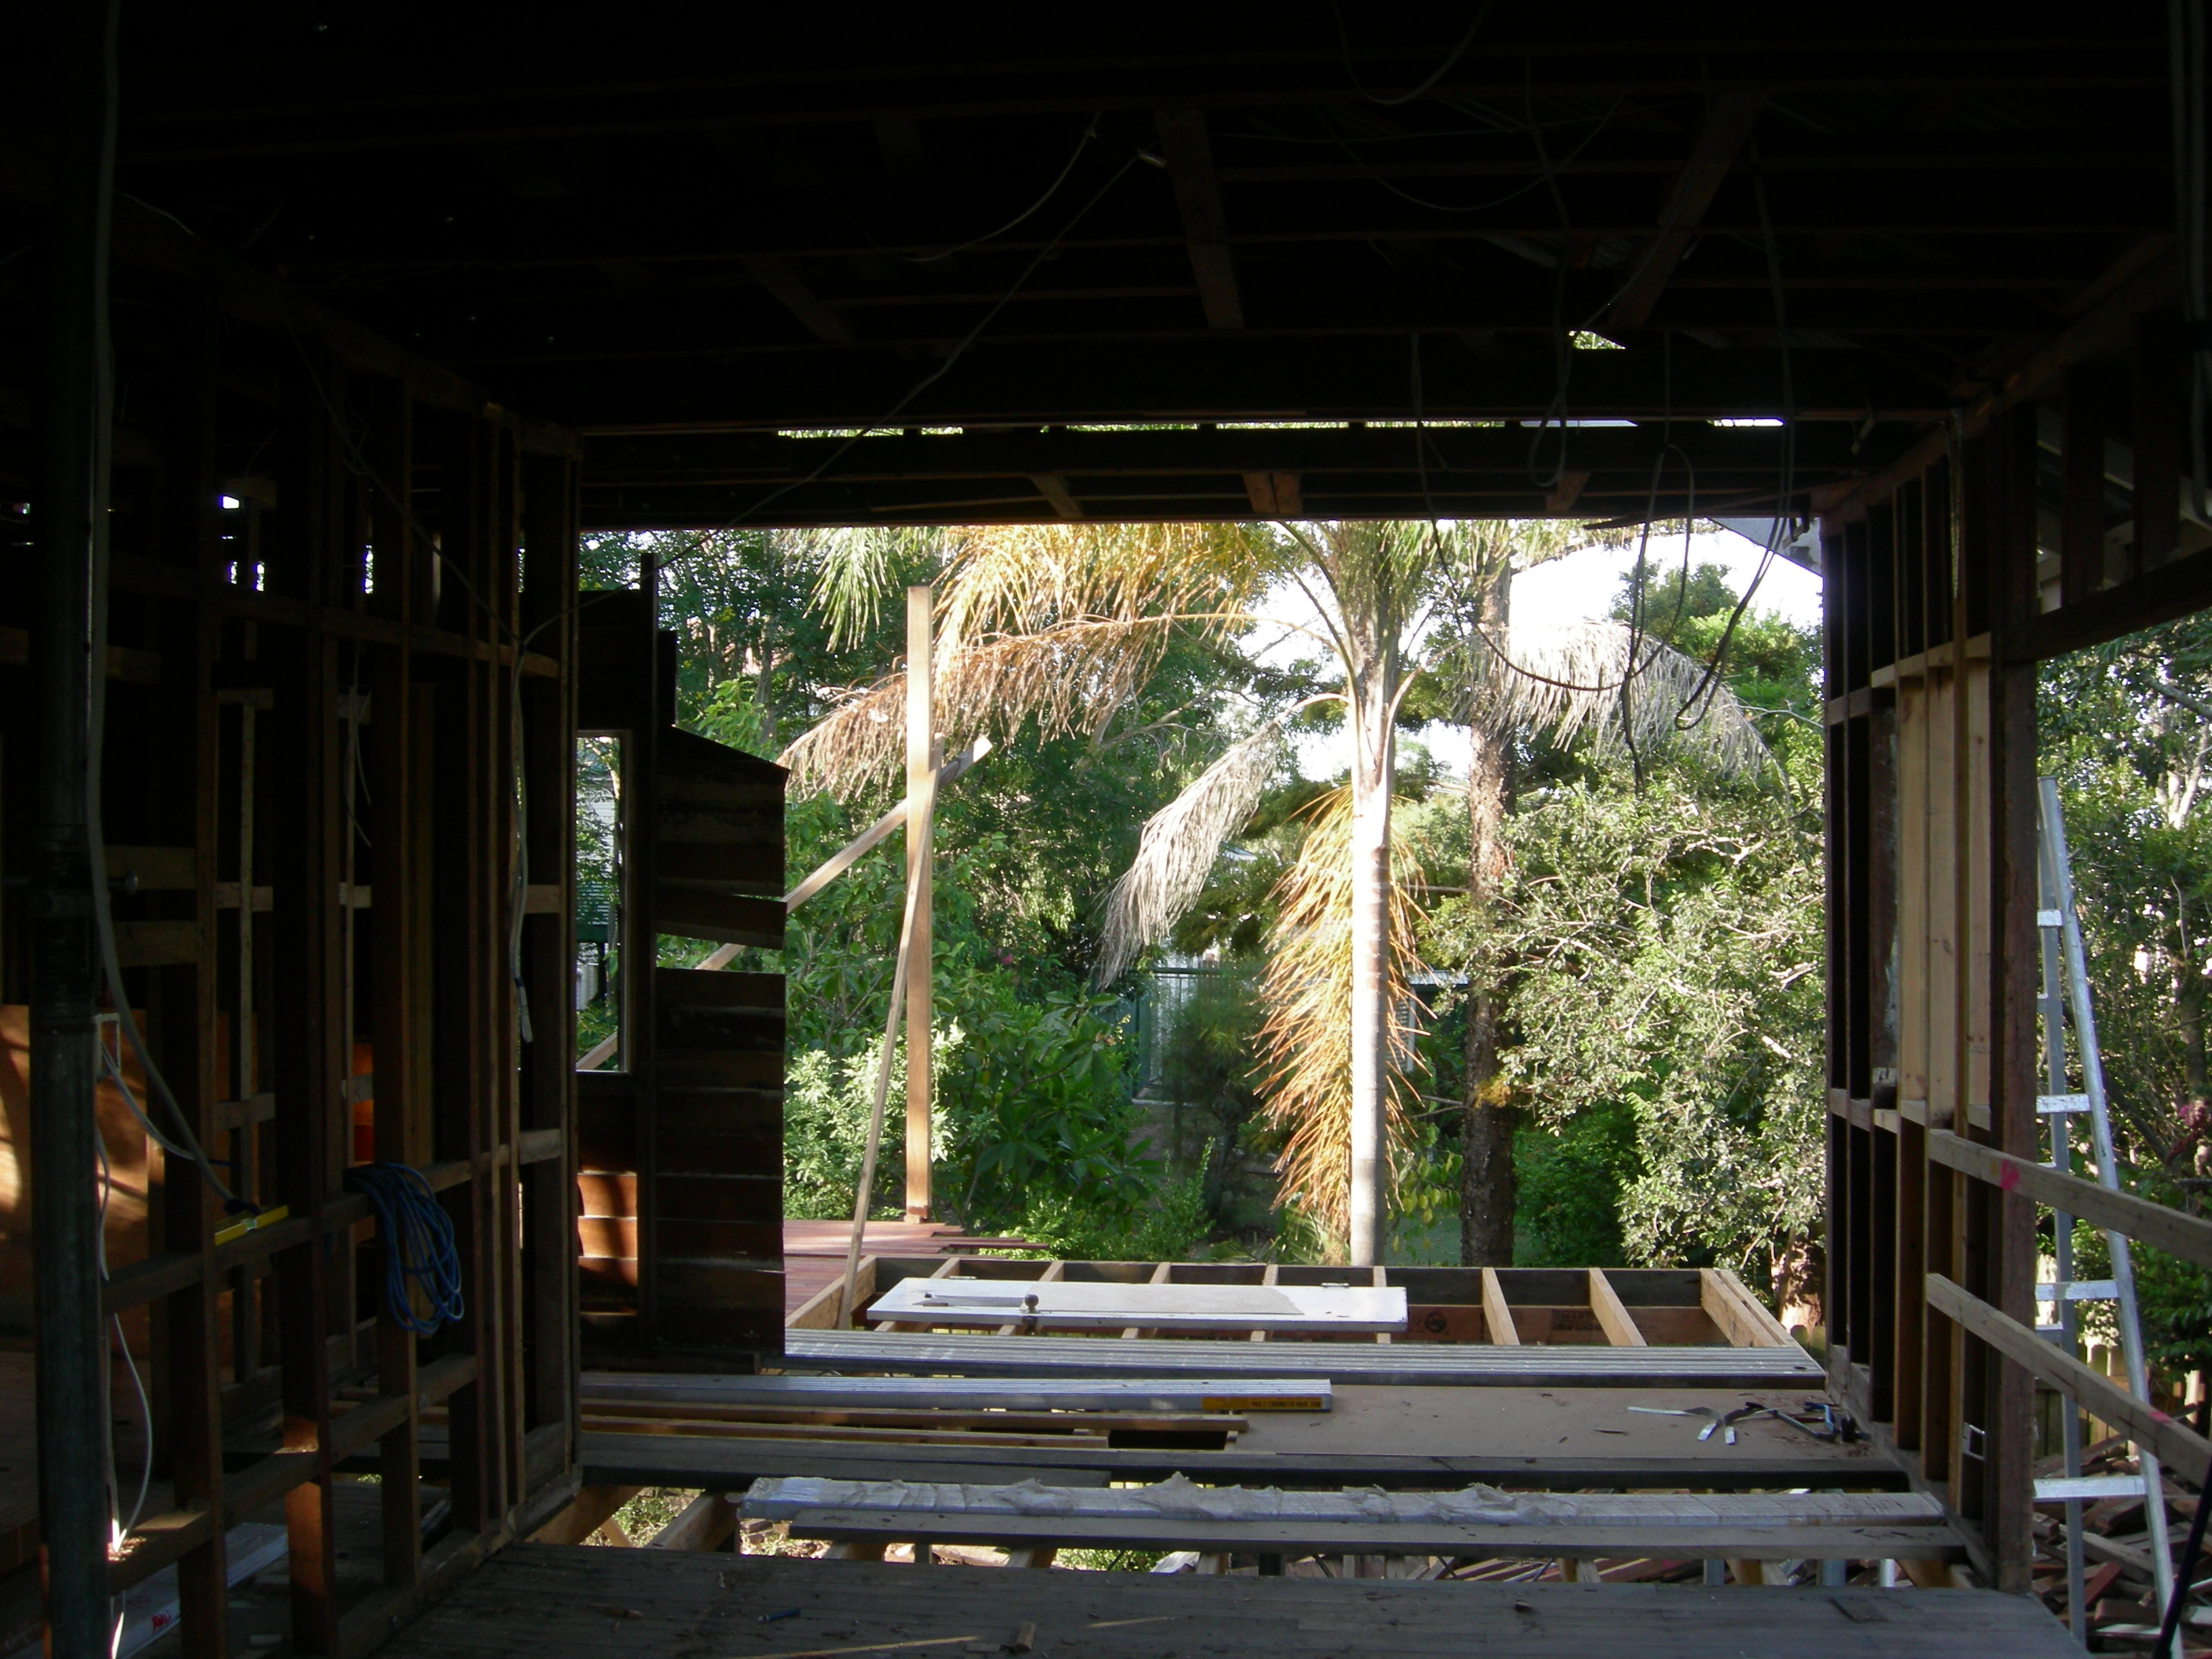
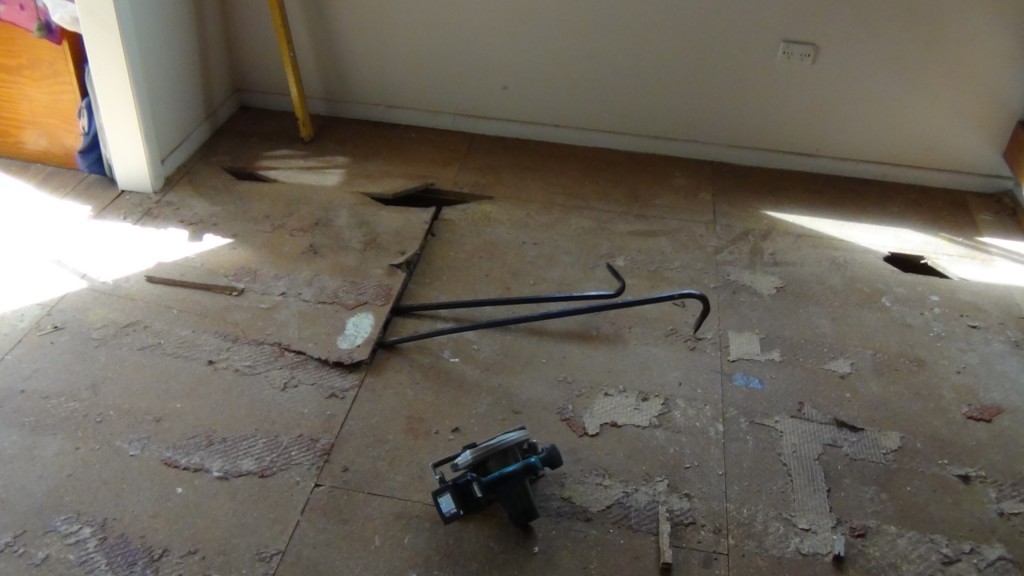
The photos below will show you what we uncovered.

Removing the floor

floor removal2

recklessness by dodgy builder

Shit work

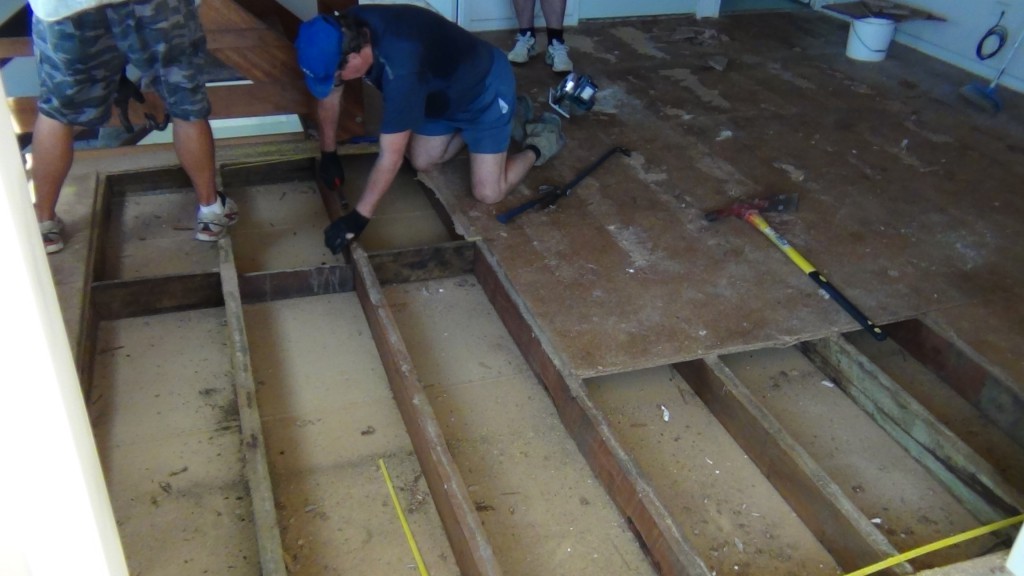
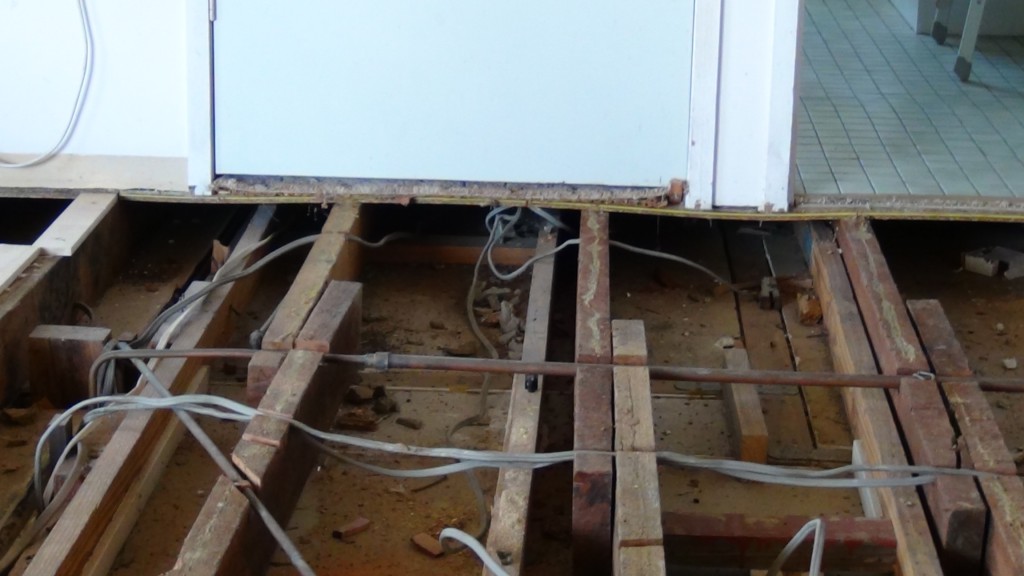
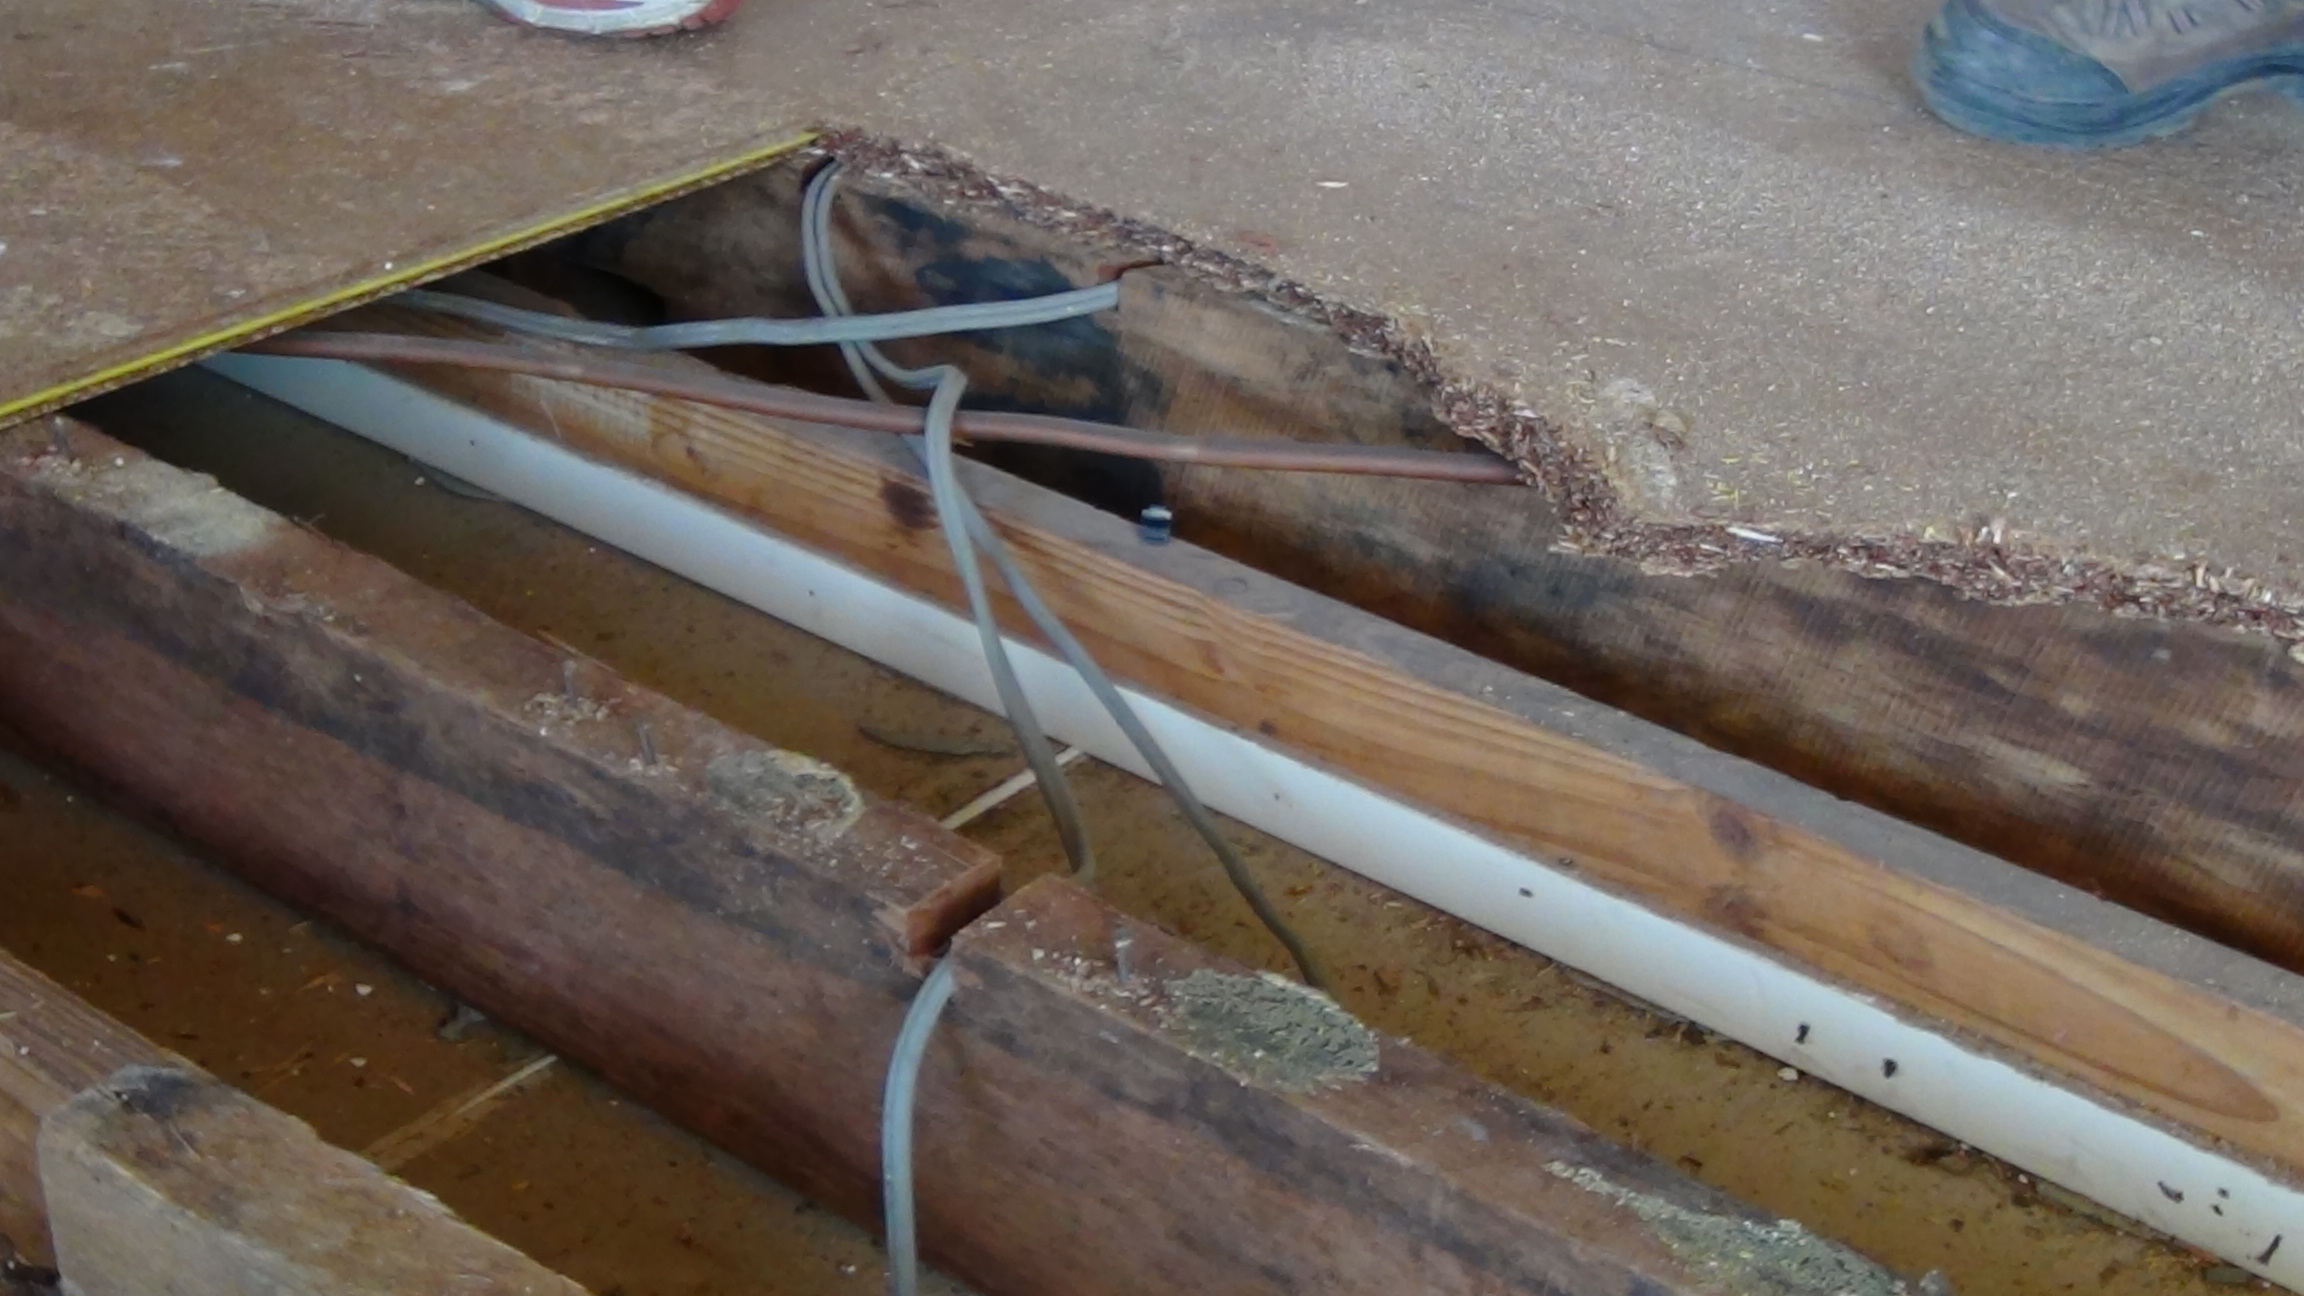
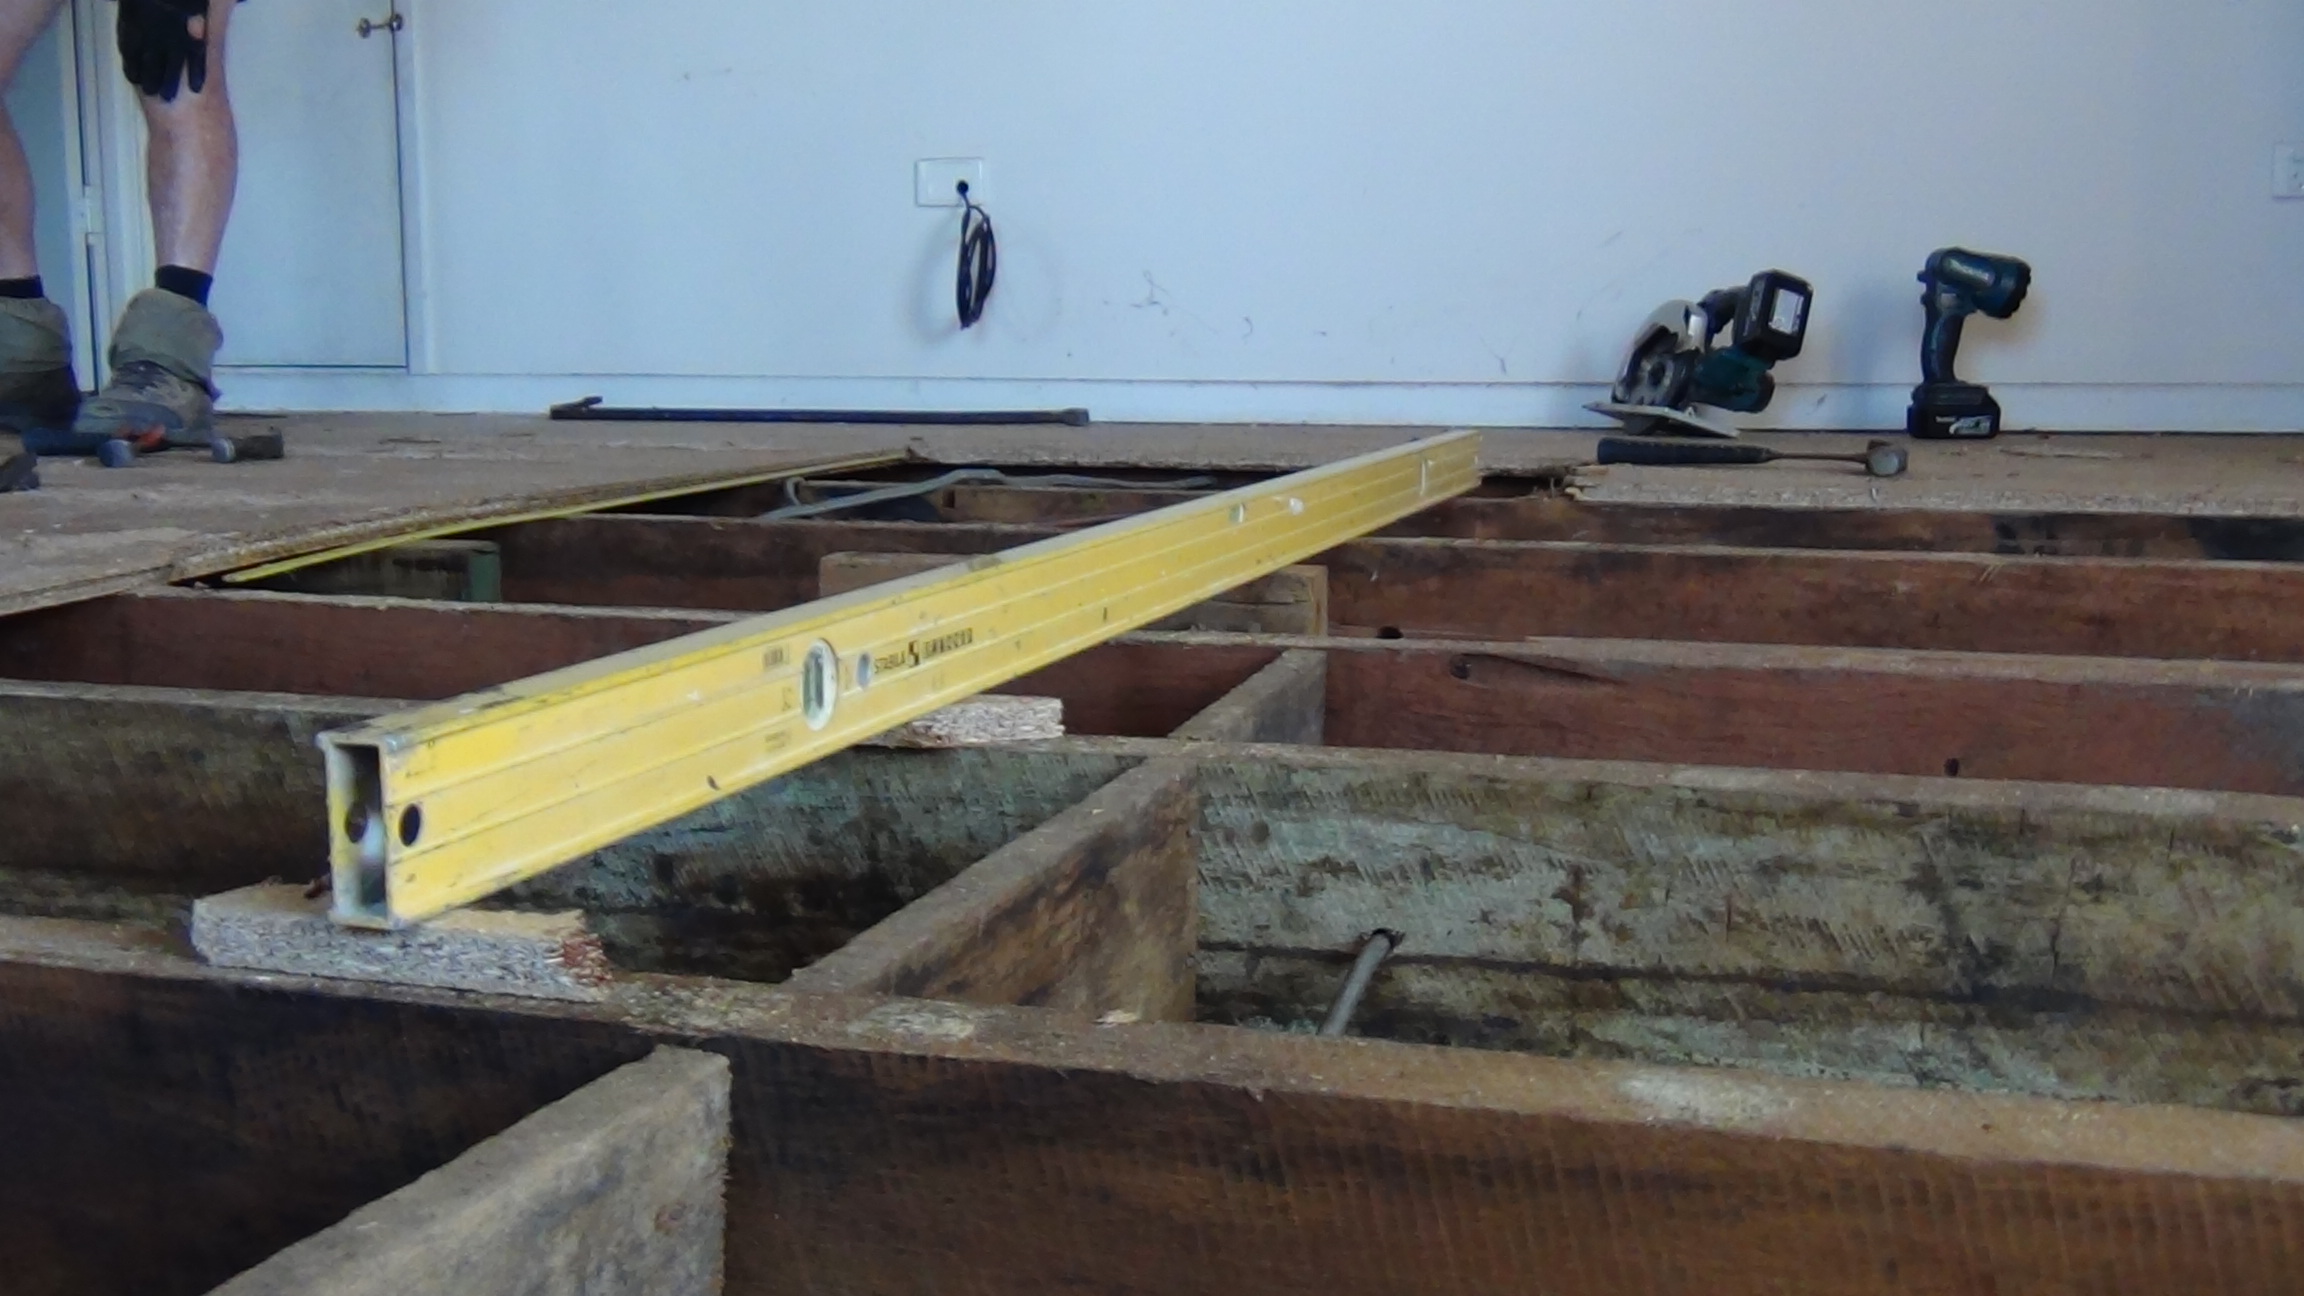
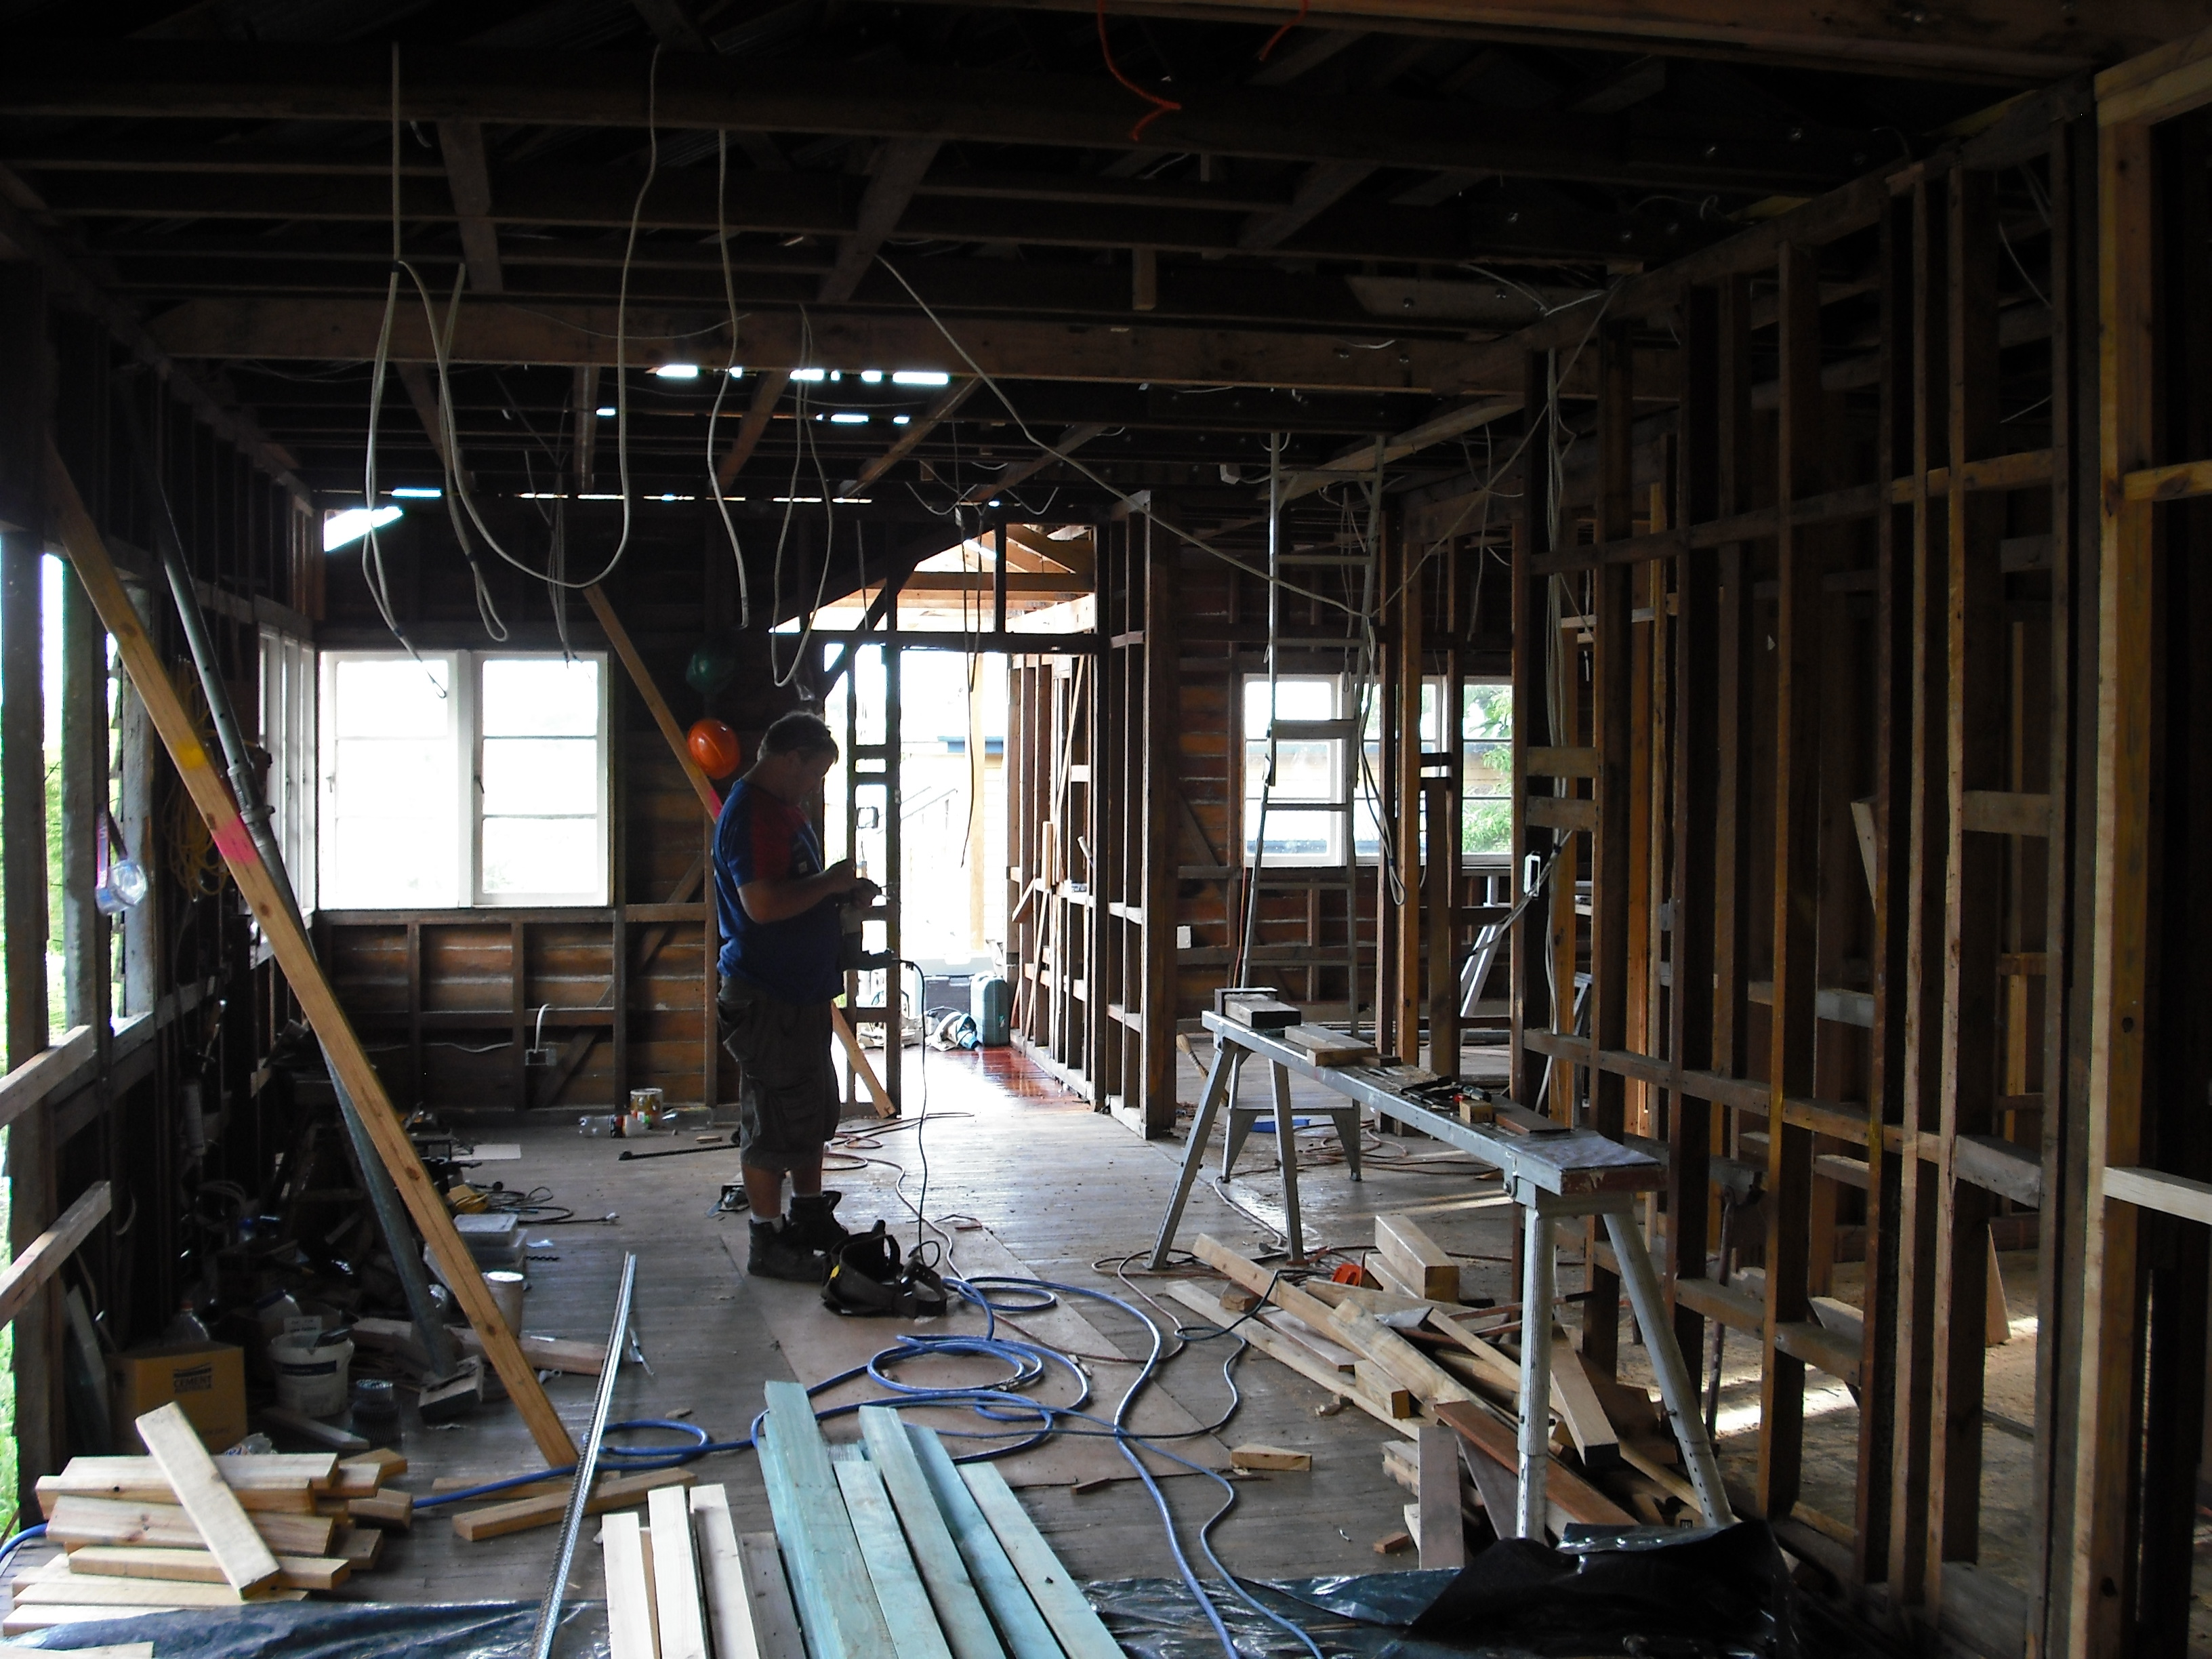
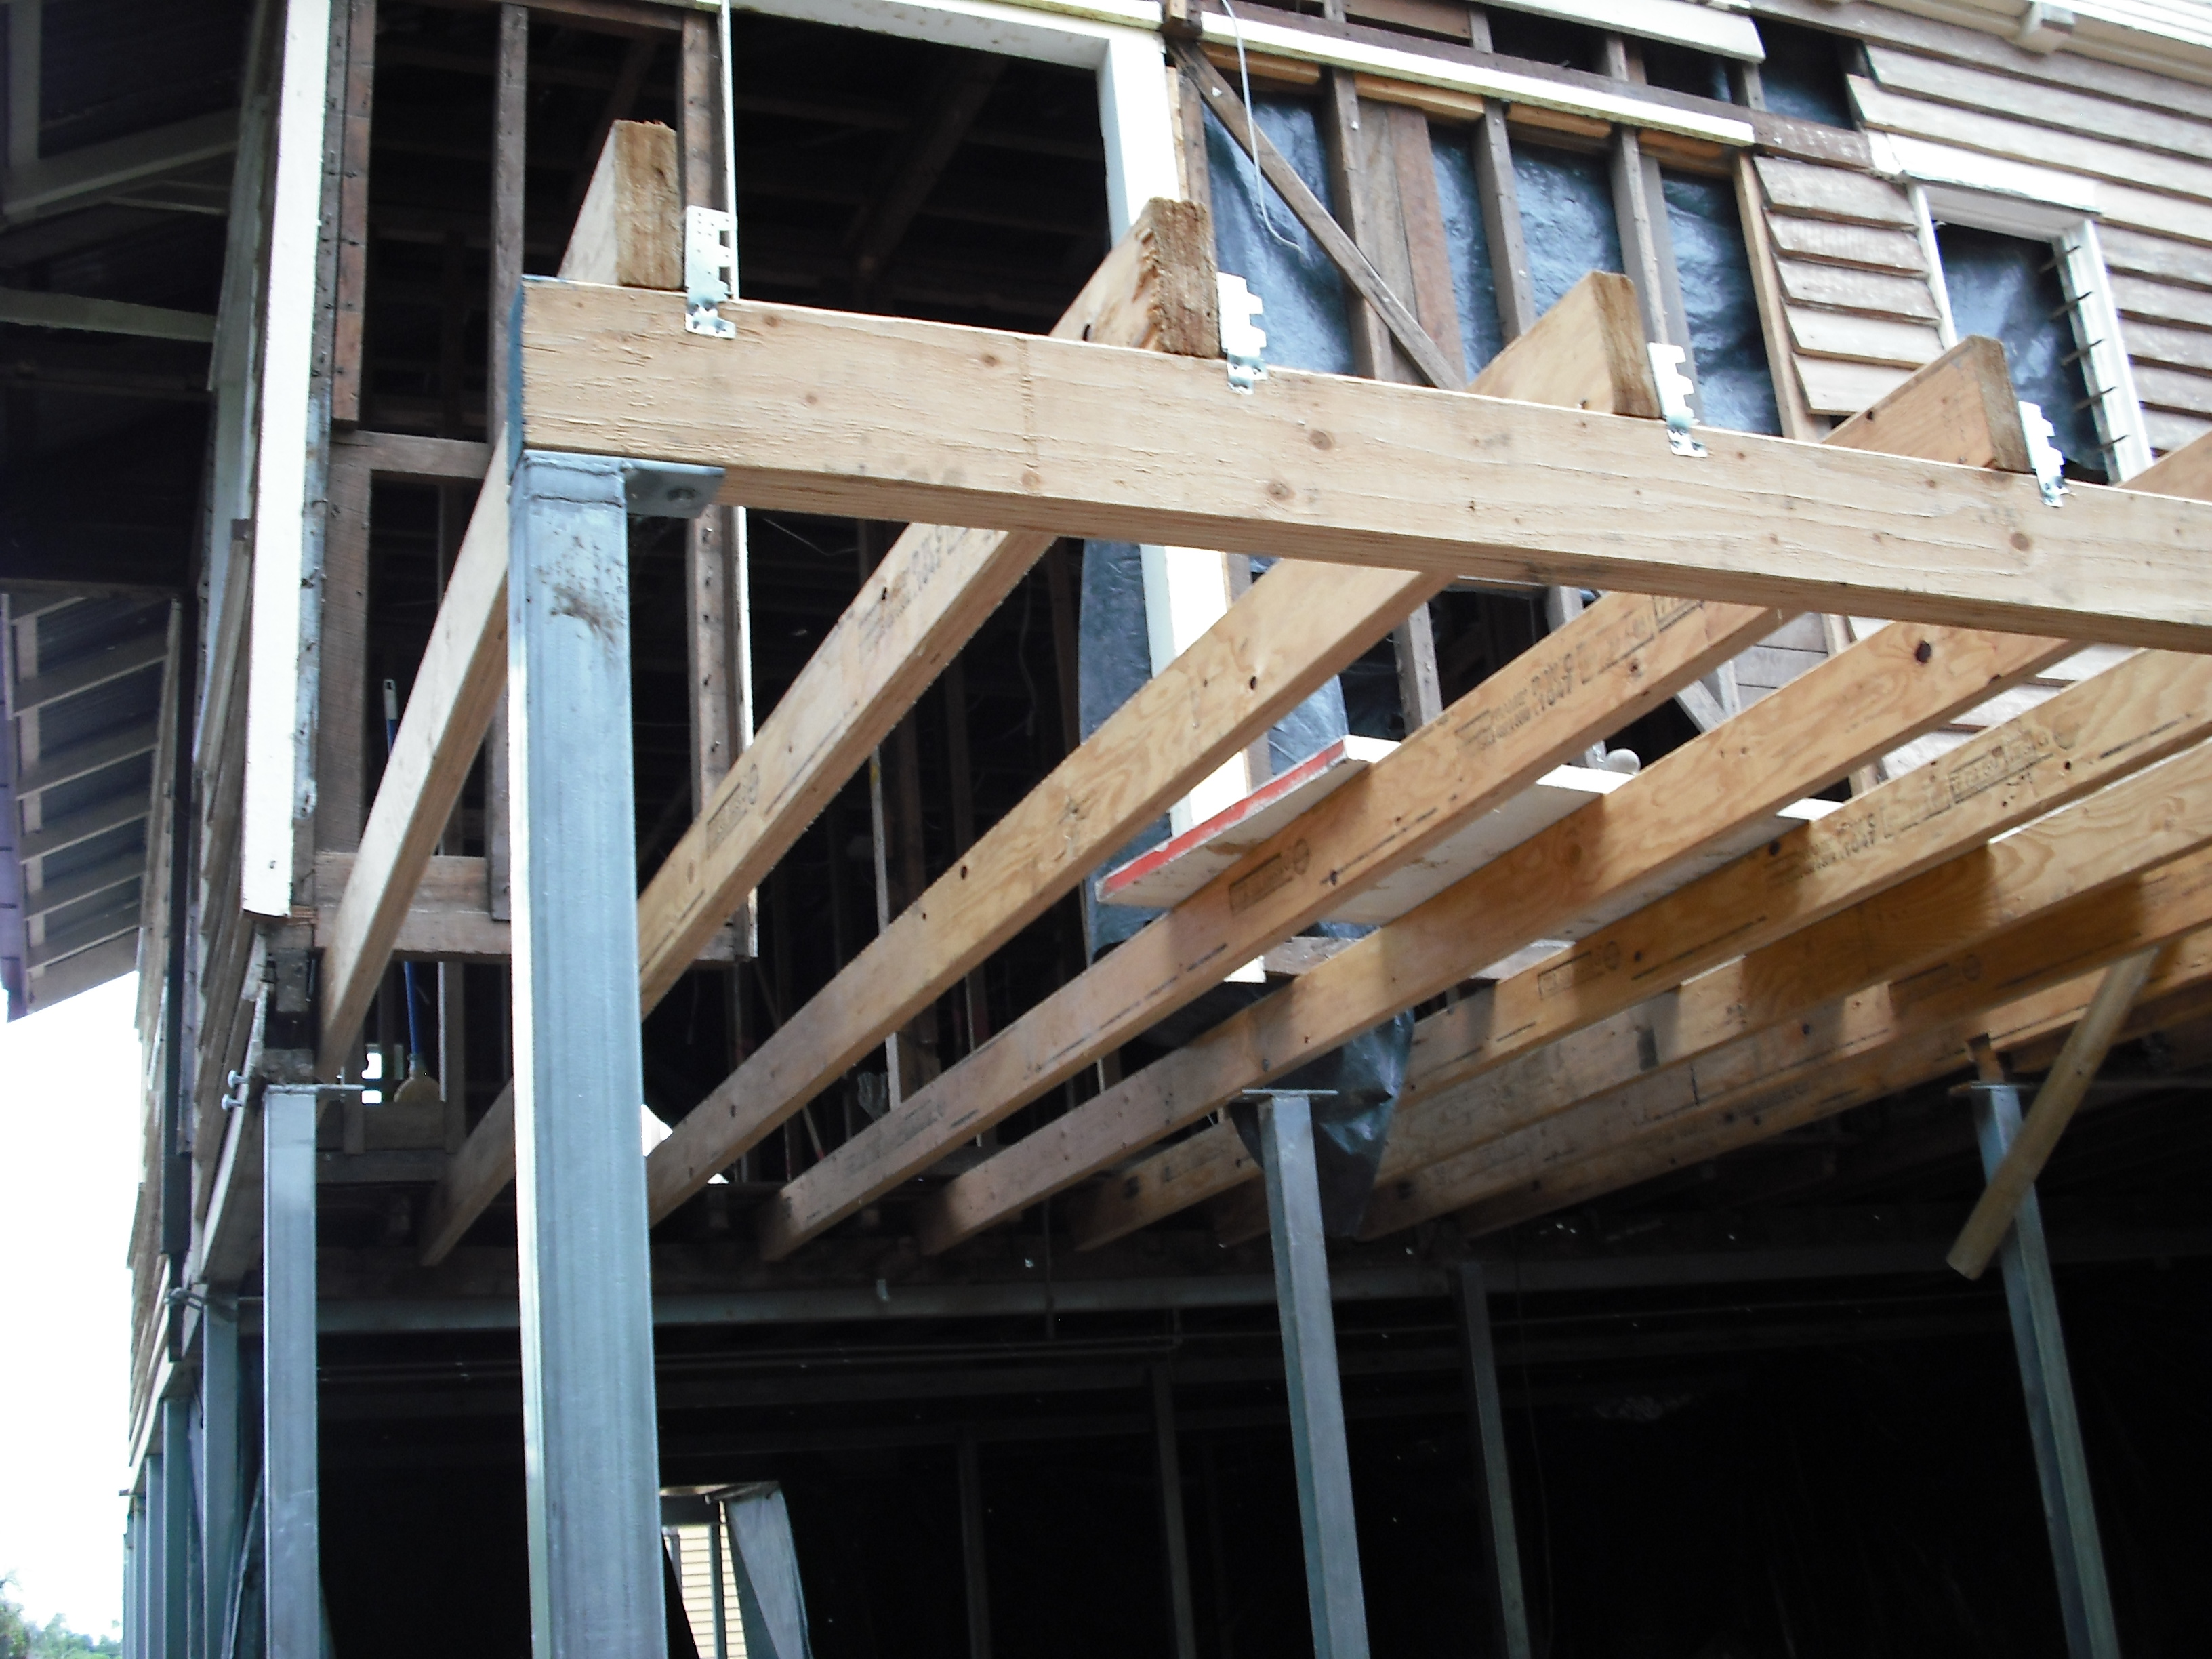
You will see on the photo above that the carpentry was bad. There are no transfer blocks under the wall frames. Your load bearing pressure has put a sag in the floor and as a result the doors started to jamb up.

I have repaired too many jobs like this over the years. It’s disappointing to see that some tradespeople don’t take pride in their own work or they just don’t know. As far as for the electrical uncovering we turned of all the power once we realised what the workmanship was like and exposed our work area. We also called a licensed electrician to rectify the mess to a point. We wrote on the floor boards once they were nailed of the hazard below as well.


Job Rectification

Once the sparky (electrician) left we looked at the levels in the floor. In the past there was a renovation an add on, and the builder at the time didn’t get the floor levels right so there was a bow in the floor and over time the nails lost their grip and hence the squeaks and other.

I decided that the easiest and cheapest fix was to pack the top of the joist and then lay the structural ply over the packing and existing sheeting. This was then liquid nailed and the ply was also battern screwed in some sections. The existing skirting was reused and the levels looked right and the floor sounded right. Which was no squeaks.

Getting the level right

Liquid nailing

Packing out 2

Packing out 1

End result floor

Bamboo Manufactured Finished Floor

Tip: Before installing skirting boards, paint them. If you will be painting the walls, it is a good idea to paint before you fix. Alternatively, you can paint 200mm above the floor height then fix. This will make your painting job a lot easier and faster.

The concrete subsurface was cleaned and separated by a moisture barrier provided by the supplier. This must be installed to minimise moisture from expanding the floor boards. I would strongly recommend that you read all the installation procedures and follow them if you are doing it yourself.

Flooring Camp Hill 1.1

Flooring Camp Hill 1.2

Task

This house, originally located at Seven Hills, was stripped by us of asbestos. It was then transported to Park Street in Ipswich. The house was spilt in two and had to be reconnected. I was asked to do a full refit and clean up with other builders. Load bearing walls were moved and extensions done. The house took on new life from the previous design.

Flooring Ipswich 1.1

Flooring Ipswich 1.2

Process

We supported all the load bearing points with Acrow props then started pulling apart unwanted members. Once the area was opened up, we fixed down the structural ply then secret nailed the hardwood floor into place. Expansion joints were also placed, allowing for 10% moisture.

Flooring Ipswich 2.1

Flooring Ipswich 2.2

Result

An open plan living dining area was achieved with lots of natural light coming in. The kitchen area was also an entry point to the rear deck and stairs. The Gyprock was all square set for that minimalized look.

Flooring Ipswich 3.1

Flooring Ipswich 3.2

Flooring Ipswich 3.3