All posts by robert.kaplan

Task

A client bought a 60’s build house and started to strip out the kitchen, laundry and dinning area but soon discovered that it was a lot more involved then they thought. Upon their research and recommendations my services were requested.

IMG_6518

IMG_6521

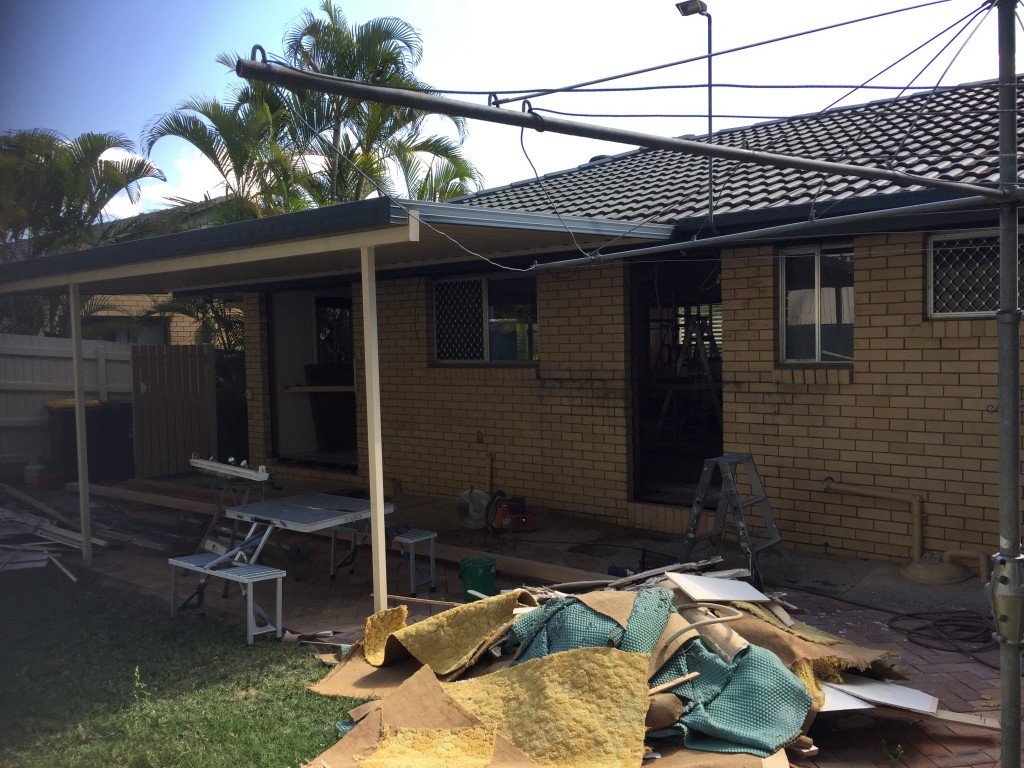
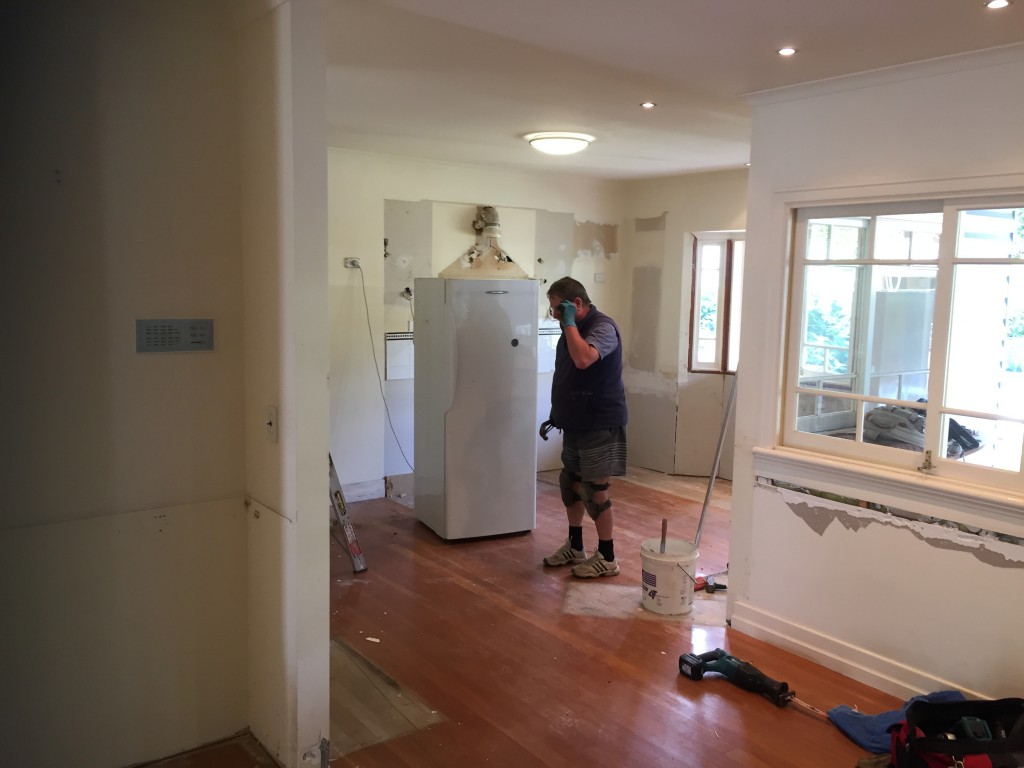
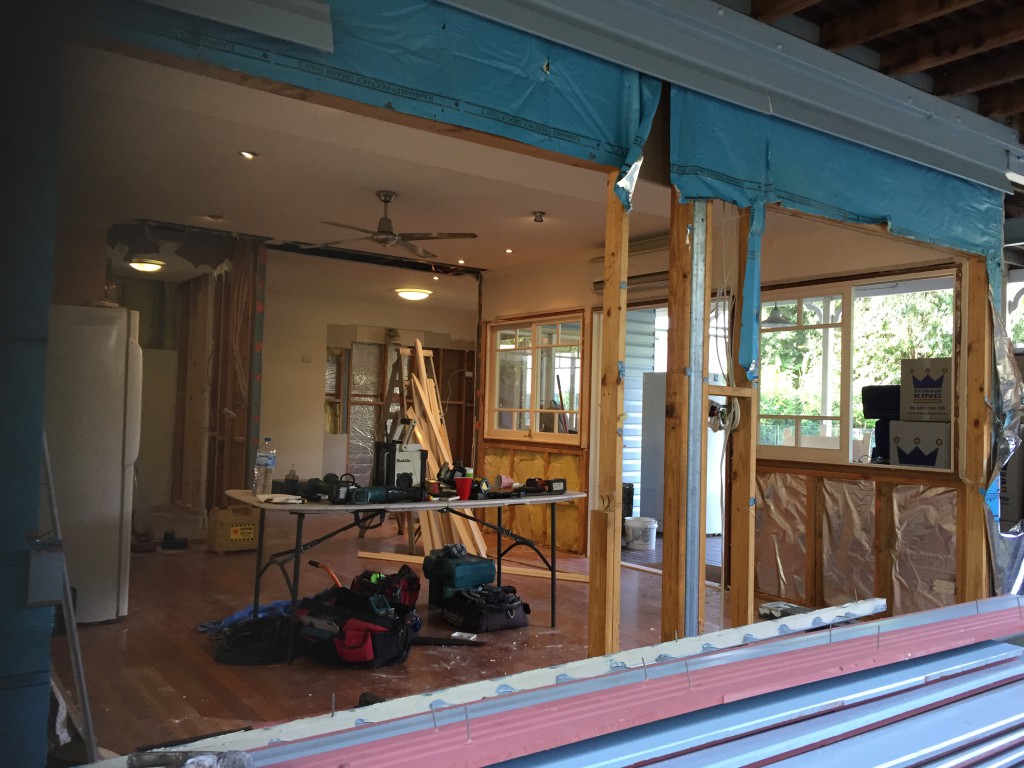
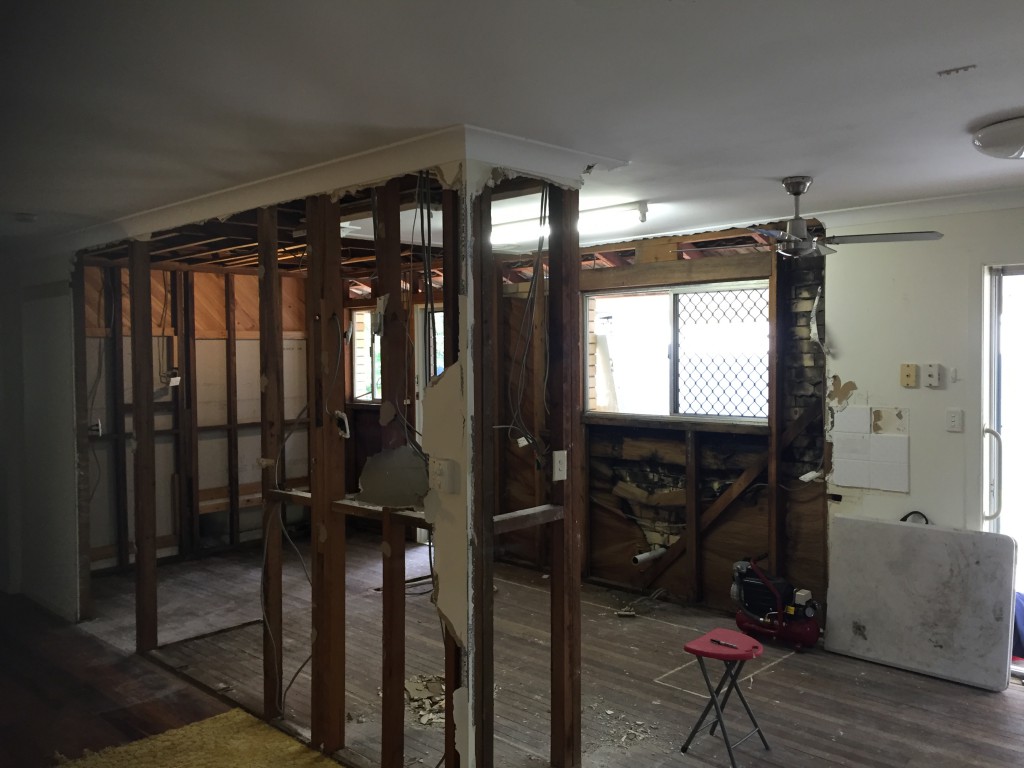
So this is what I was confronted with. Their plan was to open up that internal area and incorporate it with the outdoors. Allow more natural light into the house and a sense of height and grander. It also needed to look the original part of the build so the bricks were going to be recycled.


The Challenges

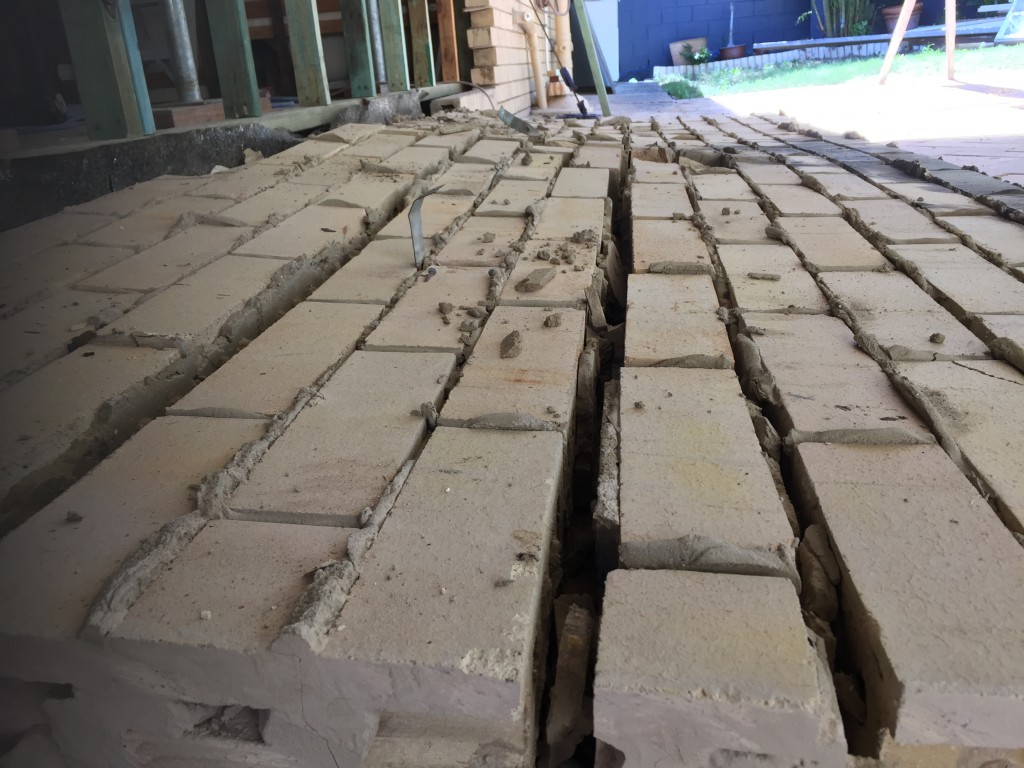
The bricks were to be cleaned and we only had the original bricks as a source for our build as the colour age and look of brick is not acquirable.

IMG_6566

Asbestos sheeting was also present in the work area so caution and proper procedures were put in place.

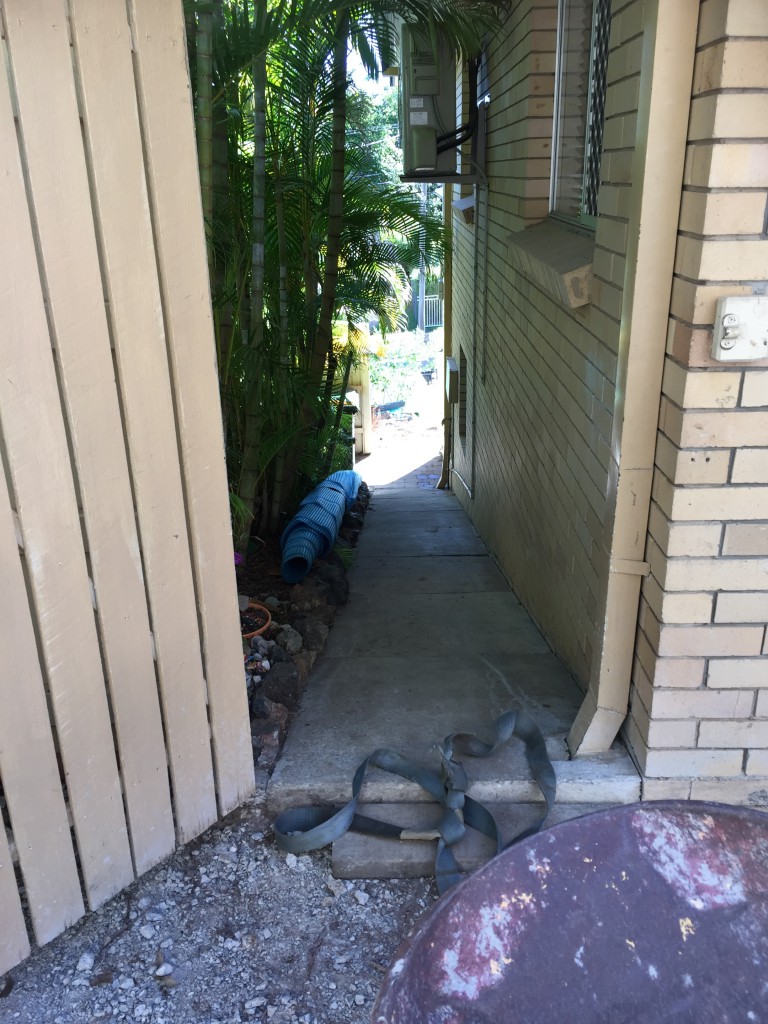
The other challenge was the site access. Everything had to be moved by person up slope to the backyard. So moving soil and building waste to and through was going to be pretty labour intensive.

IMG_9621

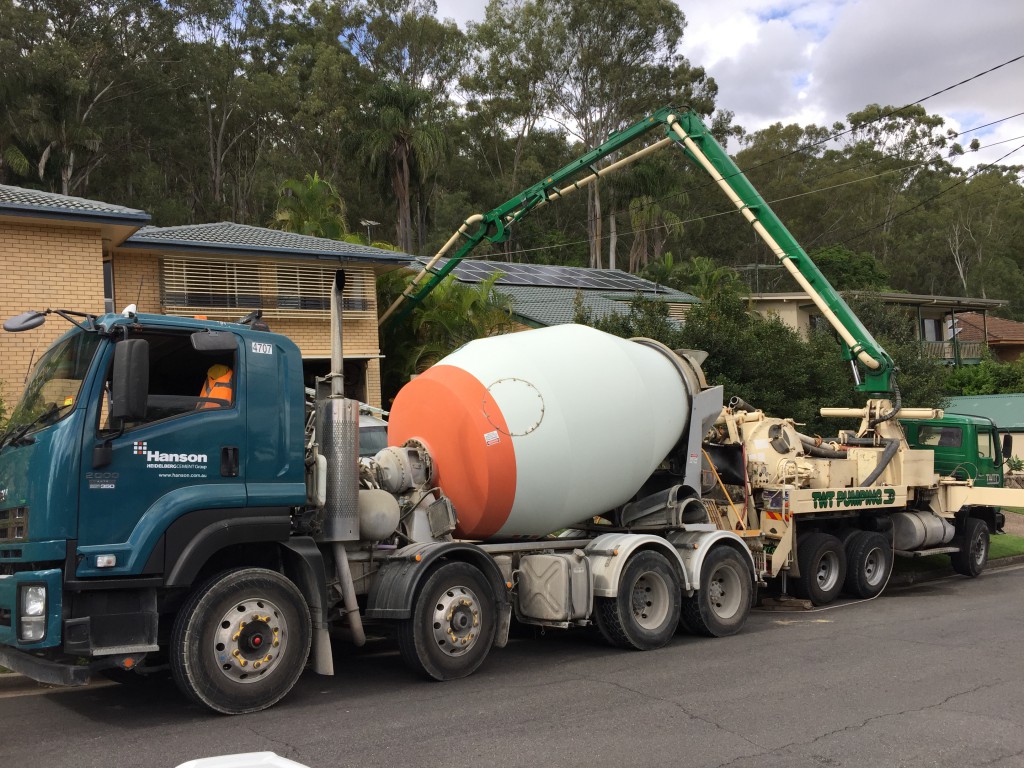
A boom pump definitely had to be costed into the works.

IMG_9740


Metal Facia Installation Process

Once you have finished all your bracing,tie down and batterns get two brackets and place them on each end on the tails of your trusses or block work.  You have to fold the brackets in order to fix them to the block work. Use a straight edge or level and place it over a few batters running down towards the edge of the truss tails. Place your brackets at that height this is very important. Below is a photo to give you an idea.
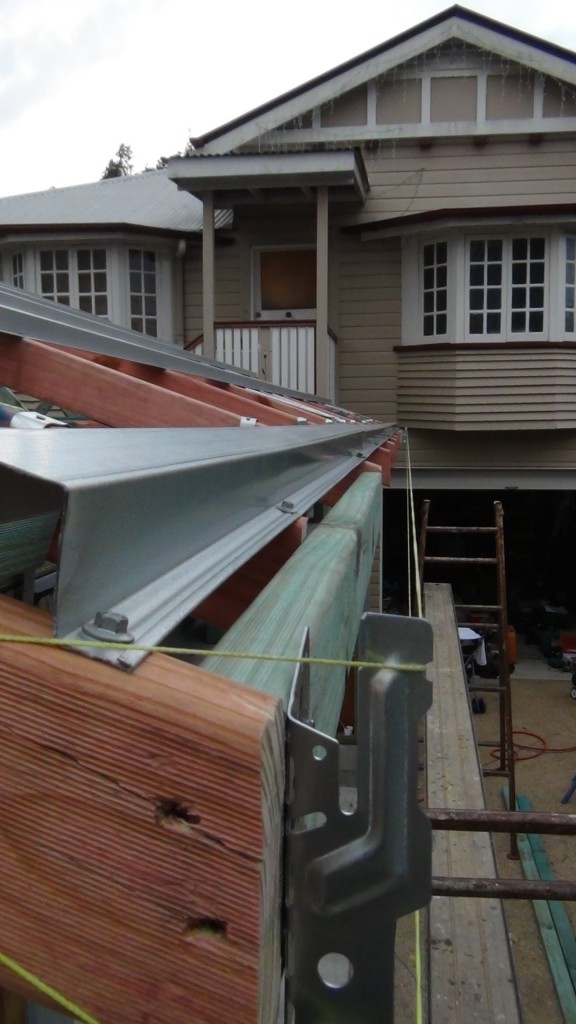
DSC00998


Once you have done that place a string line on the notches provided in the brackets top and bottom. I use one roll of string line looping it back. Make sure the line is tight.
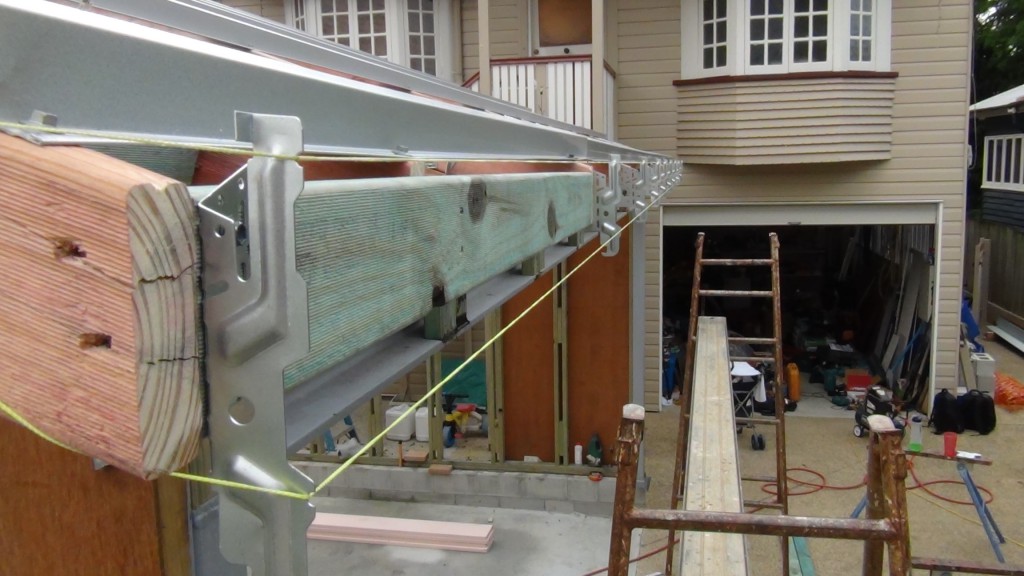
facia bracket installation

Now that the string line is in place get your brackets and fix them into place at the end of your truss tails. Most installers use common screws but I prefer to use 6 to 8mm gauge hex gal screws. It is easier to screw or reverse them out. Make sure you put in at least three screws to line the top and bottom and one just to secure. Also make sure that you don’t push out onto the string line just be short of it by a few millimetres. This will keep the line true.
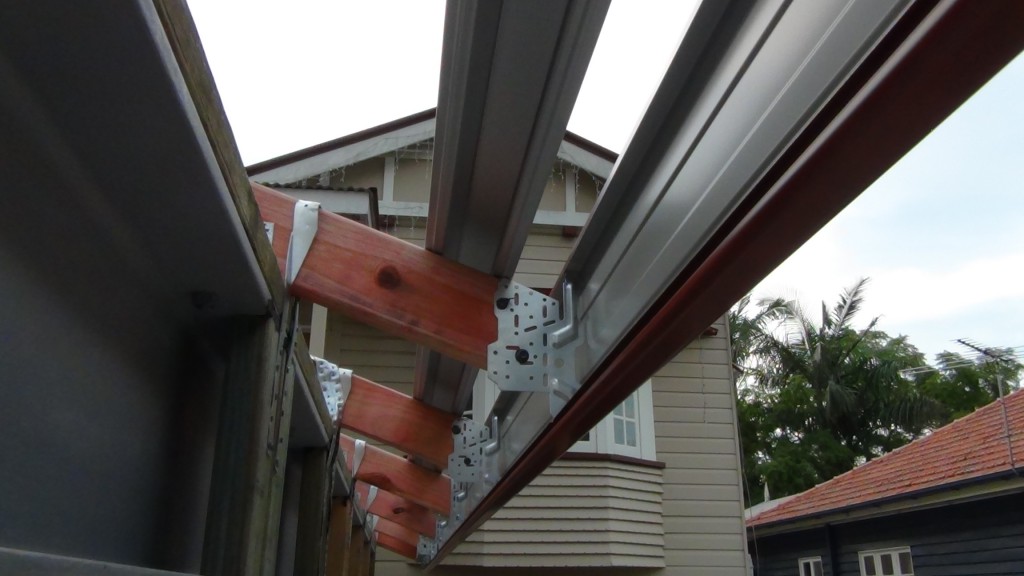
Metal facia installation


Now all you have to do is clip your facia in. Clip it on the top over the whole run with the bottom of the facia kicked away from the trusses.   Then bring the bottom in pulling it down past the clip and letting it spring back and lock into place. And there you go. If you follow the steps and replicate them on the other side everything should tie in and match.

Control joint dowels for masonry walls

When constructing masonry walls, standards and codes need to be meet. Usually these standards will be supplied in the engineered plans for site works accompanied with the building plans.

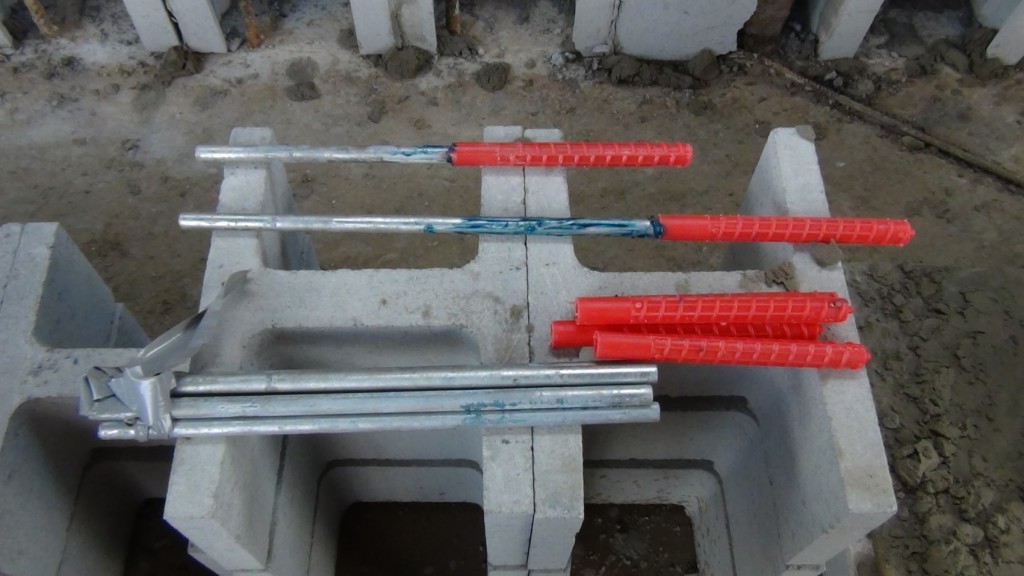
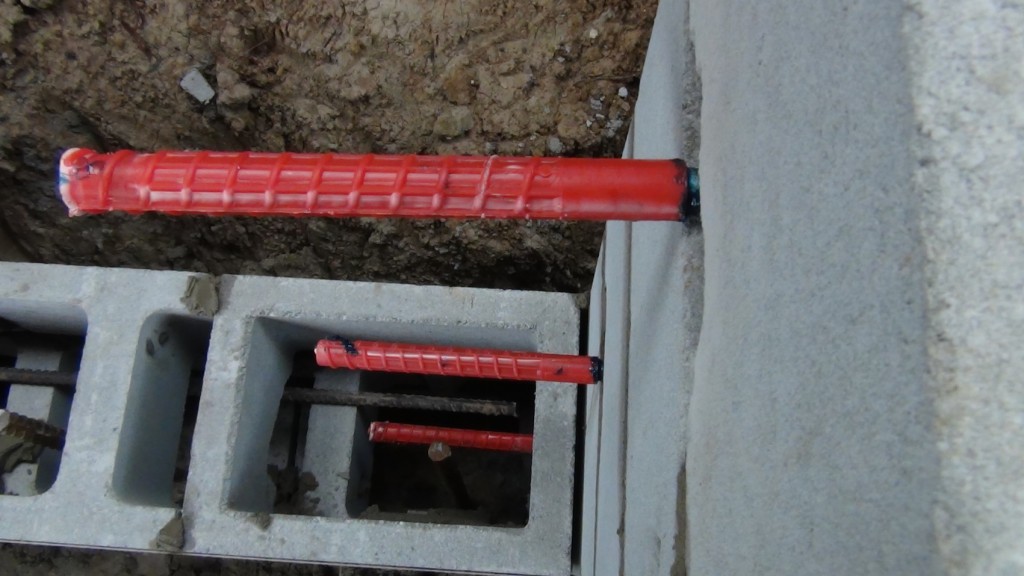
When building or constructing without plans make sure you comply with these standards. Below are  examples of dowels used in masonry wall construction.

greasing steel dowels

Steel dowels greased then inserted into plastic dowel socks.

Dowels at control joints


Dowels located every second course where horizontal bracing is installed. The steel dowels are tied with wire to the horizontal reo bars.


Task

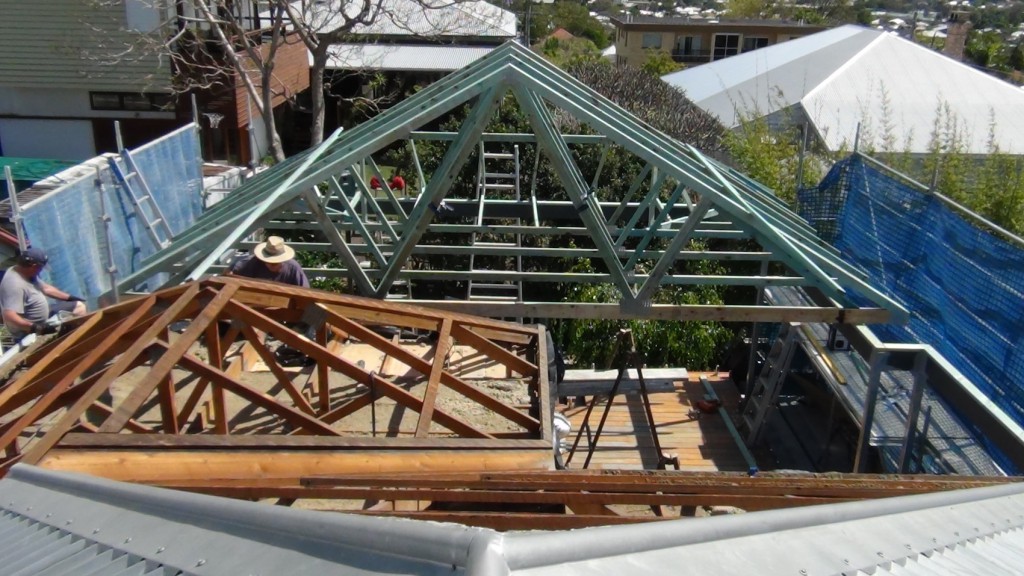
We were booked by the client one year in advance to do works at their residence. The client wanted to be hands on with the job as much as possible but conceded that he needed trades people when it came to technical facets in building. We had to remove the existing roof structure at the rear of the house and build a new structure. This was to have the same pitch as the middle of the house.

existing roof clay


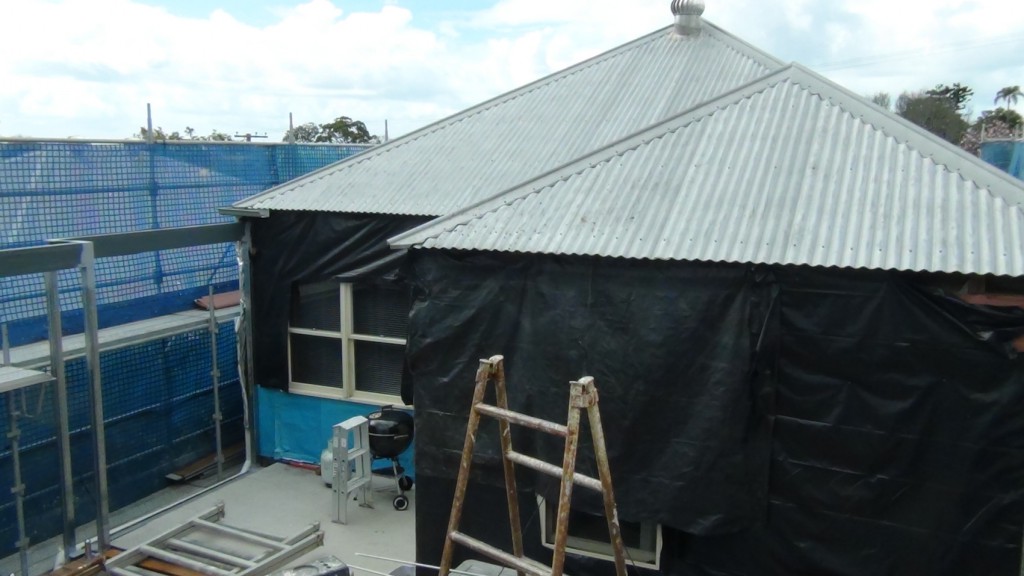
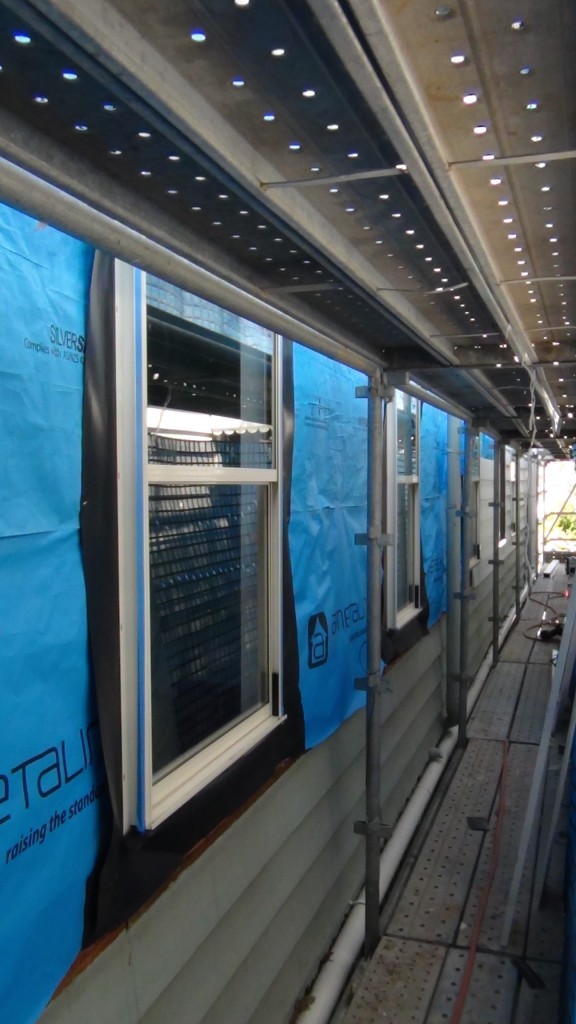
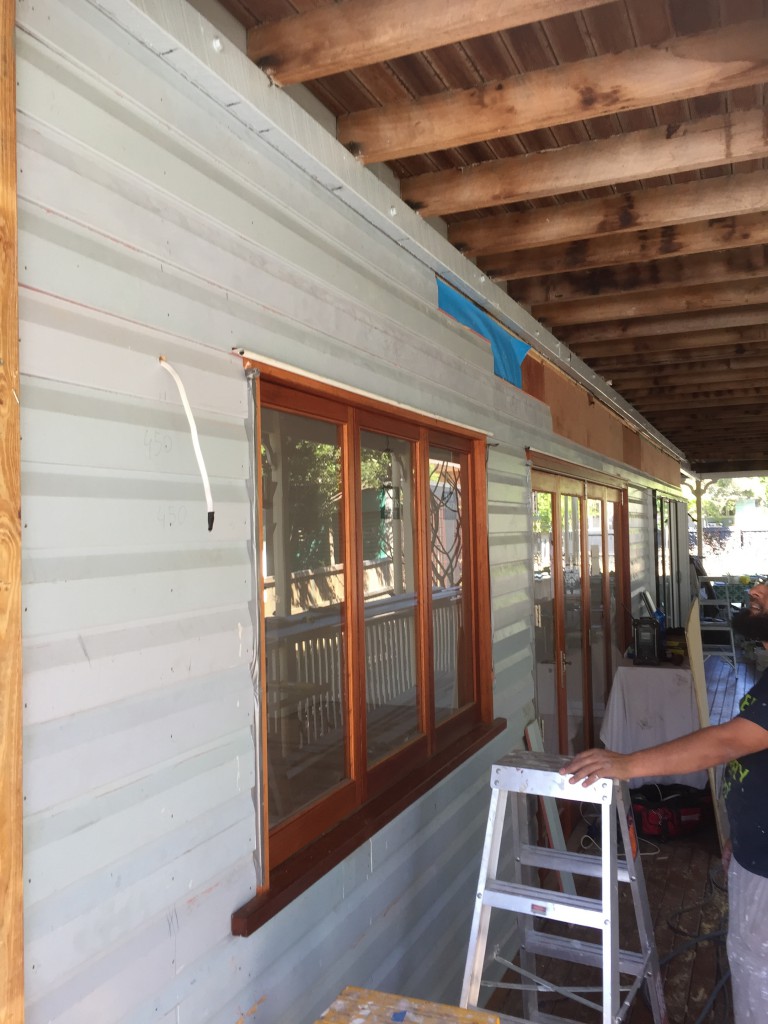
The client arranged the scaffolding through one of my clients and made the site as safe as possible. As well as installing new trusses and a roof the sides of the house were to be recladded because new powder coated double hung aluminium windows were installed.


The Process

Once the trusses were made we fixed all the top plates to the steel bearers with bolts. We marked out our spacings then started installing the trusses one by one.

DSC01445

It is important to brace your first truss well once it is in position and plumb. If you do that every thing just falls into place. Once we got to the old trusses we pulled them out one by one.  Note : where you have a girder truss make sure your connection points into the old part of the house are as solid as the new. Sometimes joist hangers need to be used with extra fixing points.

DSC01450

At the same time as I was sheeting the roof the windows were installed by a carpenter. Once the windows were placed in and fixed the two sides of the house were re cladded with new pine weather boards. Another subcontractor primed and painted everything.

DSC01481


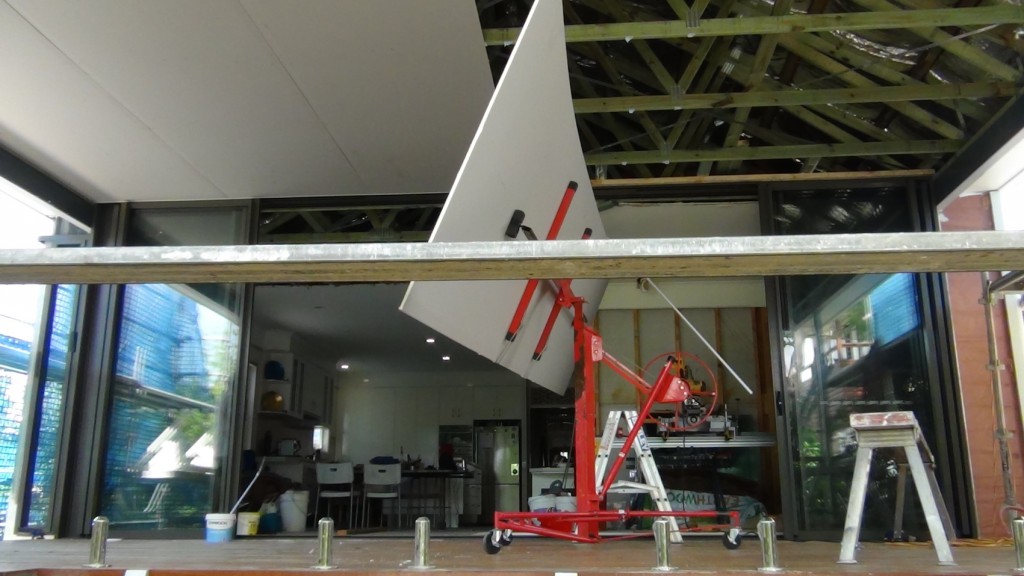
There was one last thing that had to happen and that was to put in commercial glass stacker doors. The client wanted a seamless look where the track was hidden in the ceiling. So when the installers came in we had to pack out in-between the trusses so that the tracks had fixing points. I always fix ceiling battens but if we wanted uniformity with the old and new we had to fix straight to the bottom cords of the trusses.

DSC01618


Task

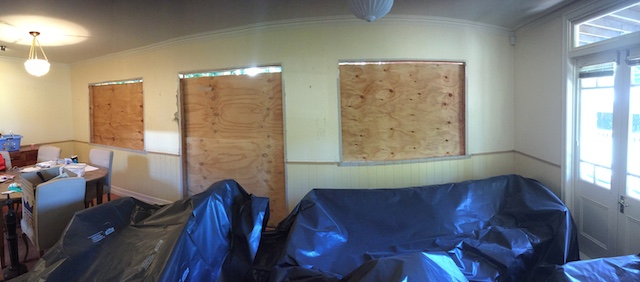
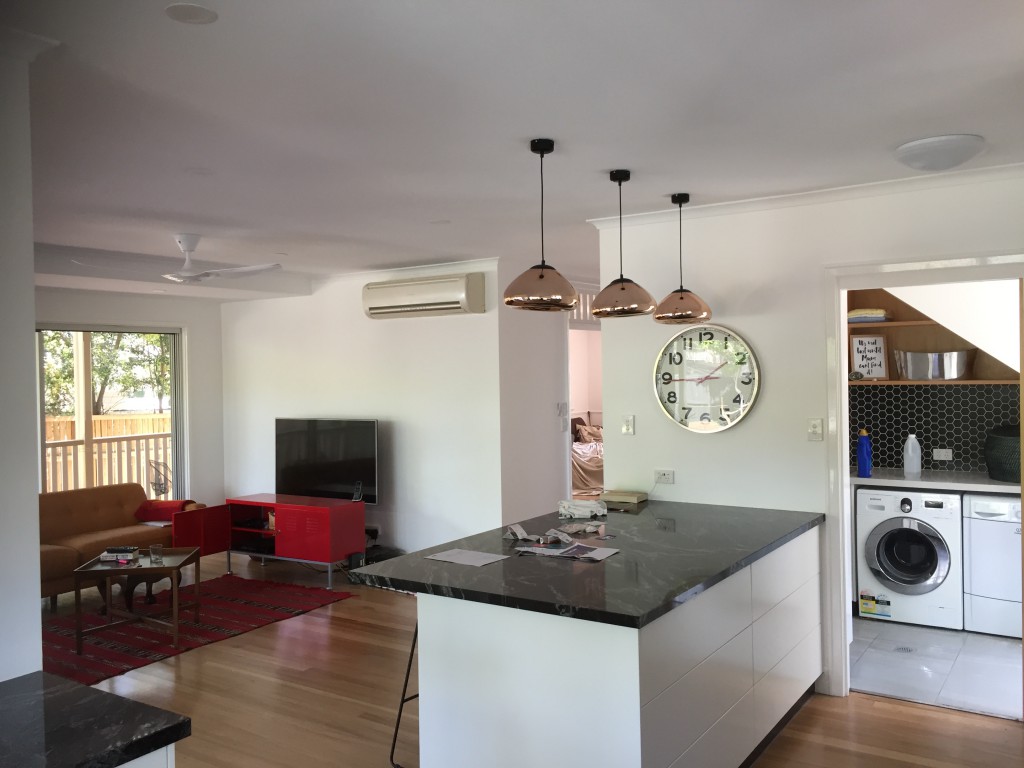
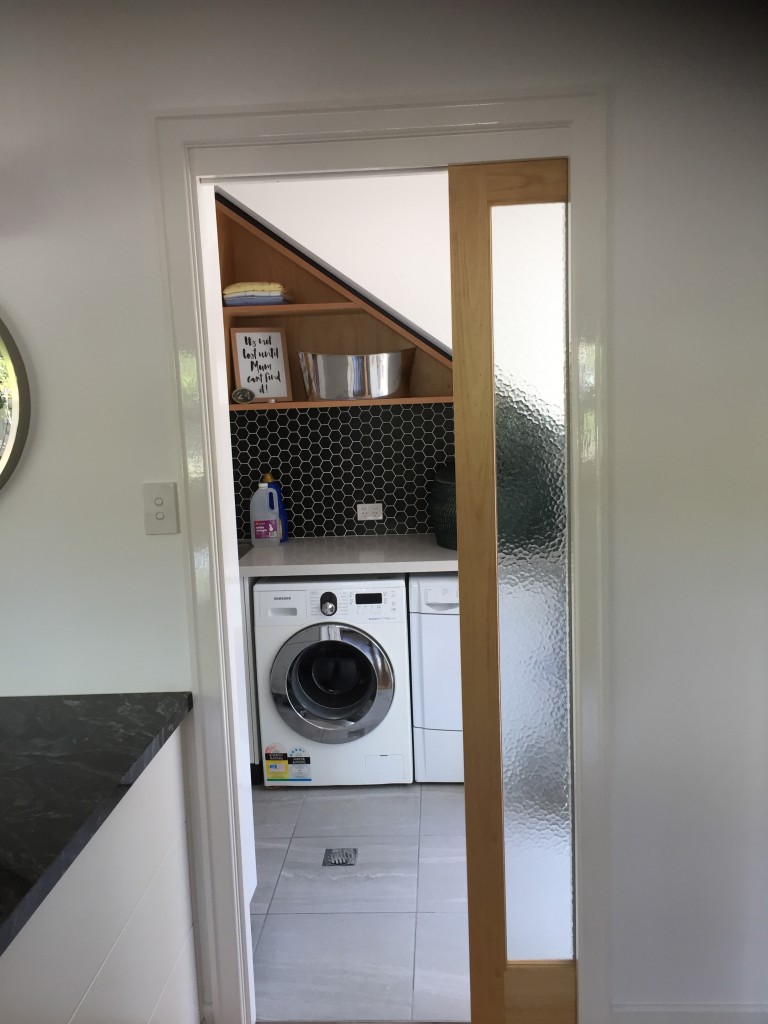
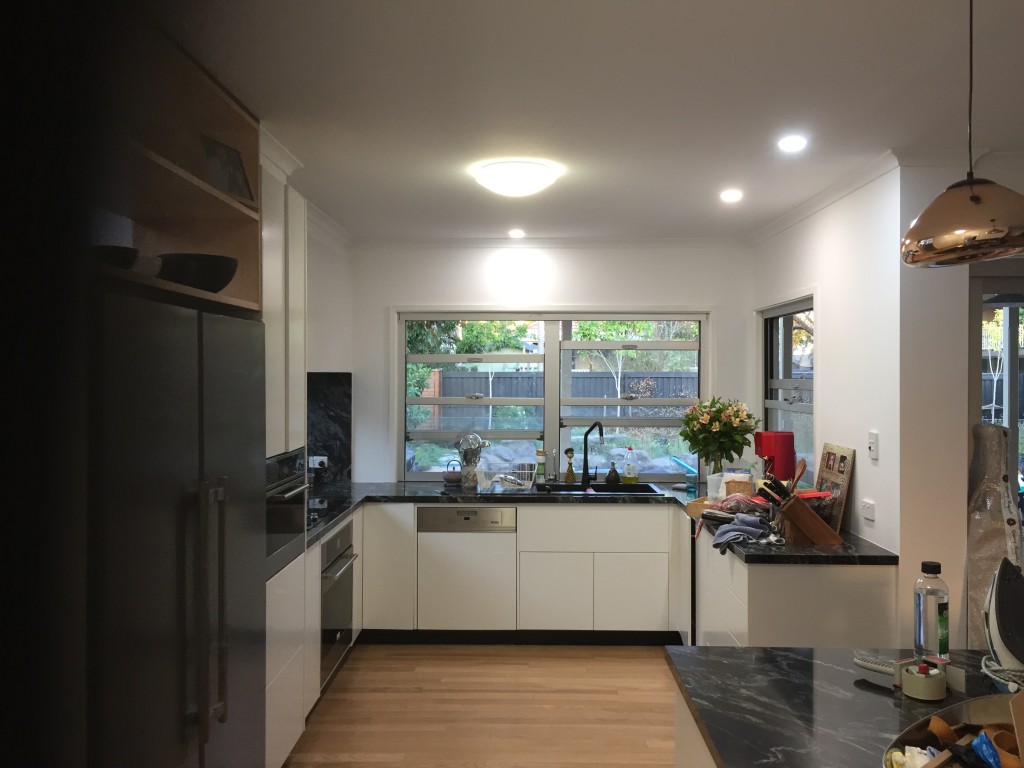
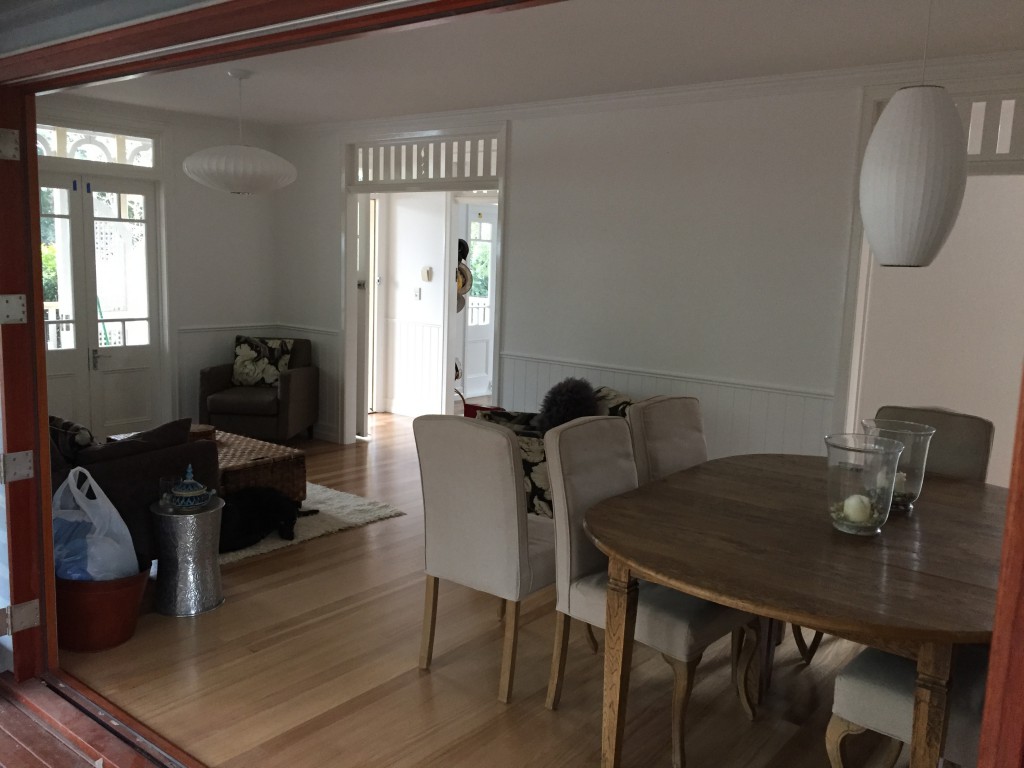
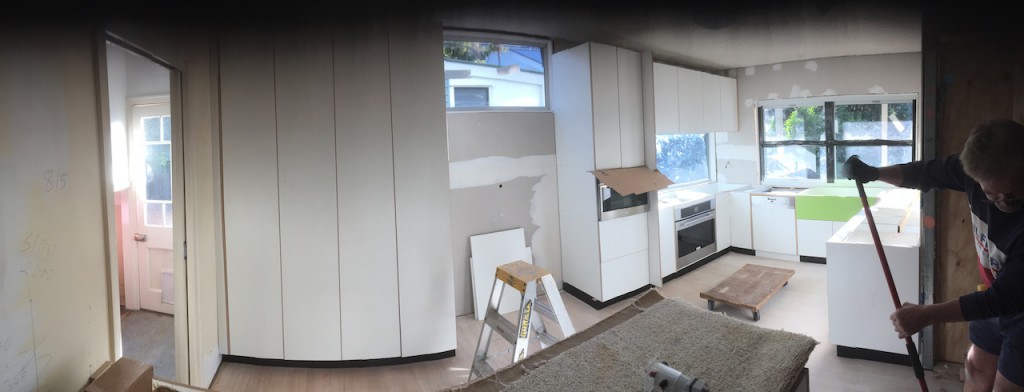
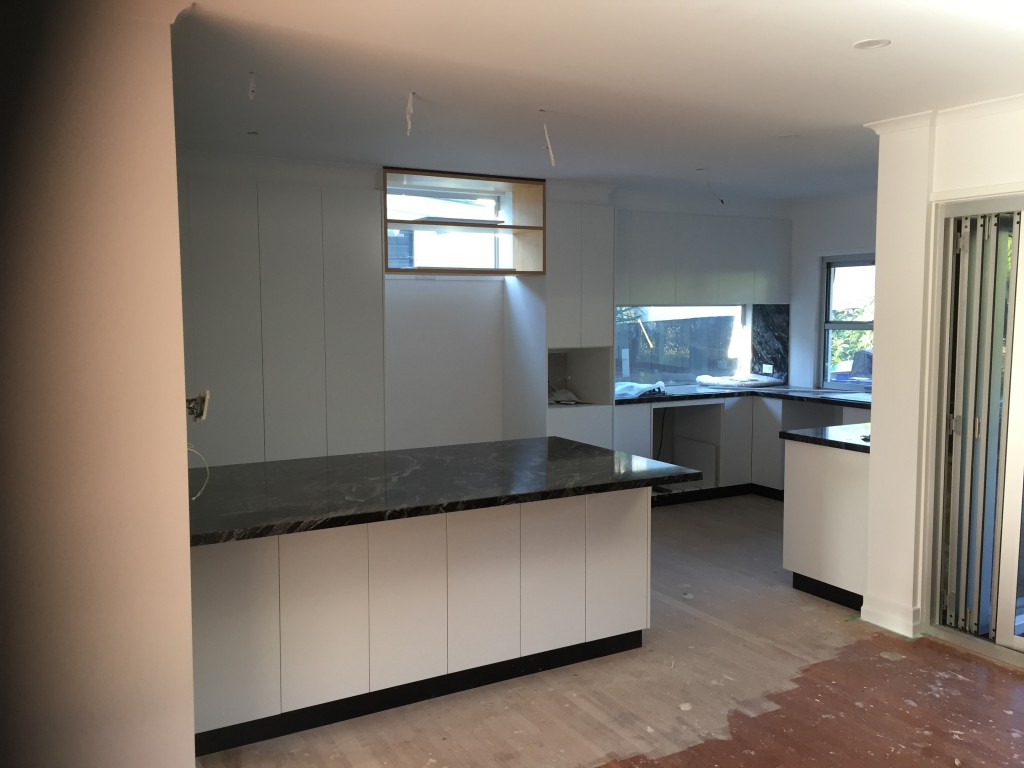
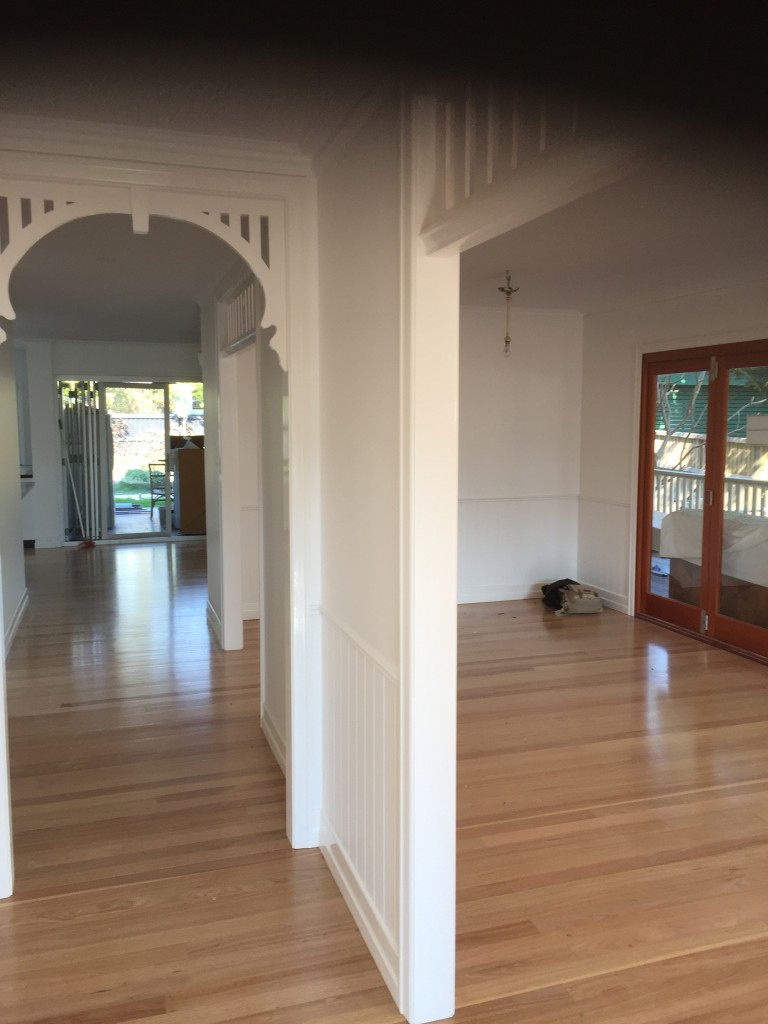
The client purchased the house but was unhappy with the functionality of the kitchen the rear deck and living area.  It was outdated and needed a fresh approach. The colour was an apricot colour and that definitely had to go. Structural changes to opening sizes as well as repairs to flooring and a full list of other things.
IMG_8059 copy

IMG_8057 IMG_8069

Lounge external wall area also had to be removed and bifolds put in place.

IMG_8220 edited

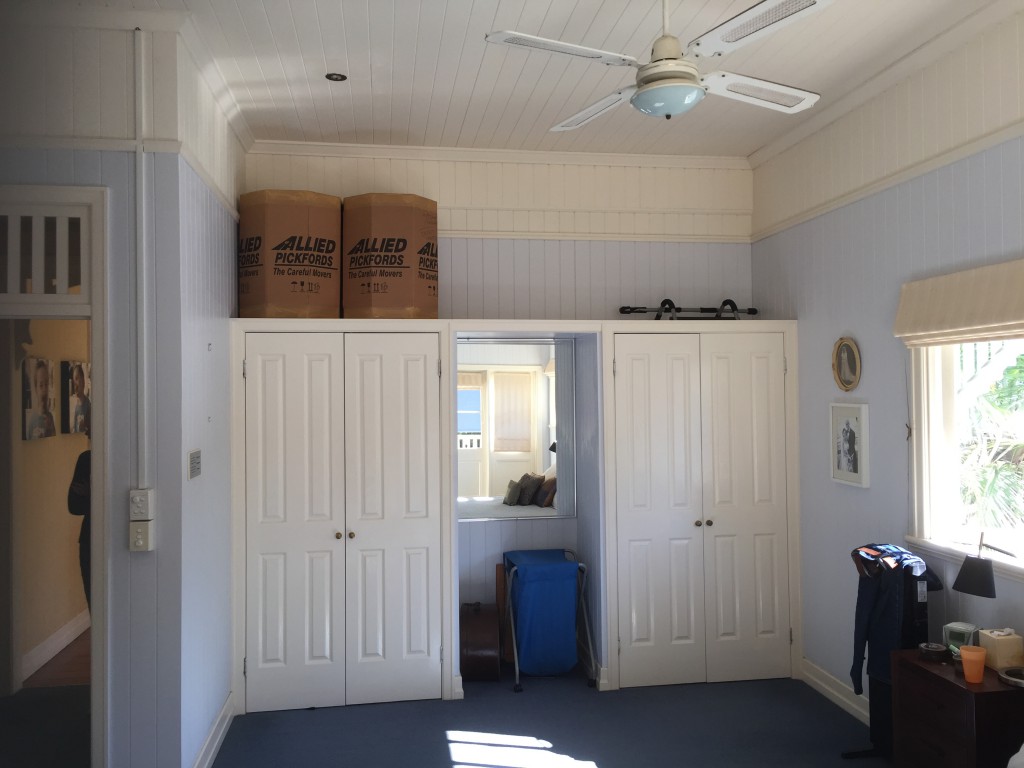
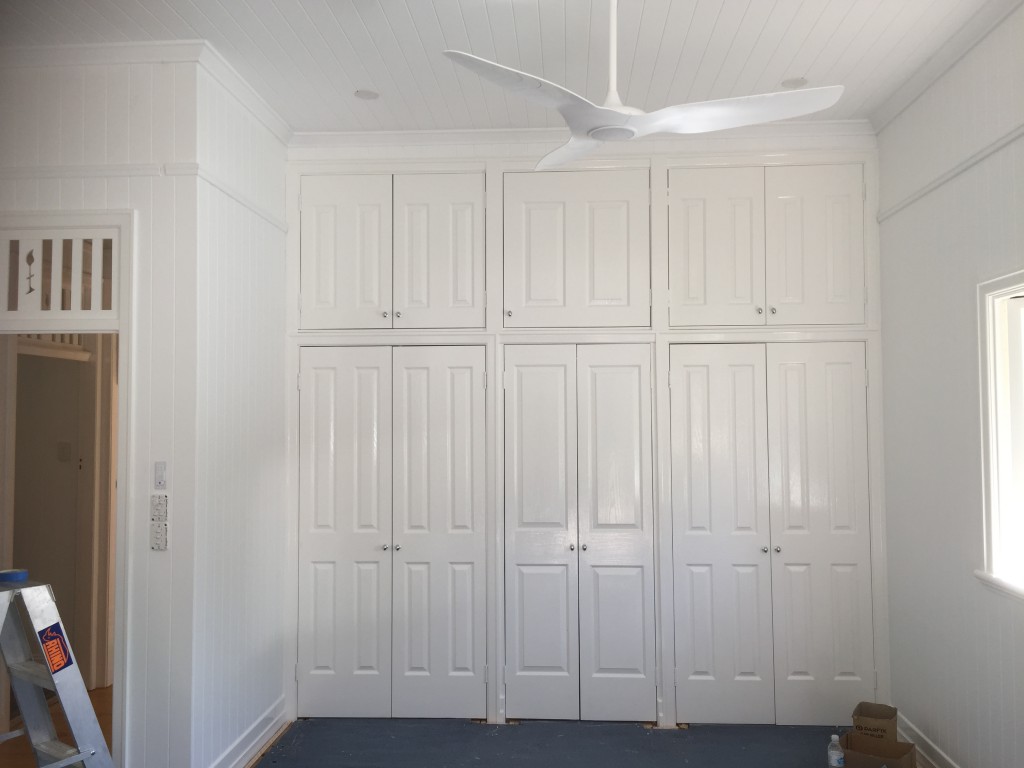
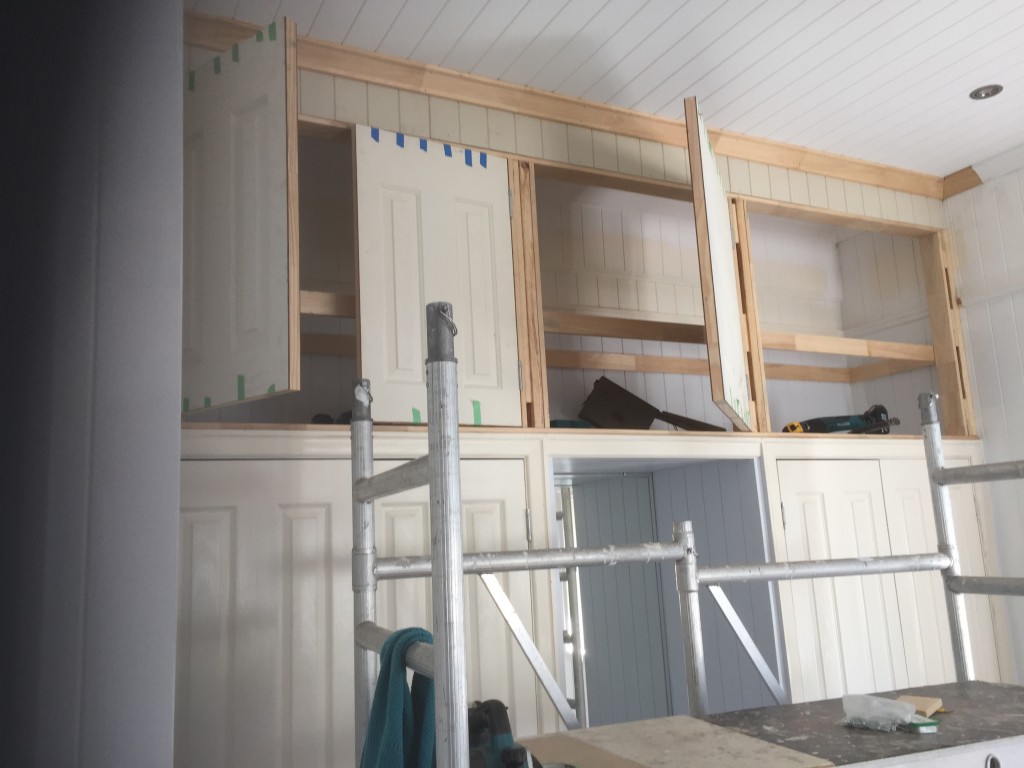
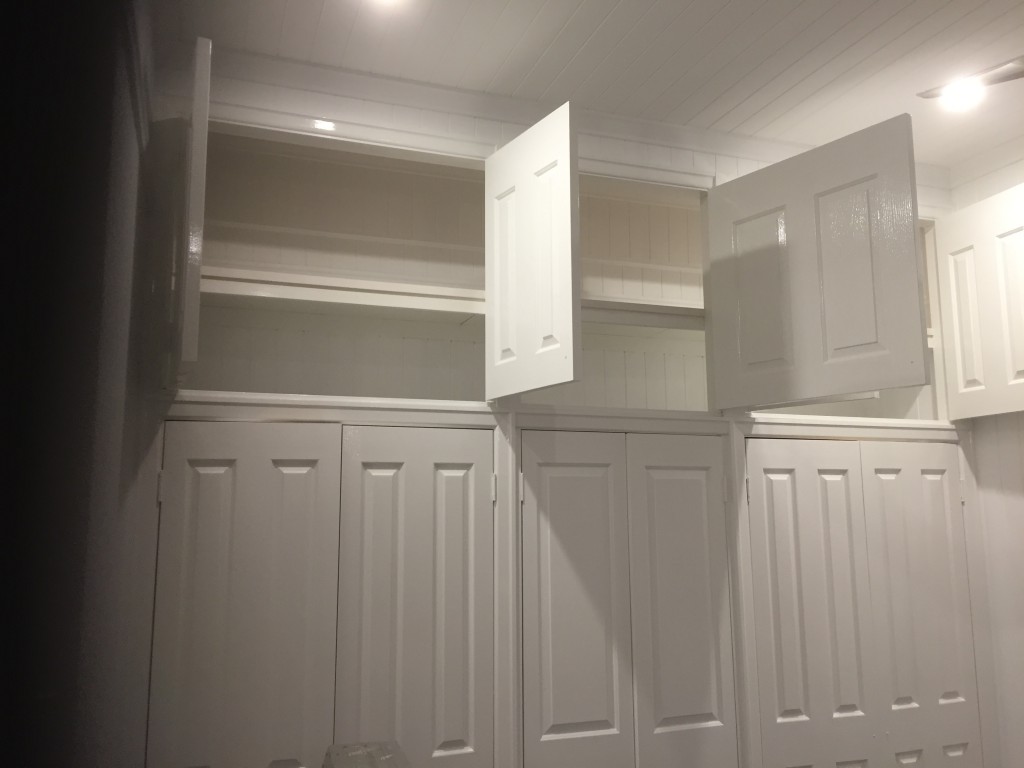
Master bedroom cupboards needed a finish closed build to match existing.

IMG_5893

And so we began chopping and ripping things out while supporting the structures as we went along.


The Process Continued

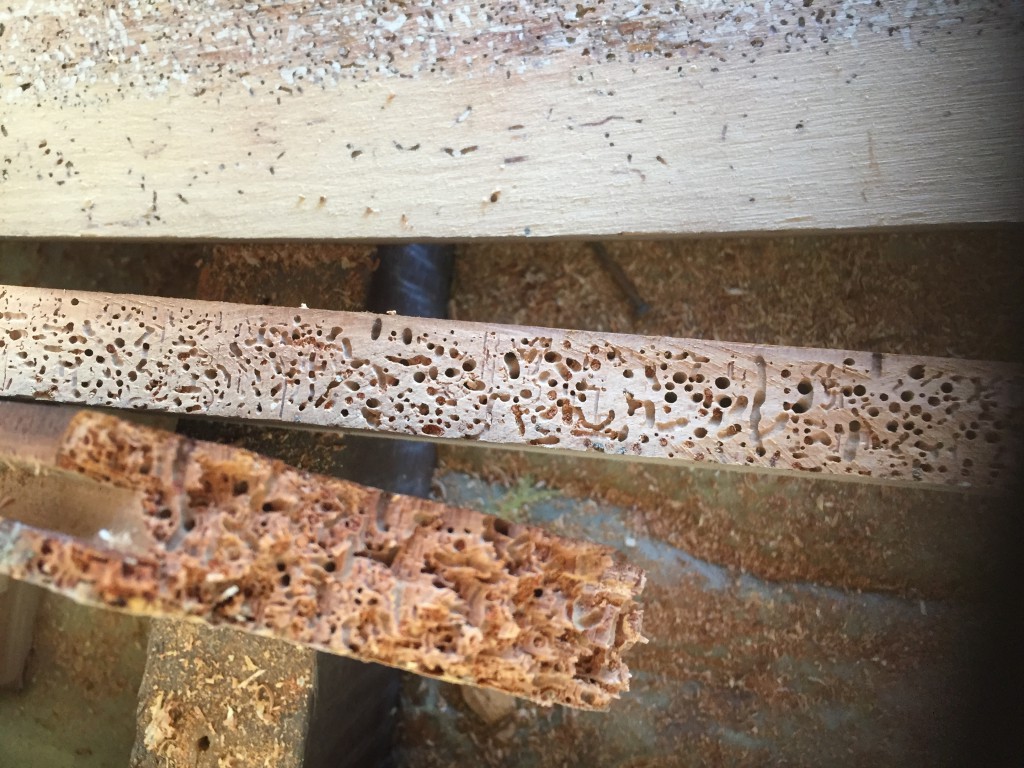
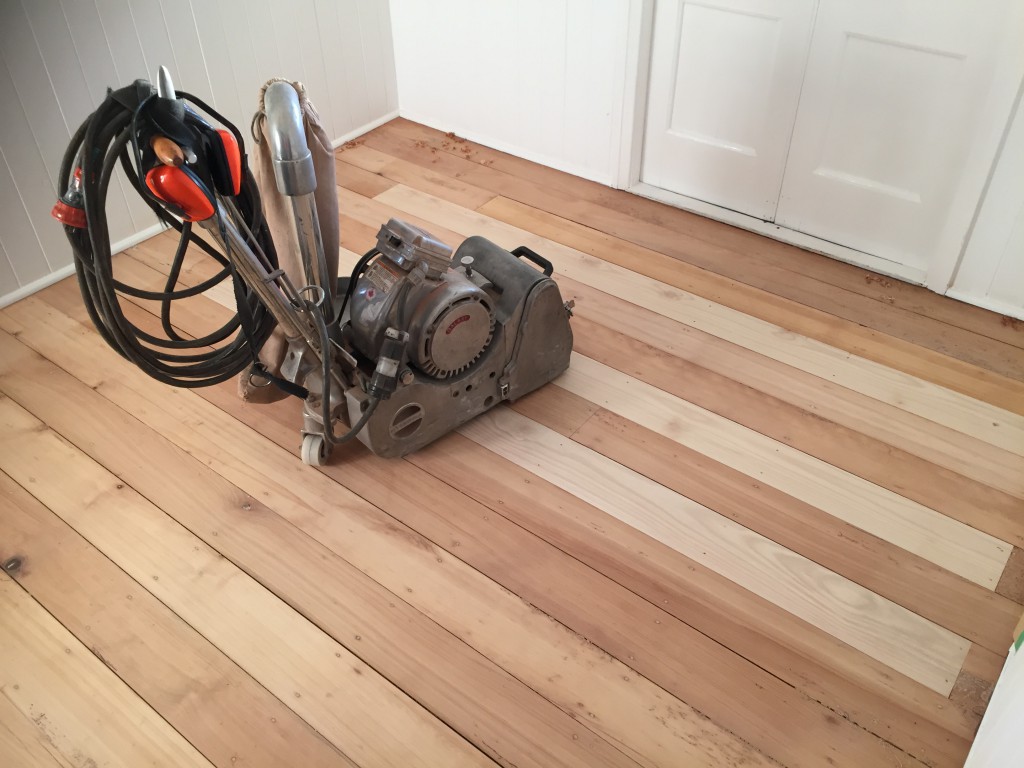
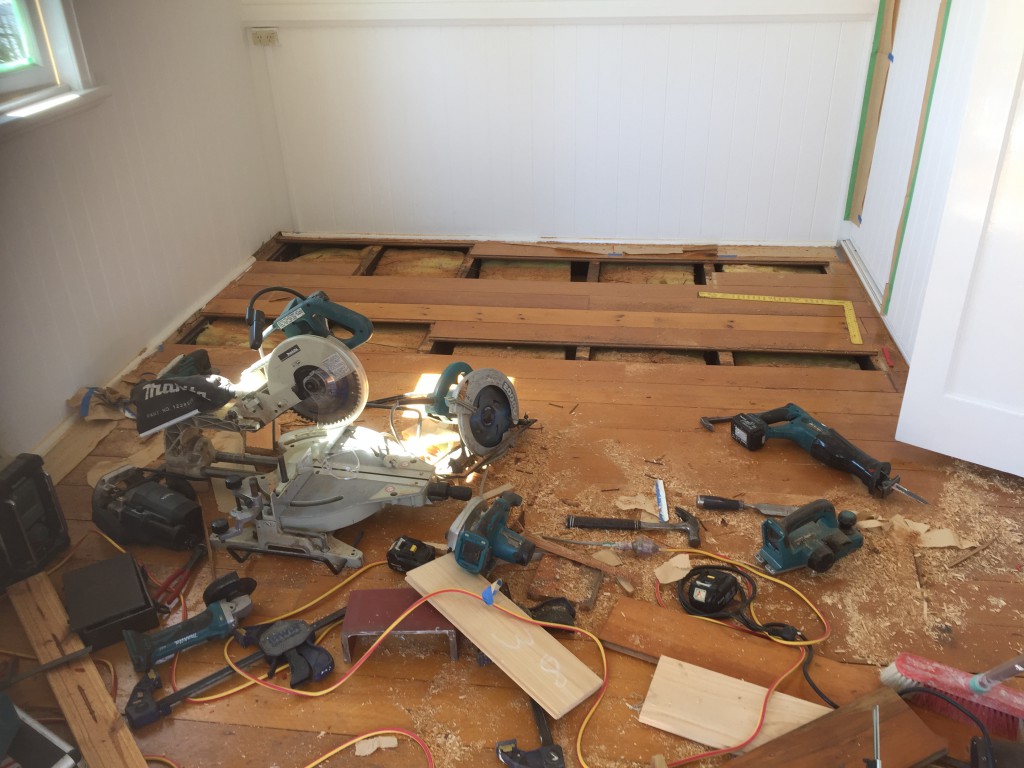
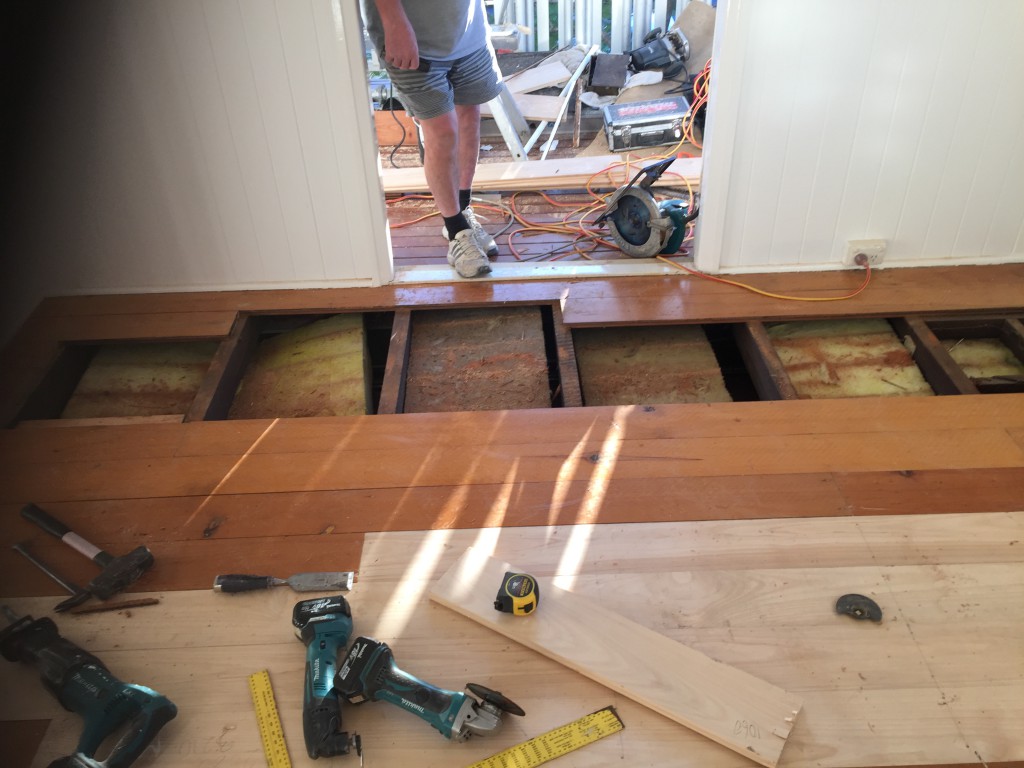
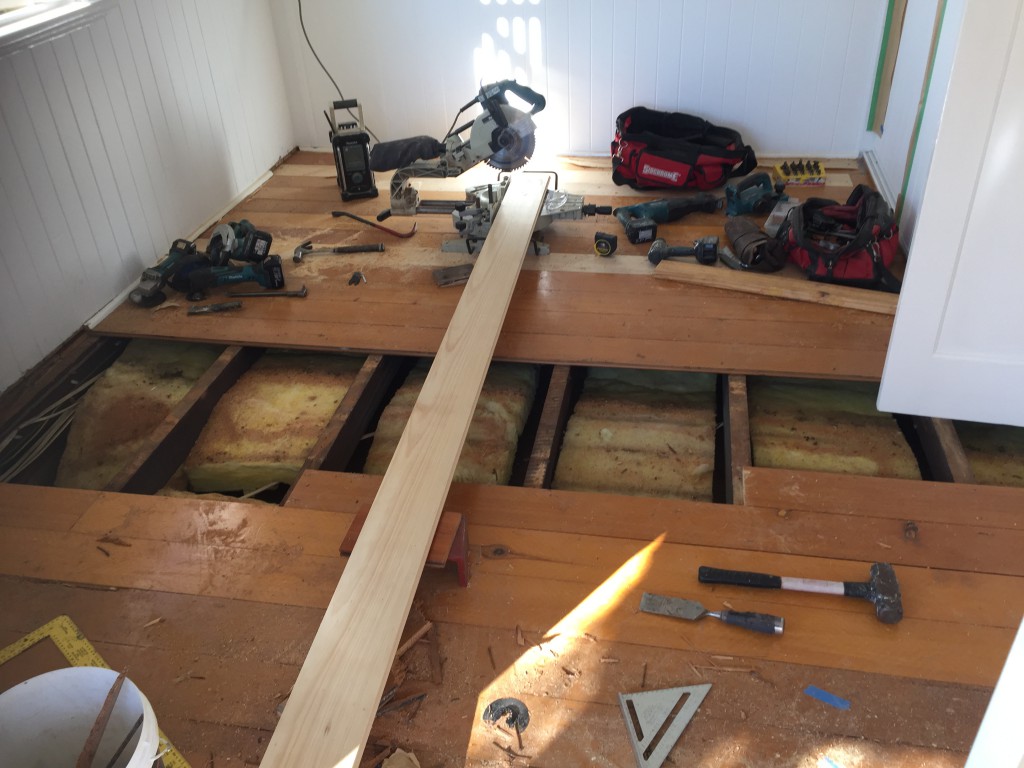
Floor repairs. Borers had a field day in the old hoop pine floors. It was old damage but none the less had to be repaired.  So I started cutting out the affected areas.

IMG_8275 IMG_8276 IMG_8279 IMG_8278IMG_8280The bedrooms where the repair was done came up well after the sanding, staining and varnish. We did have trouble with old stains coming through so we had to re sand many sections to get the right finish.
IMG_8397

Inbuilt cupboard and top bulkhead built to replicate the bottom half.

IMG_8371


IMG_8393

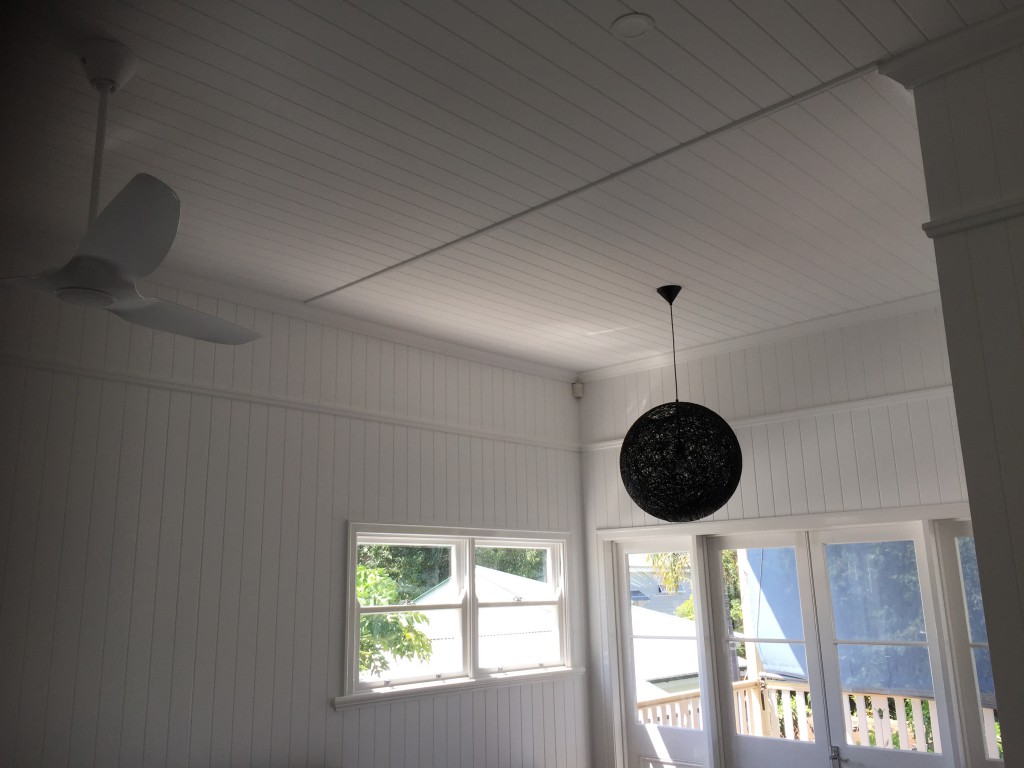
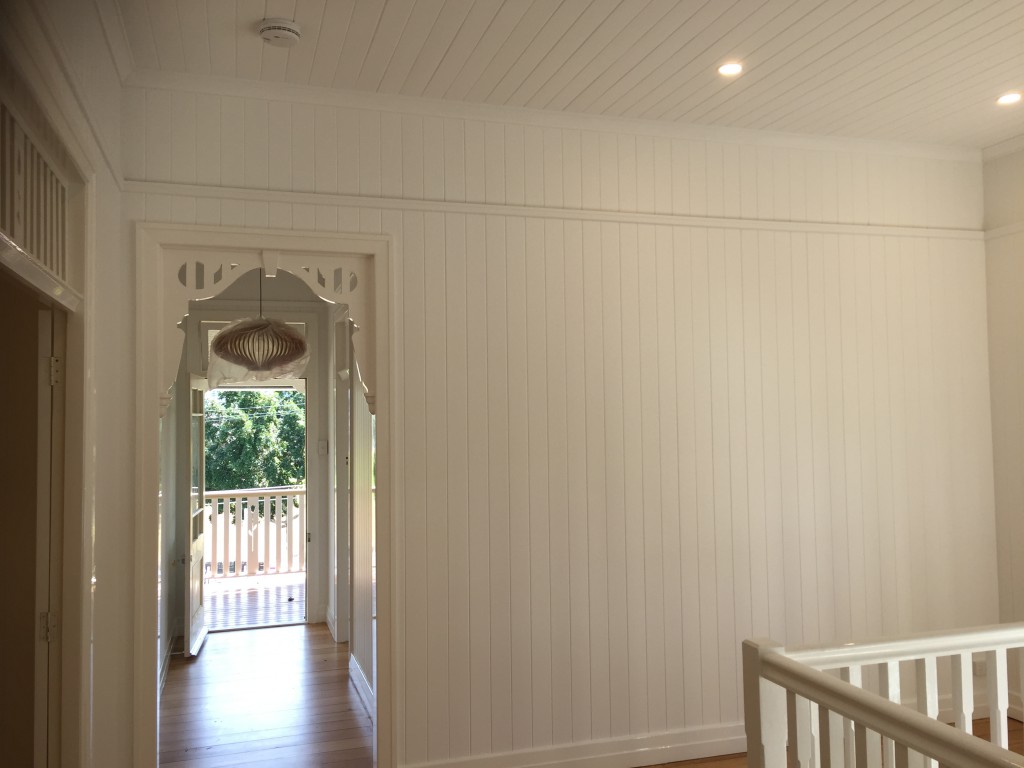
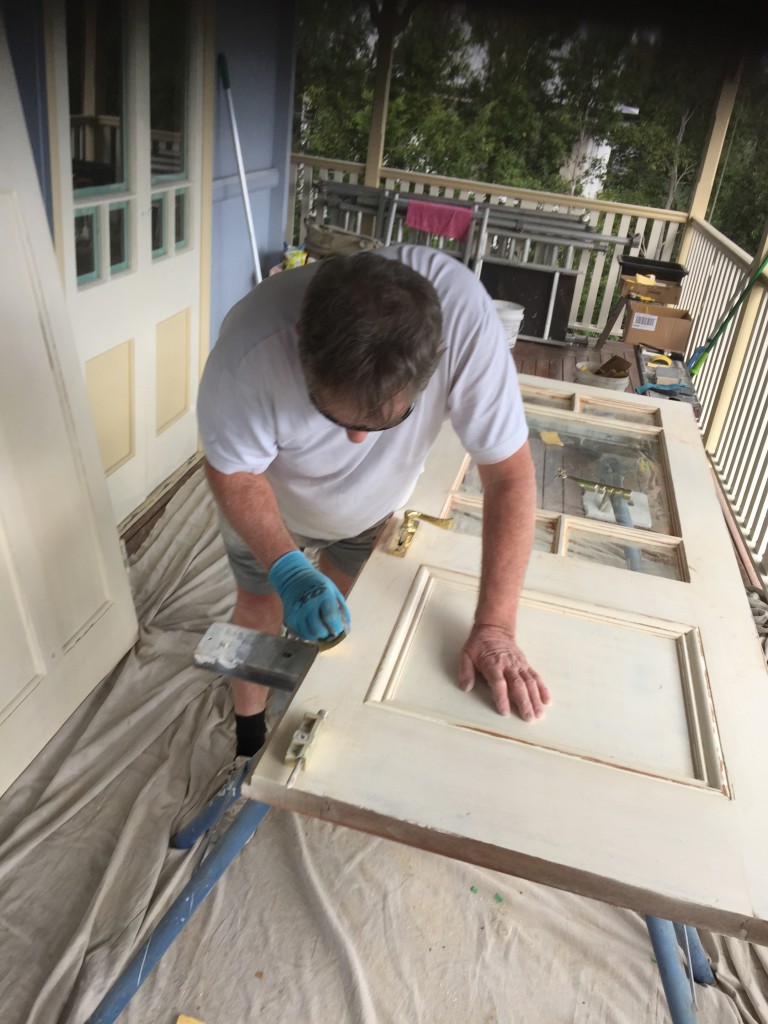
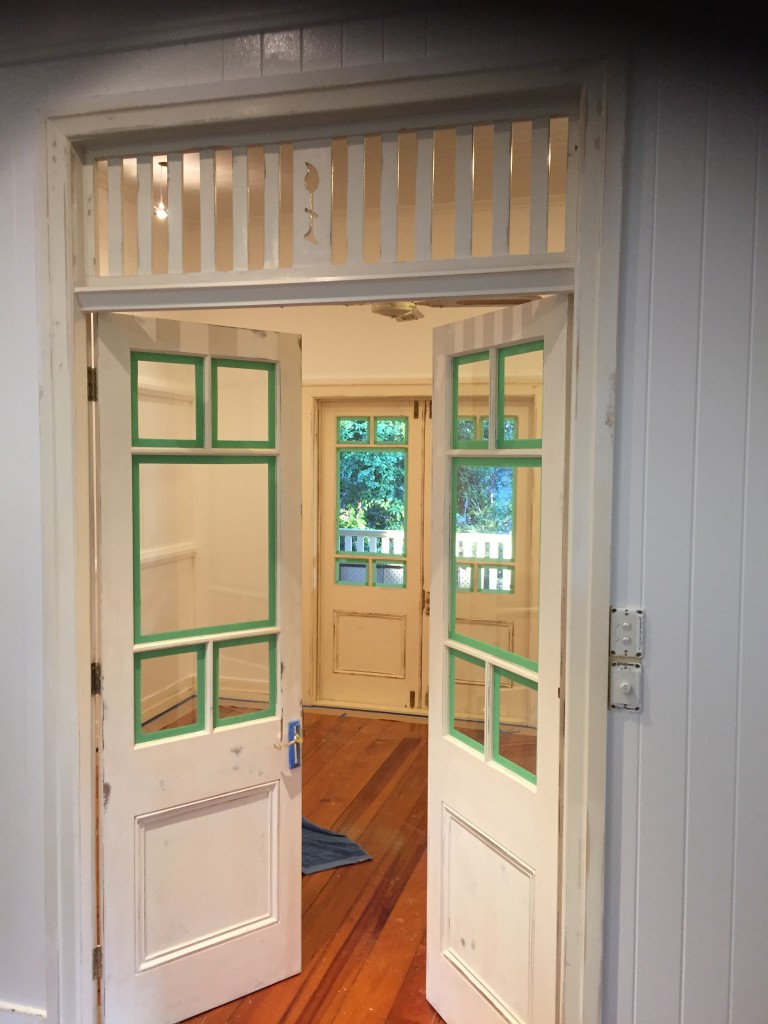
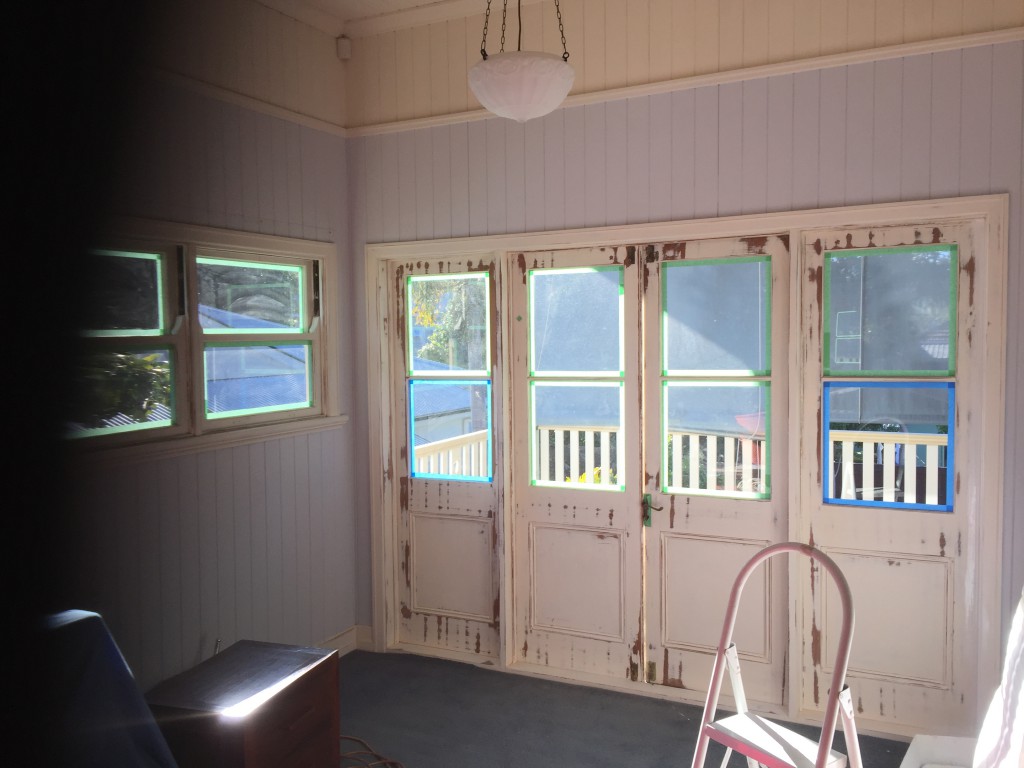
Sanding and cleaning of the walls, doors and the windows was done throughout the house two levels. IMG_8174 IMG_8193

IMG_8095 IMG_8340