All posts by robert.kaplan

The Process

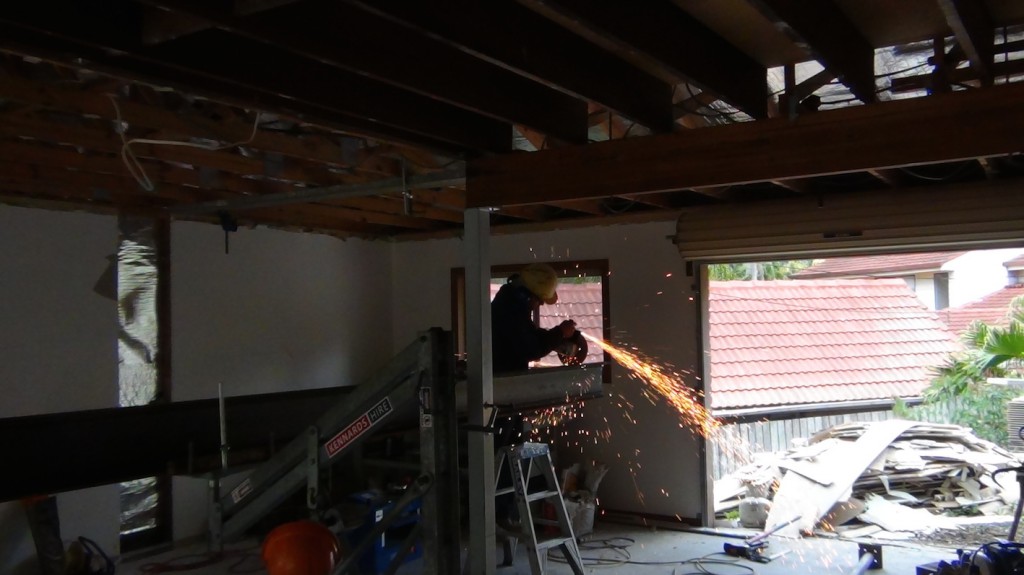
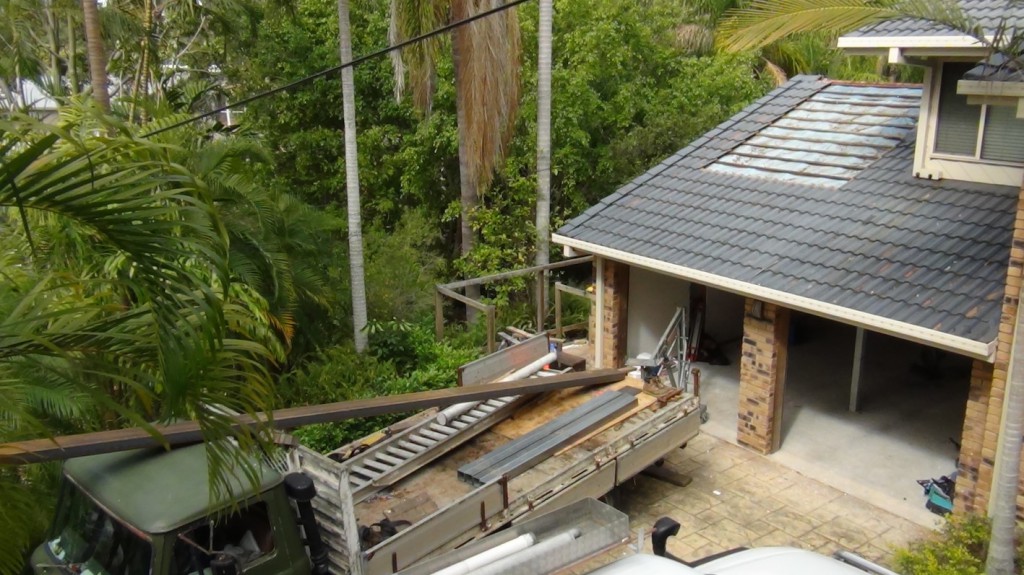
I had to get plates and beams cut close to size by my metal fabricator then I transported all the material on my truck to the work site.

DSC01218

DSC01220

DSC01221


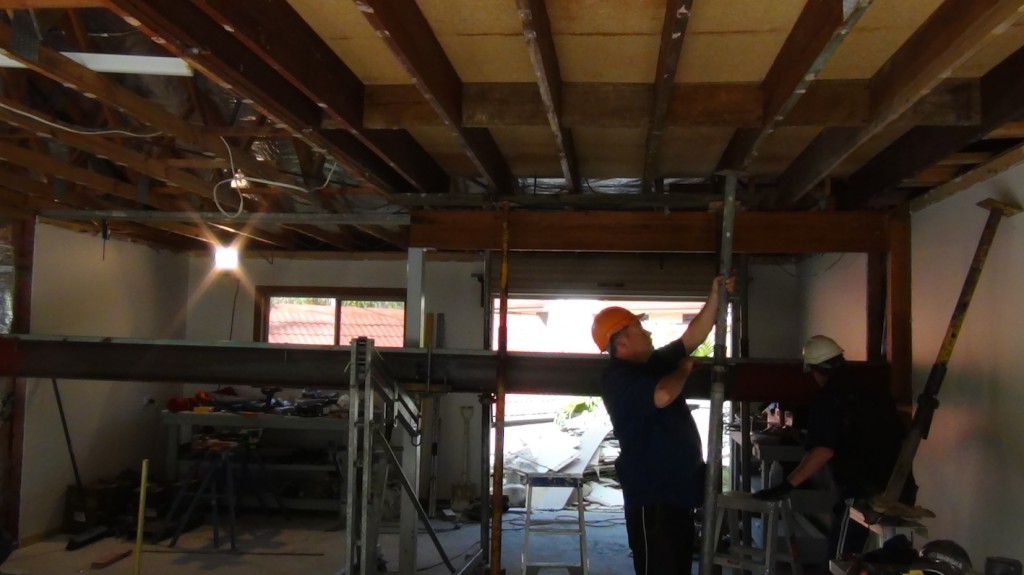
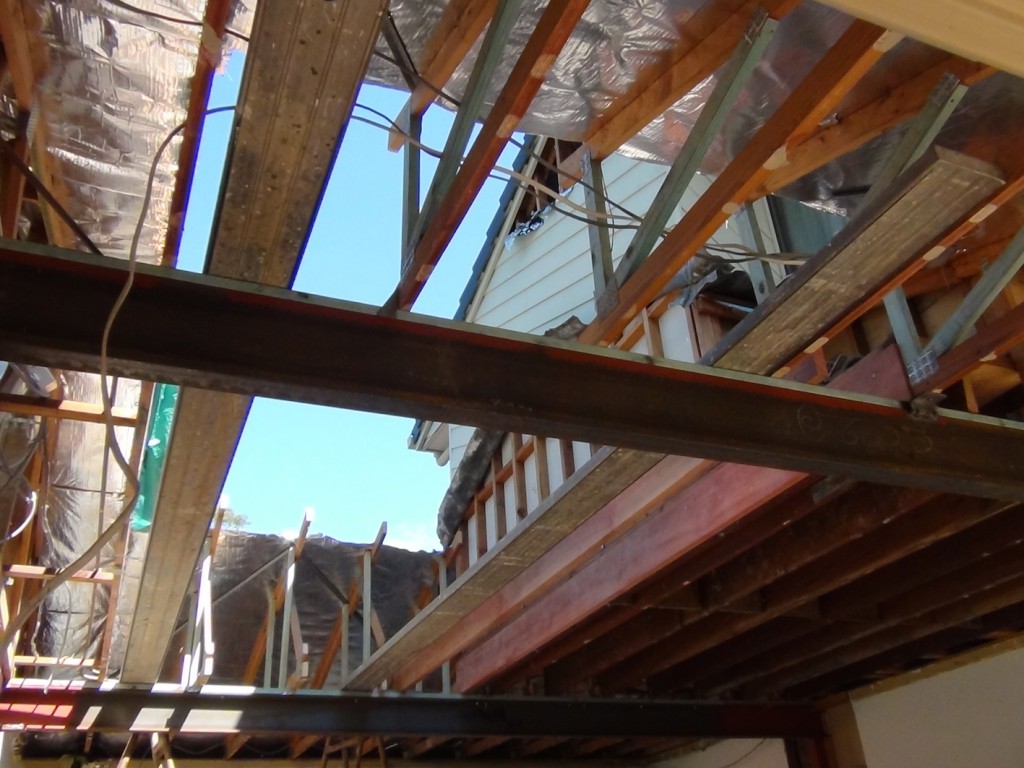
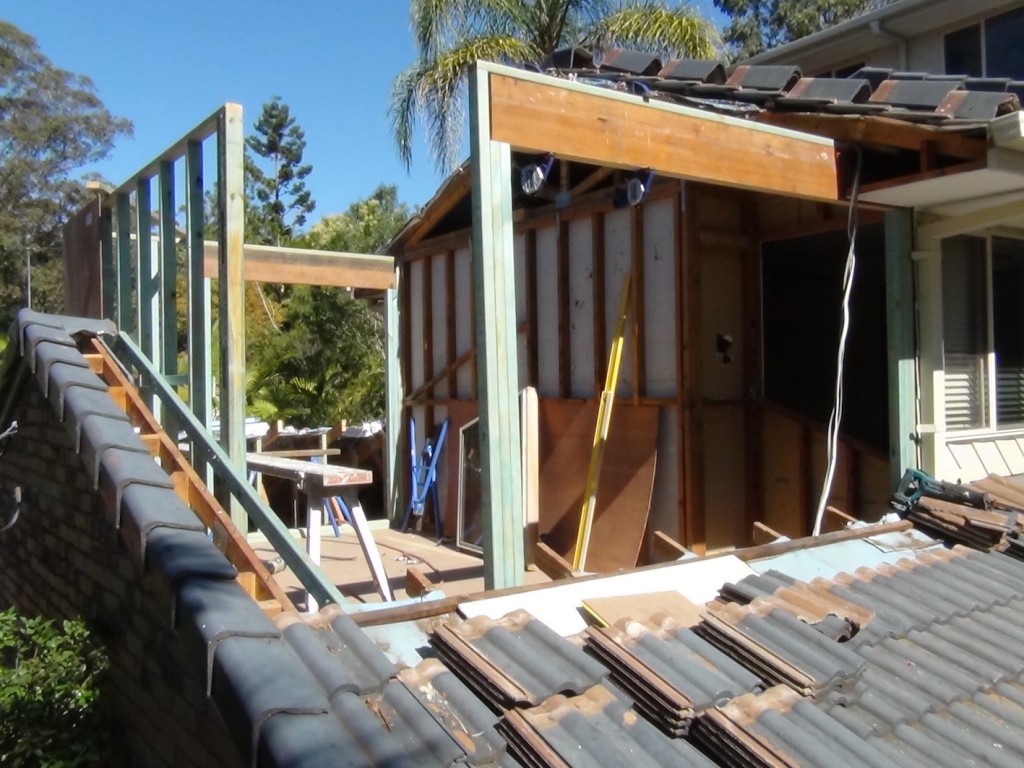
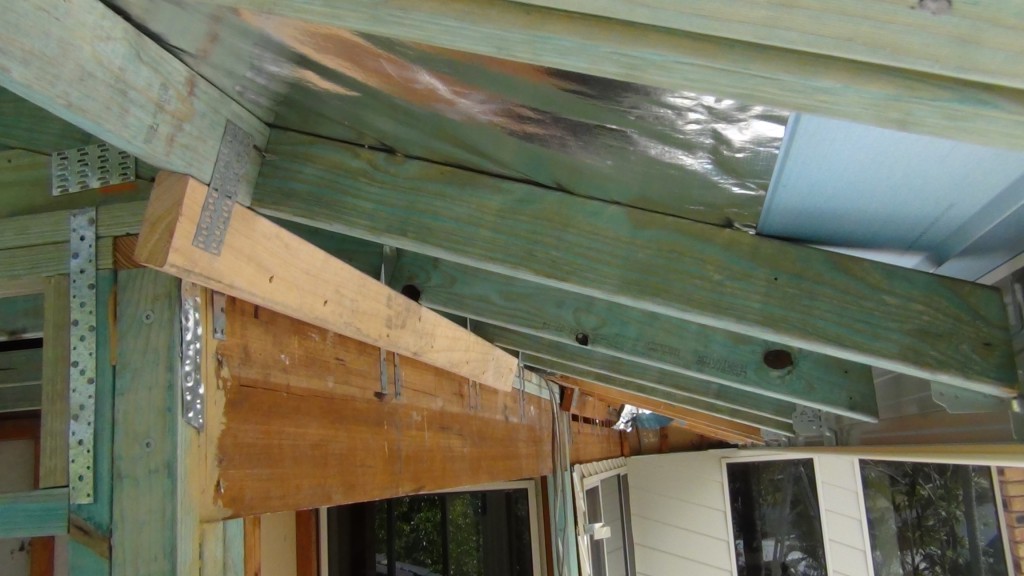
Once the steel beams/posts were welded, bolted and chemically  set into place we had to place struts into the webbing of the existing trusses as the load points shifted.

DSC01249

DSC01265

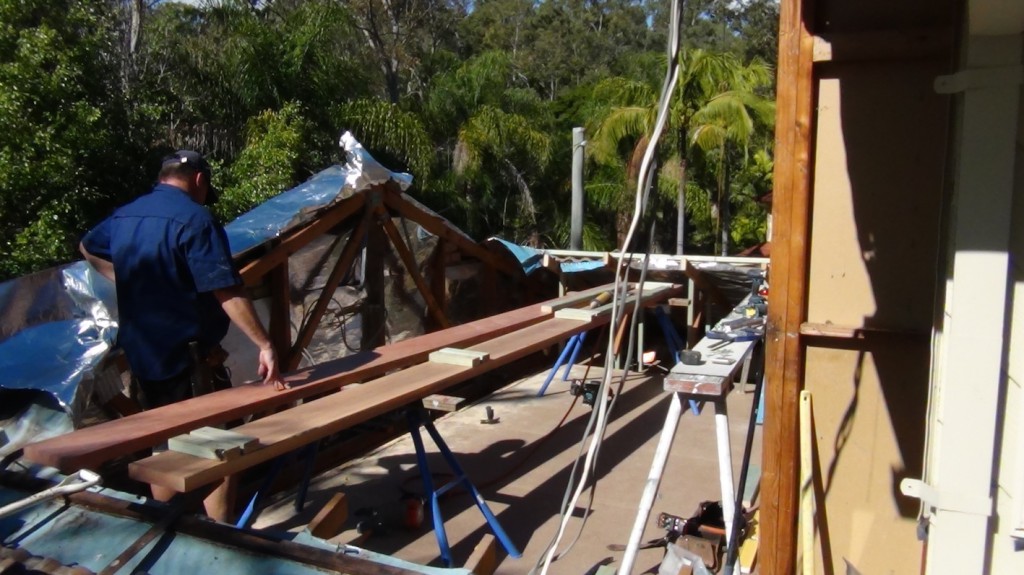
Here we are double platting a floor joist which will be tucked on the outside underside of the floor. We are laminating and leaving space for three tie down rods. Below is the start of our framing.


DSC01282


DSC01323

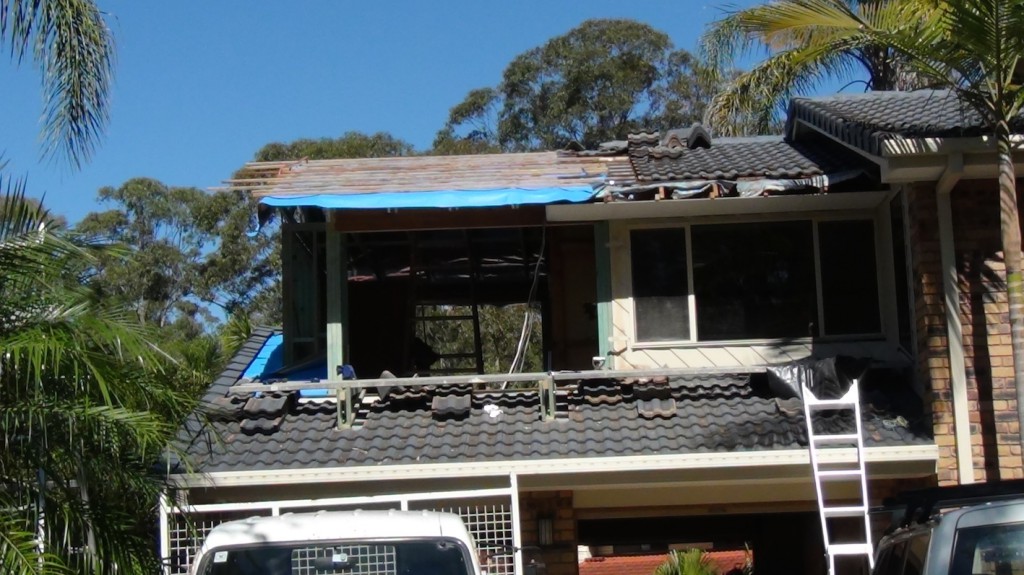
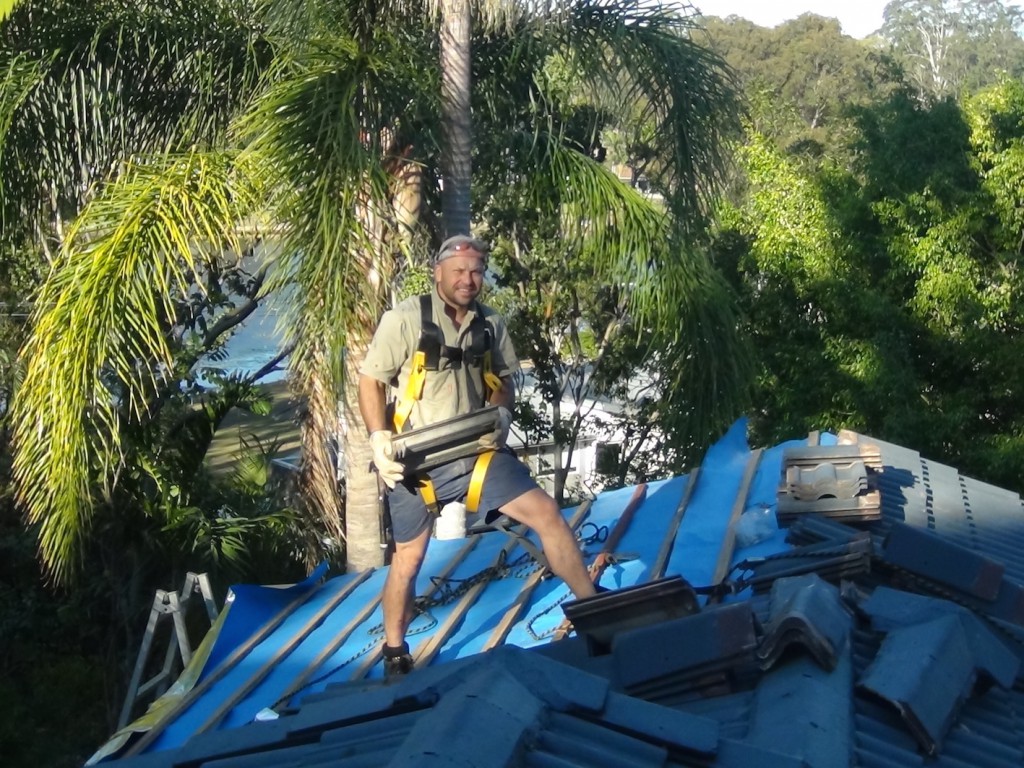
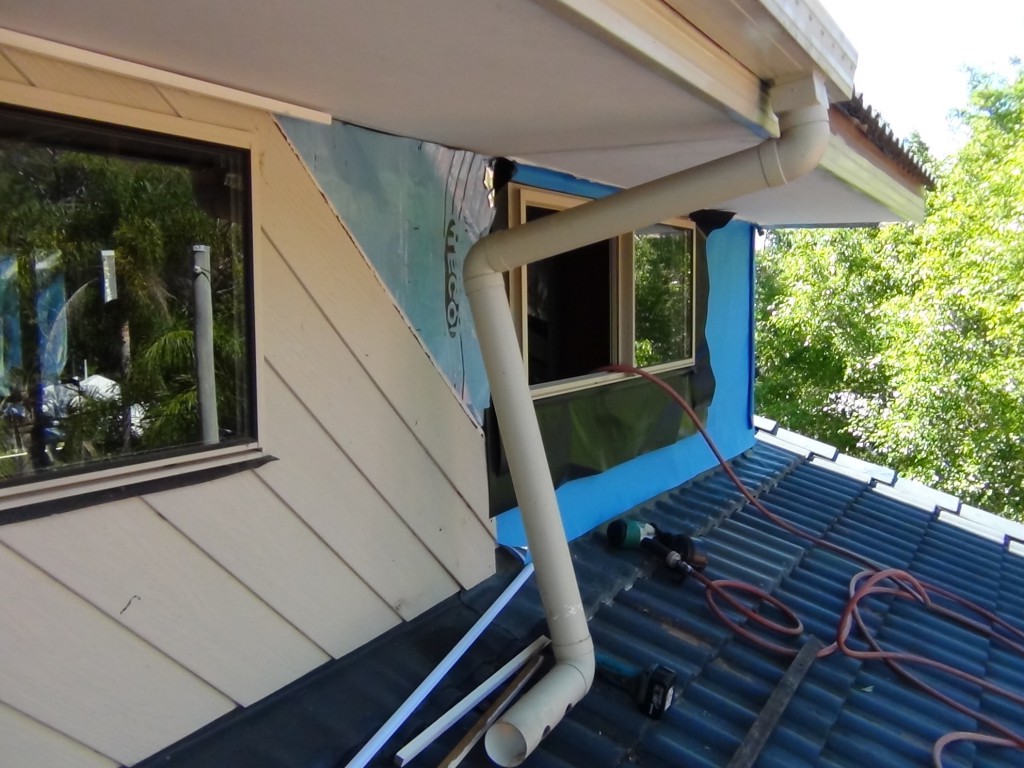
Tie down, speed bracing, roof insullation and facia installed.

DSC01303

DSC01310


The Result

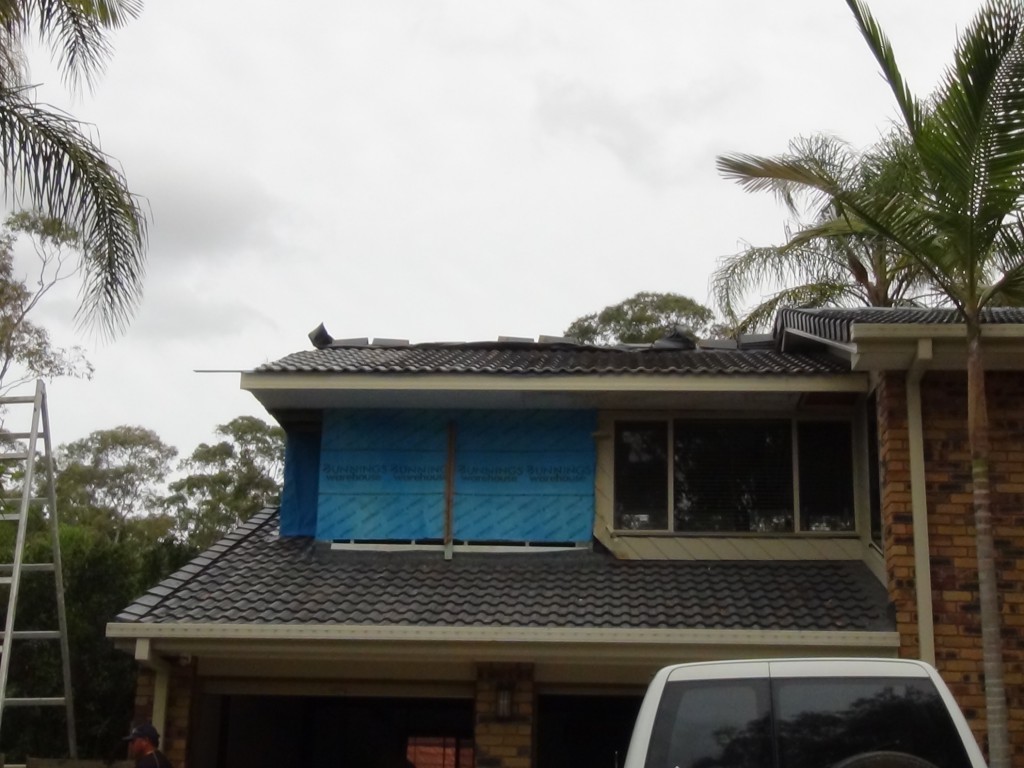
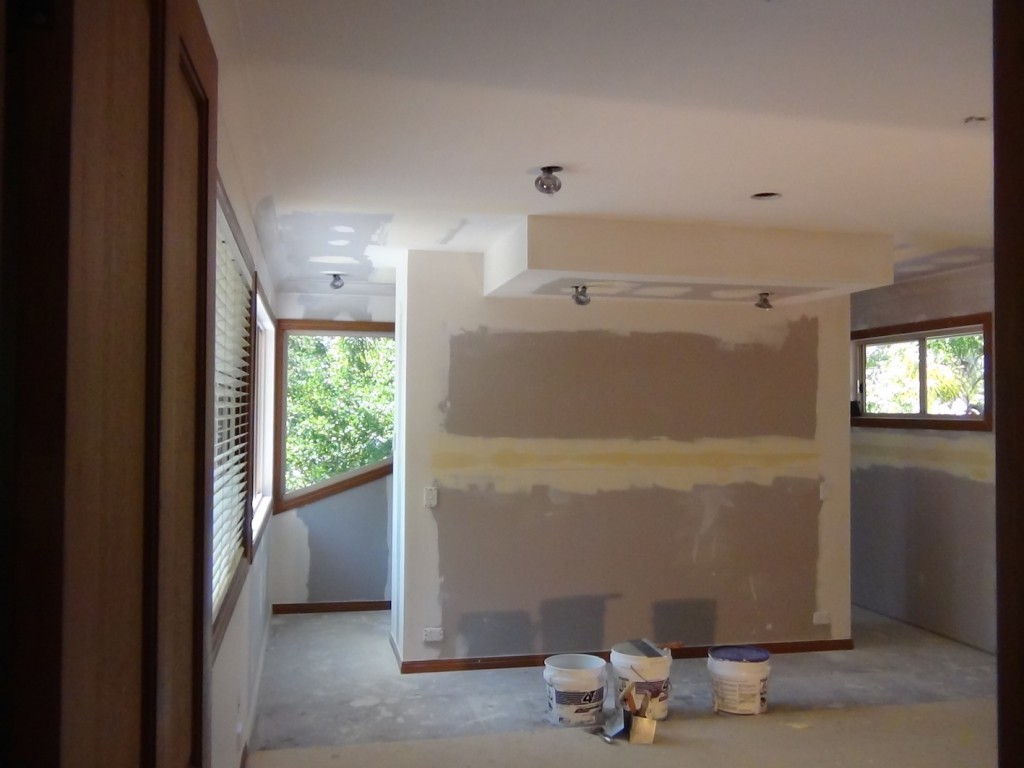
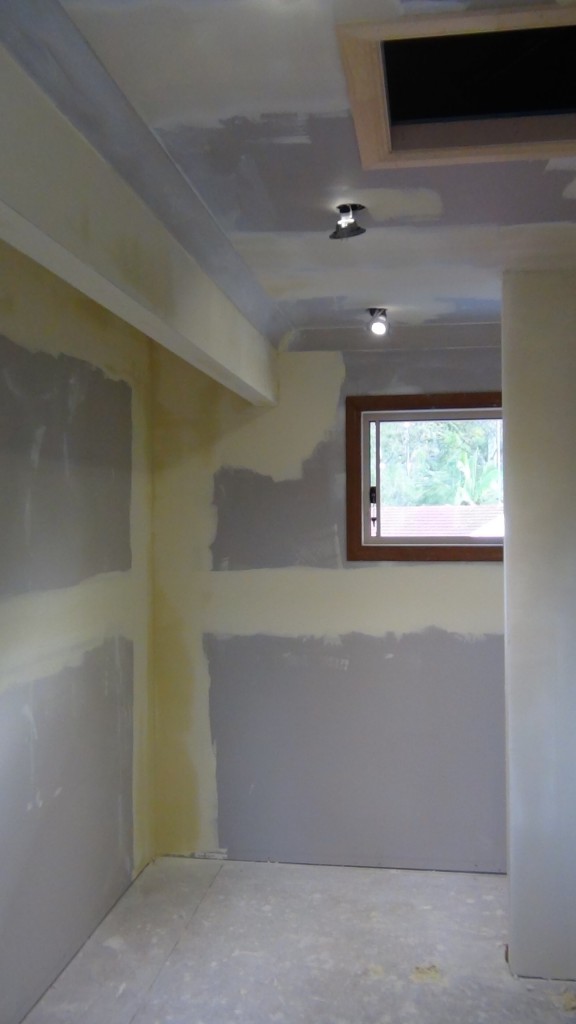
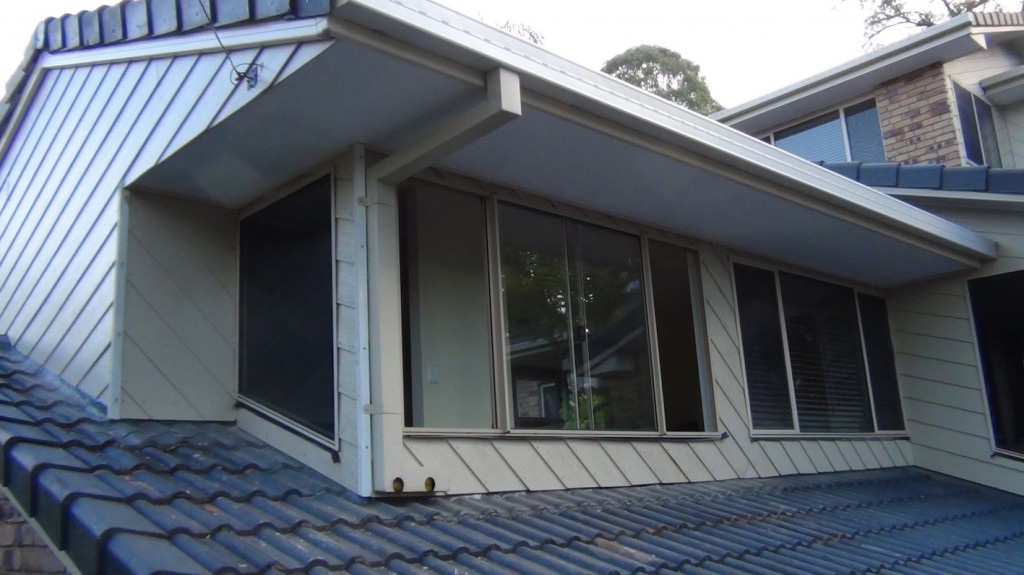
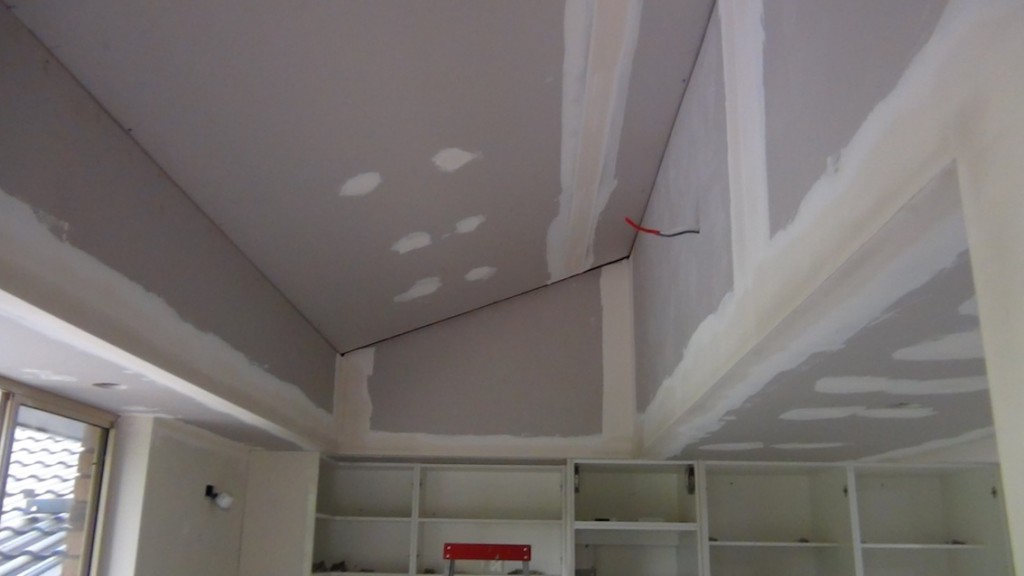
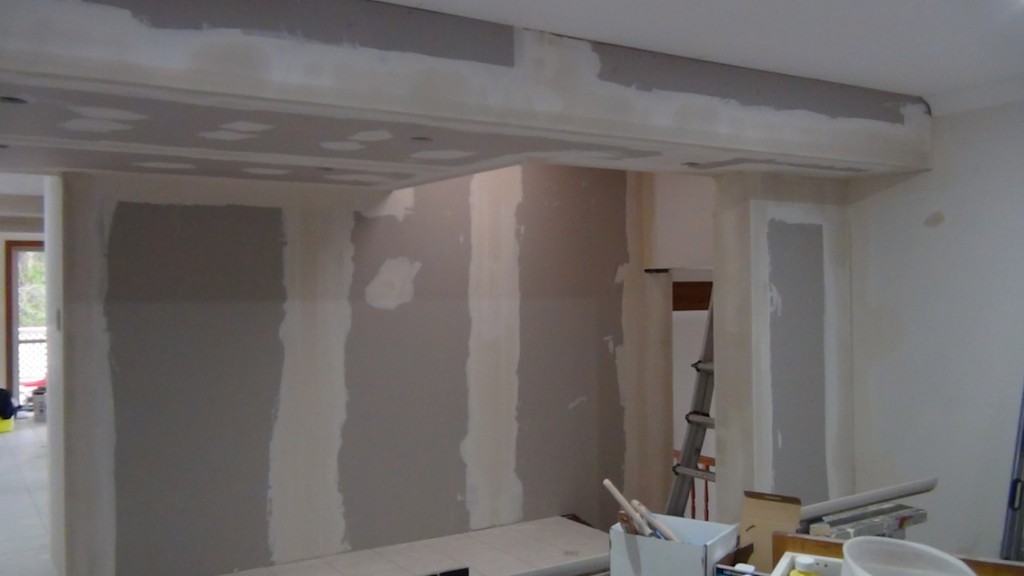
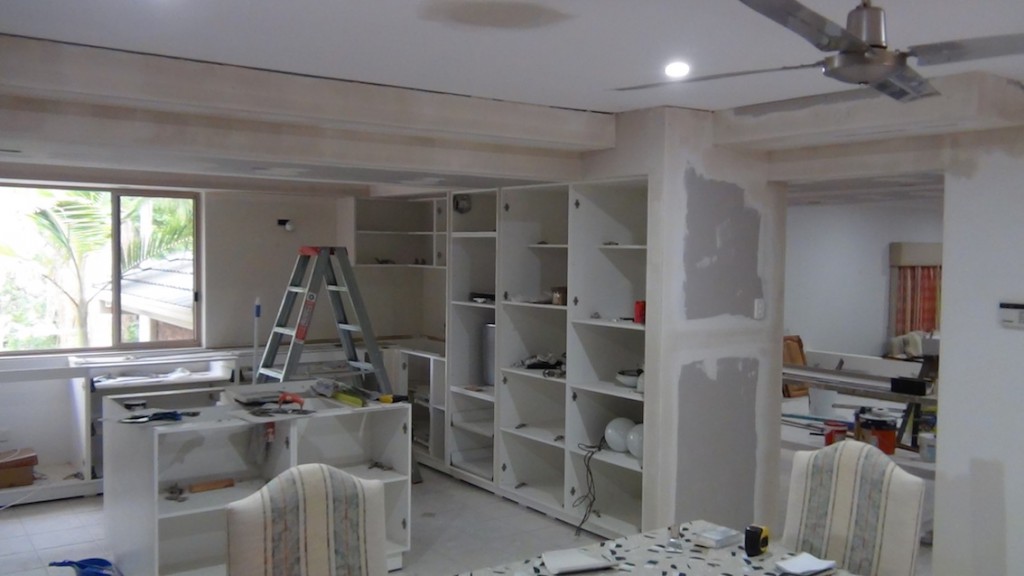
Once the roof was water tight we fixed and set the gyprock. We didn’t fix the front window in until we brought in all our wall and ceiling plaster sheets in over the roof. Tip Before you build, work out a plan which includes materials delivery for each stage of your works. Sometimes you need to get materials weeks in advance to work areas before you close off that area. 

DSC01330

DSC01336


External cladding was replicated as before. We recycled the cladding from the previous gable and used it to do our stitching around the windows on both the front and rear faces. This was an existing masonite sheet. The side where the gable is has a similar pattern being made of concrete fibro. We gave the sheets a couple of coats of paint before fixing them to reduce painting on the roof. Nails and gap filling will have to be done and nail heads painted but cutting will be not be required where the cladding meets the roof.

DSC01413


DSC01418


The client wanted a bulkhead built over the bed head. This was best achieved by having all the plaster square set in that area. We did the setting and sanding and the client will do the painting.

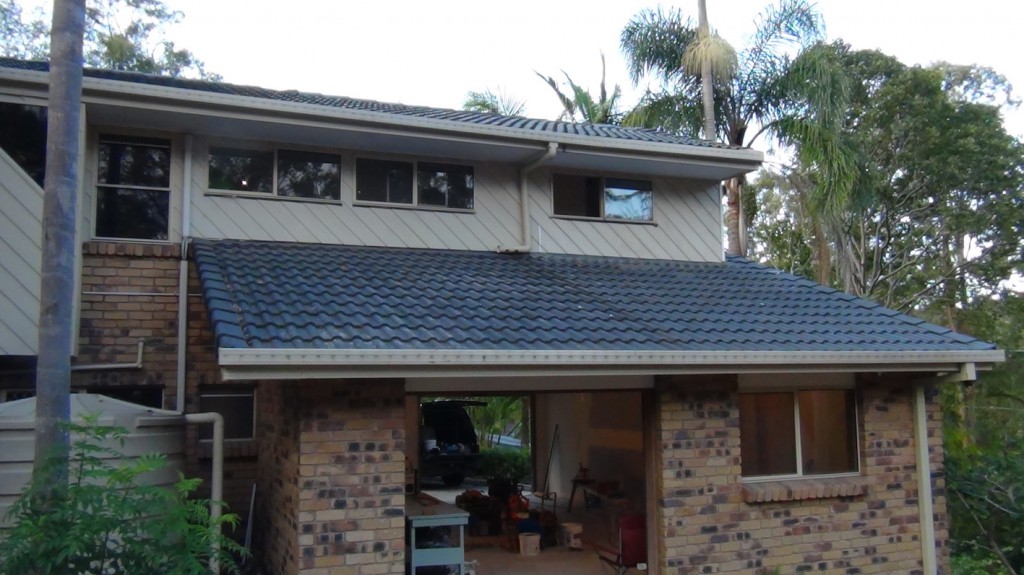
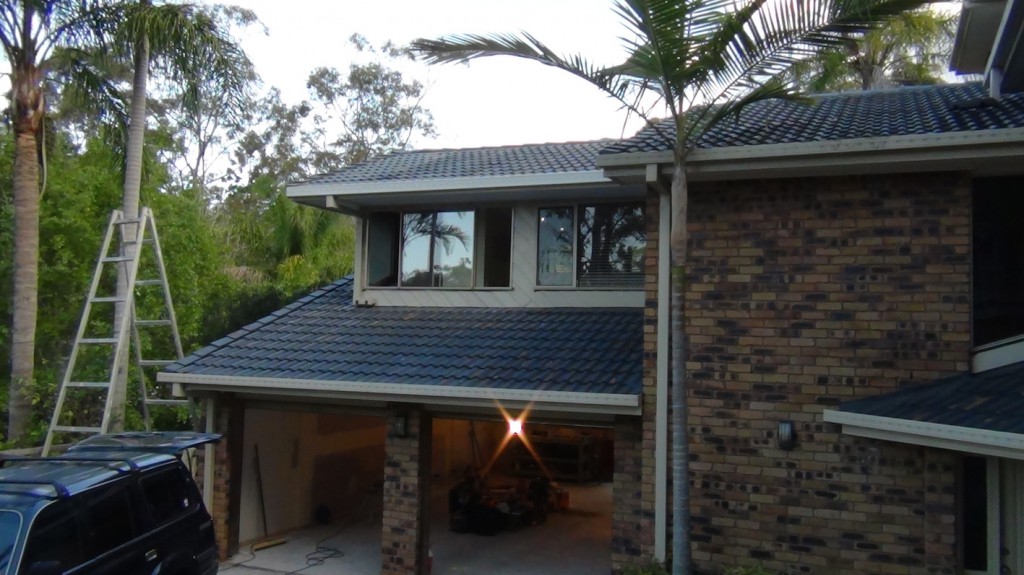
This is how it looks now.

DSC01426

DSC01429

DSC01428


Task

I was asked by the client to relocate the front entry into the house. The in window near the door had to be closed in cladded both sides. Inside the house the client had removed a load bearing wall previously and wanted me to replicate a small wall the same as they had constructed previously.

DSC01191

DSC01193

The Process

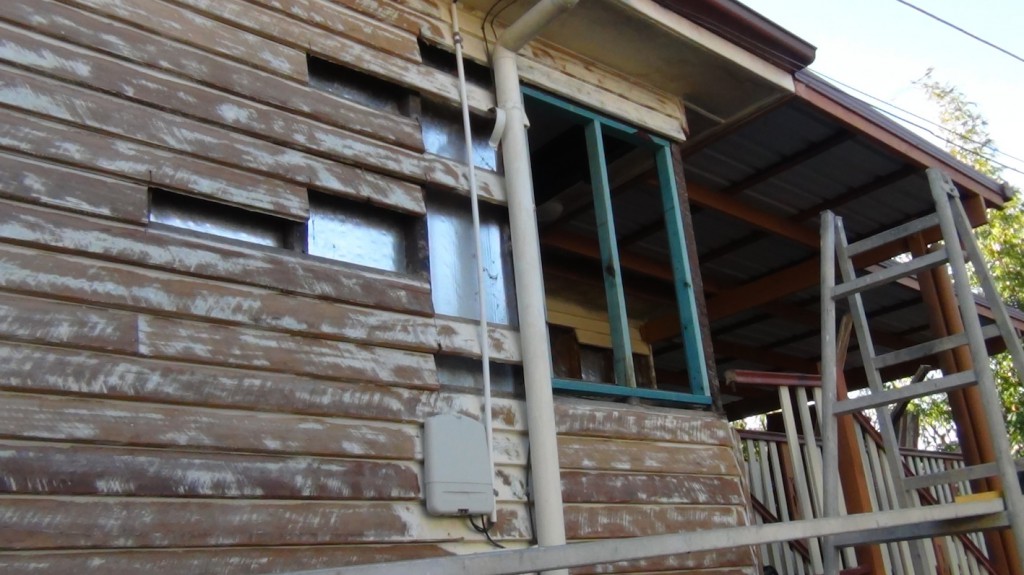
We purchased the weather boards required from a house demolisher. There are two reasons for this. First you reduce the impact of building on the environment by recycling and secondly the timber is aged so it won’t shrink or warp, it will also be the closest match in profile and timber grade.
DSC01200

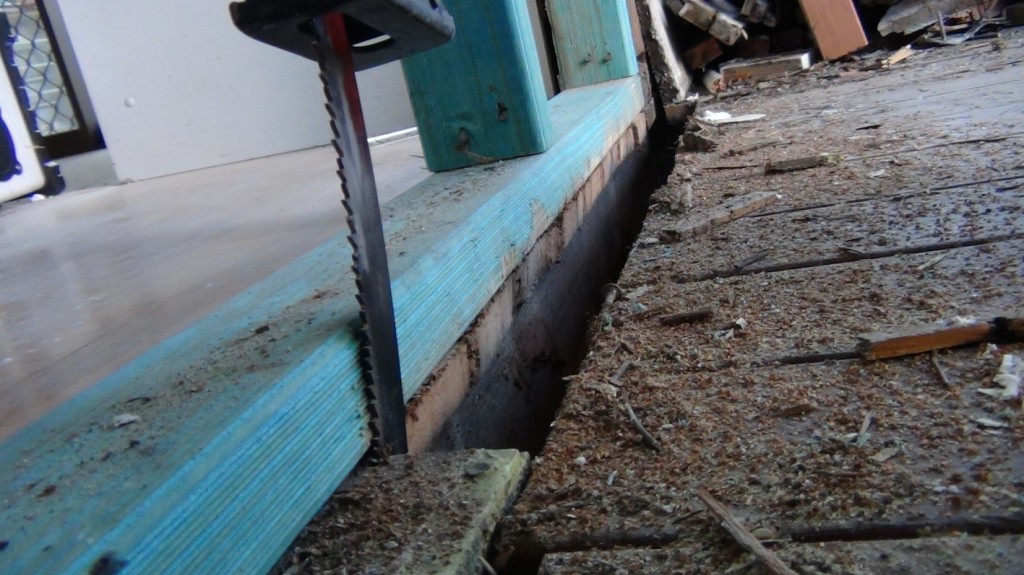
Existing flooring in the previous door opening which was under the door sill had to be cut back flush with the frame to make a proper weather separation. If we had rested the weather board onto the deck, water would be able to travel inside the house.
DSC01195

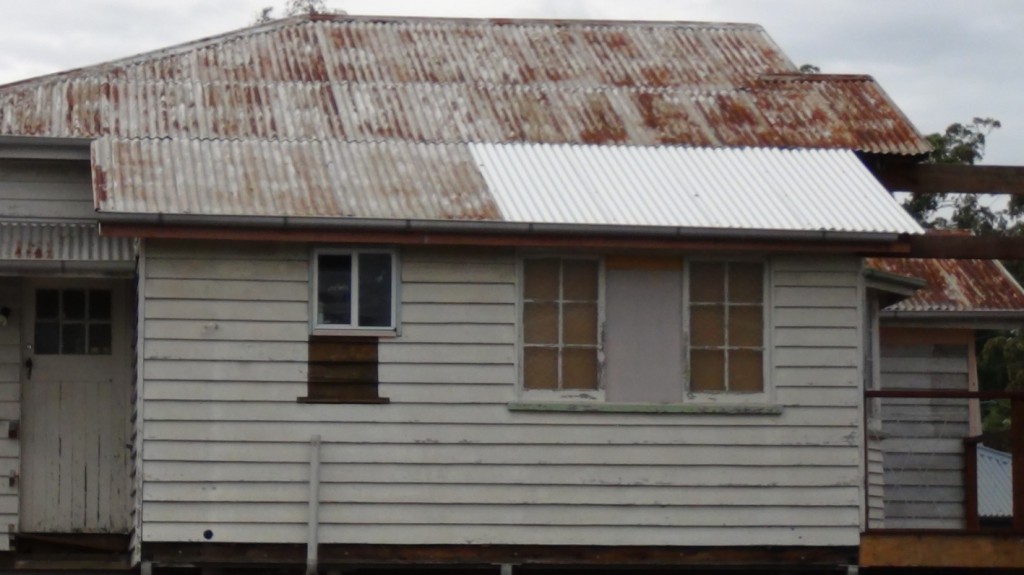
We made staggered cuts in the weather board cladding to tie in the materials. This makes it stronger as it is locked in but also reduces movement in your joins. It takes longer, but it is the only way and the proper way to do things. I have seen too many job sites where trades people of handy men do things wrong with roofs, walls and floor tie in. below is one example of it.
DSC01023

Notice that they only had to buy four boards and the job would have been easy to do but would also be right. Also have a look at the window sill the stop ends and sill are wrong and also the wrong material was used. The roof has had a couple of sheet put in on a rusted roof. The owner will paint everything and no one will be none the wiser except for someone with a keen eye. Probably this house will be renovated and sold.

 

Task

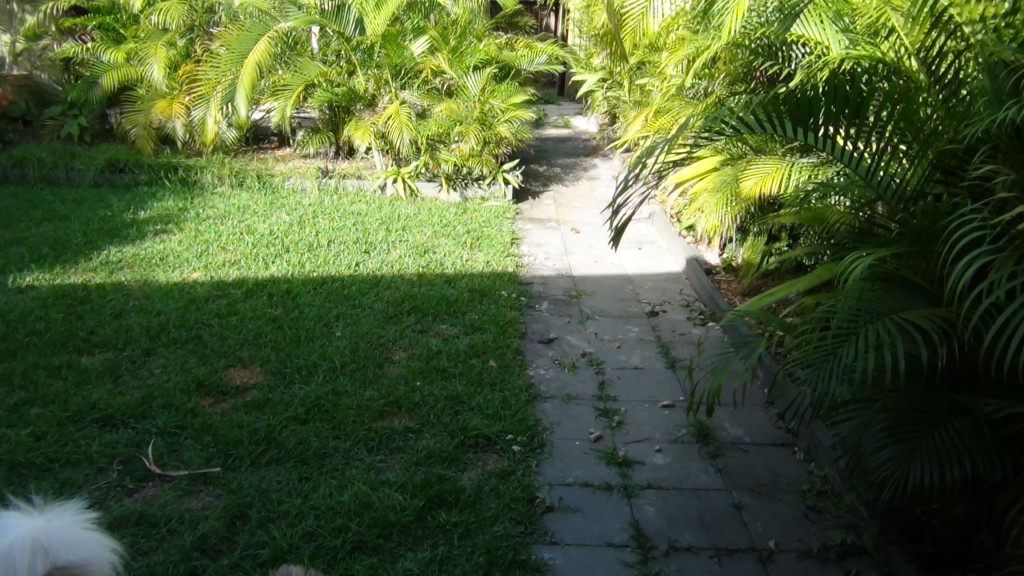
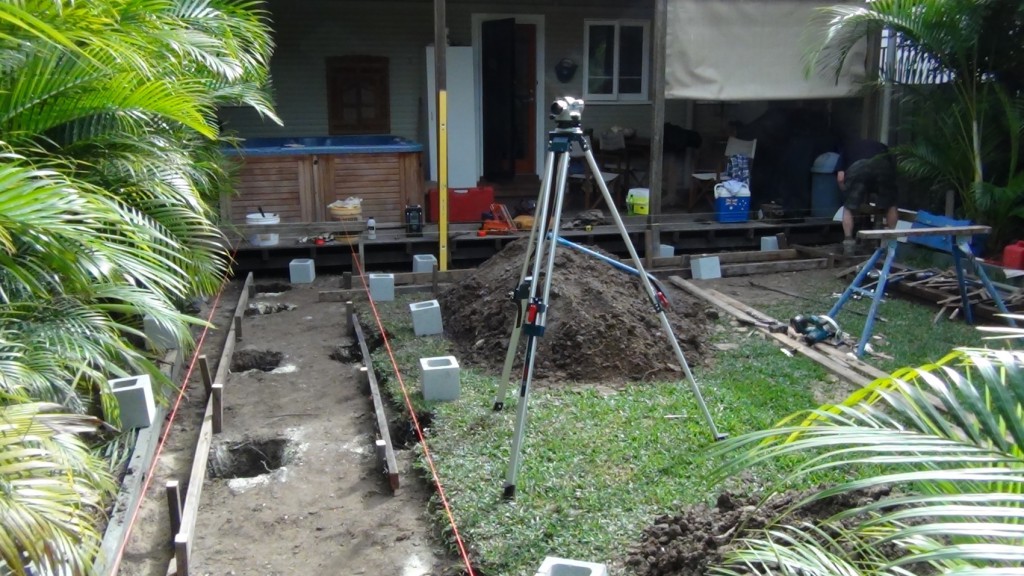
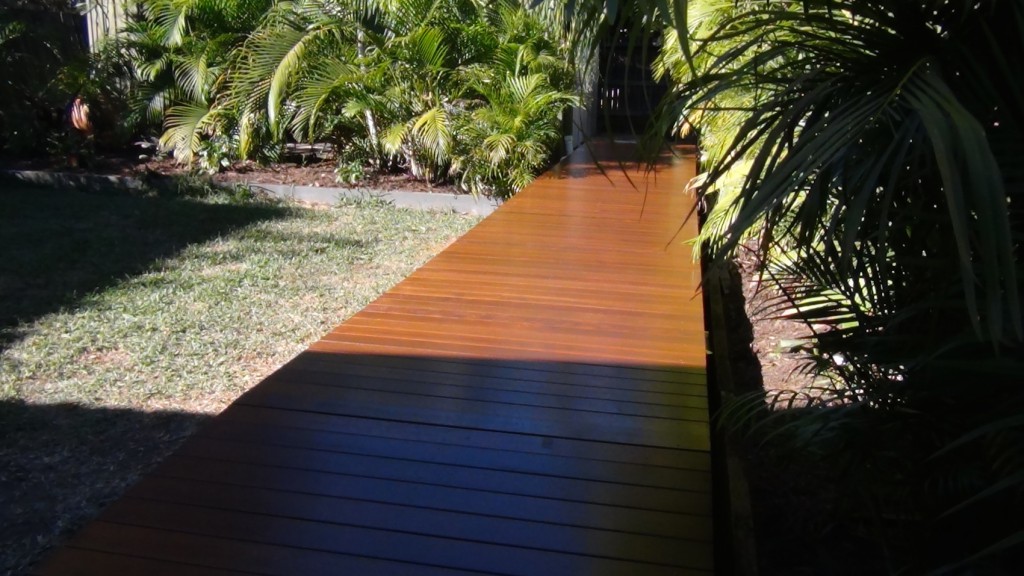
I was asked by the client to repair and restore the existing deck and to build a walkway from the garage to the deck at the rear of the house. The clients pet dogs messed up the pathways so this would also fix that problem.

DSC00723

DSC00719 copy

Process

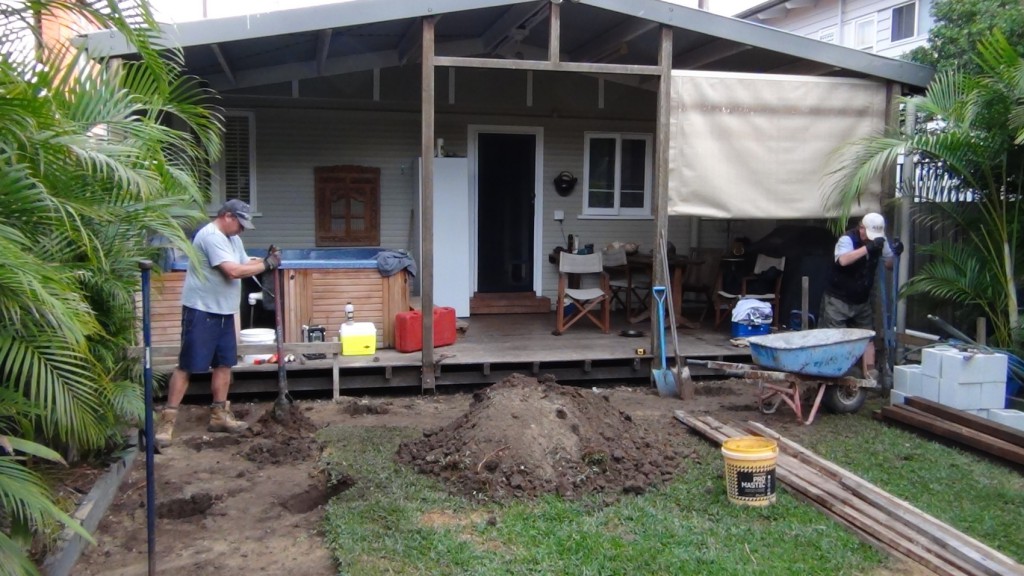
The property is situated on a busy road as well as having only pathway access to the back of the house everything had to be carried and removed by hand.  The plan was to make sure that materials were on site during and after the footings were dug and soil removed. With limited access it had to be a very clean work site every day. This was also a safety issue to address.
DSC01107

DSC01111

DSC01115

The Challenges

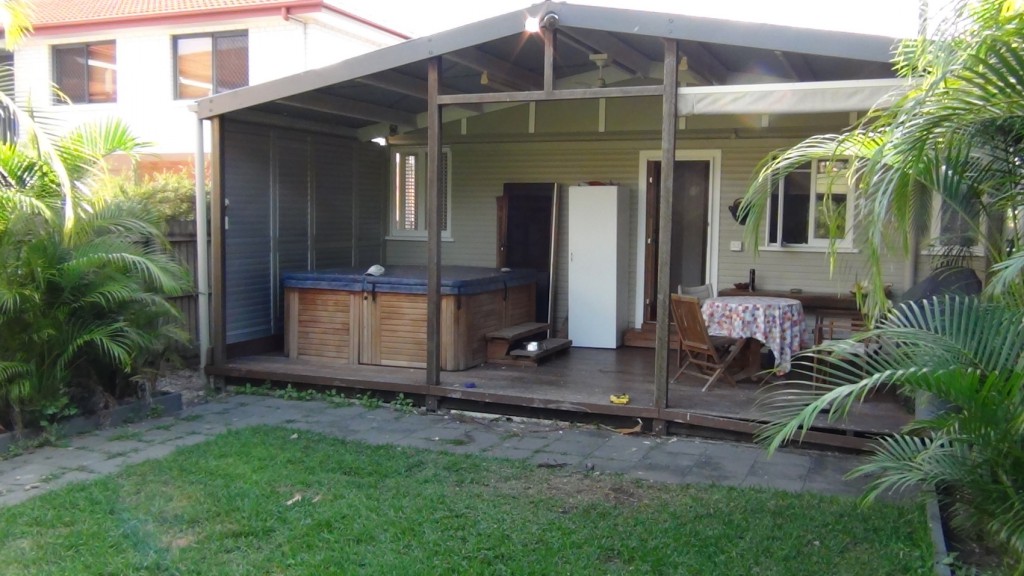
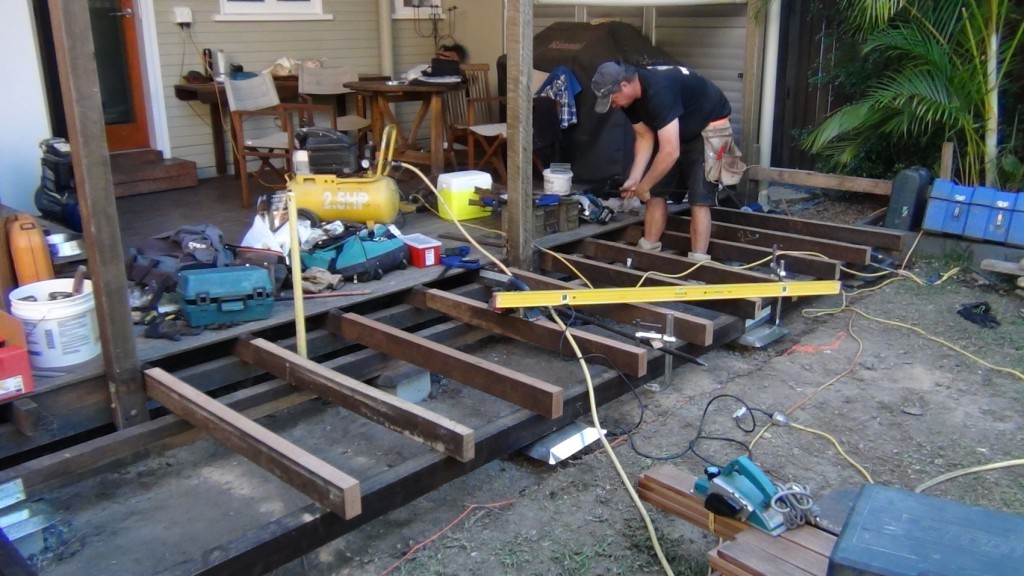
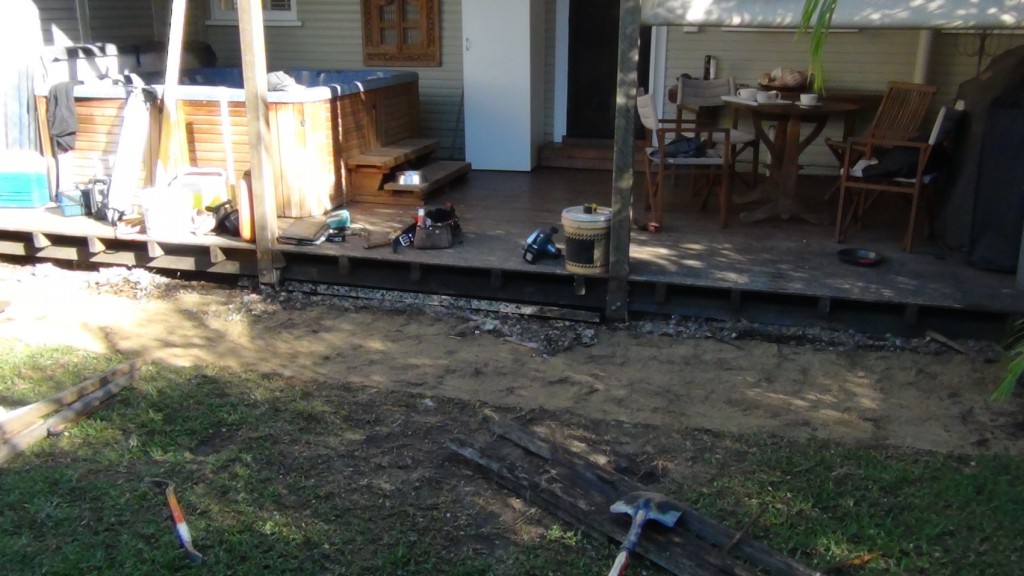
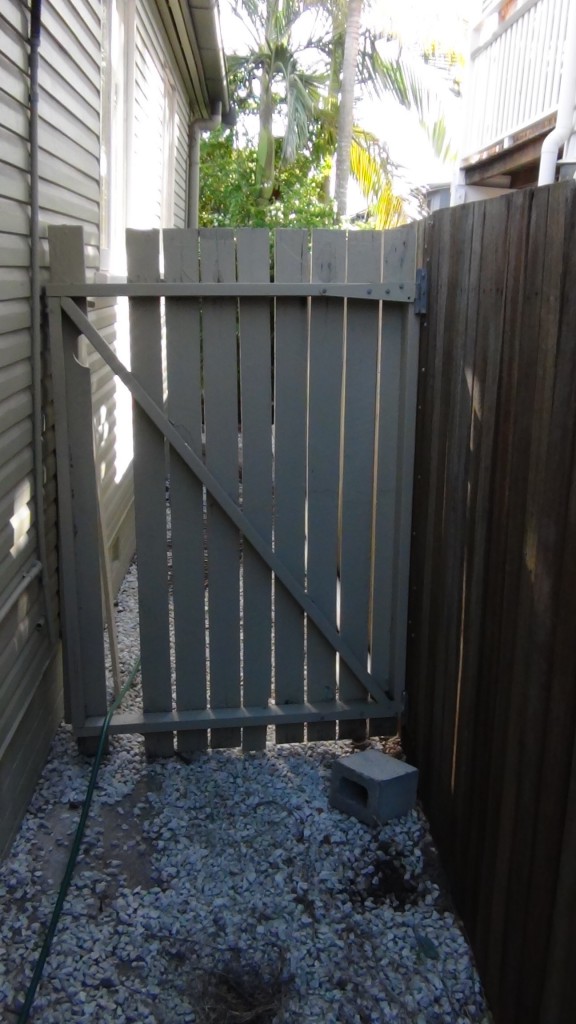
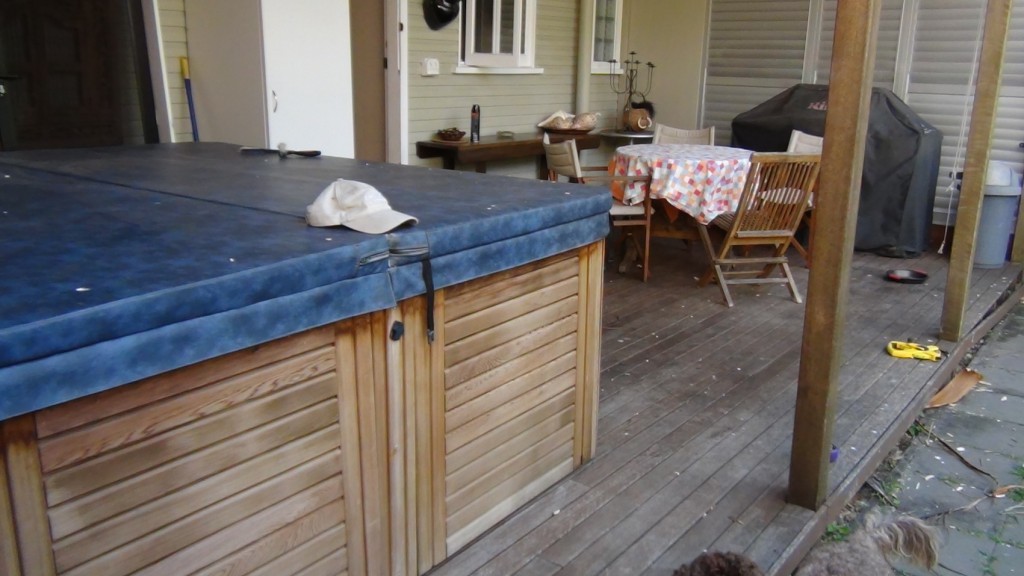
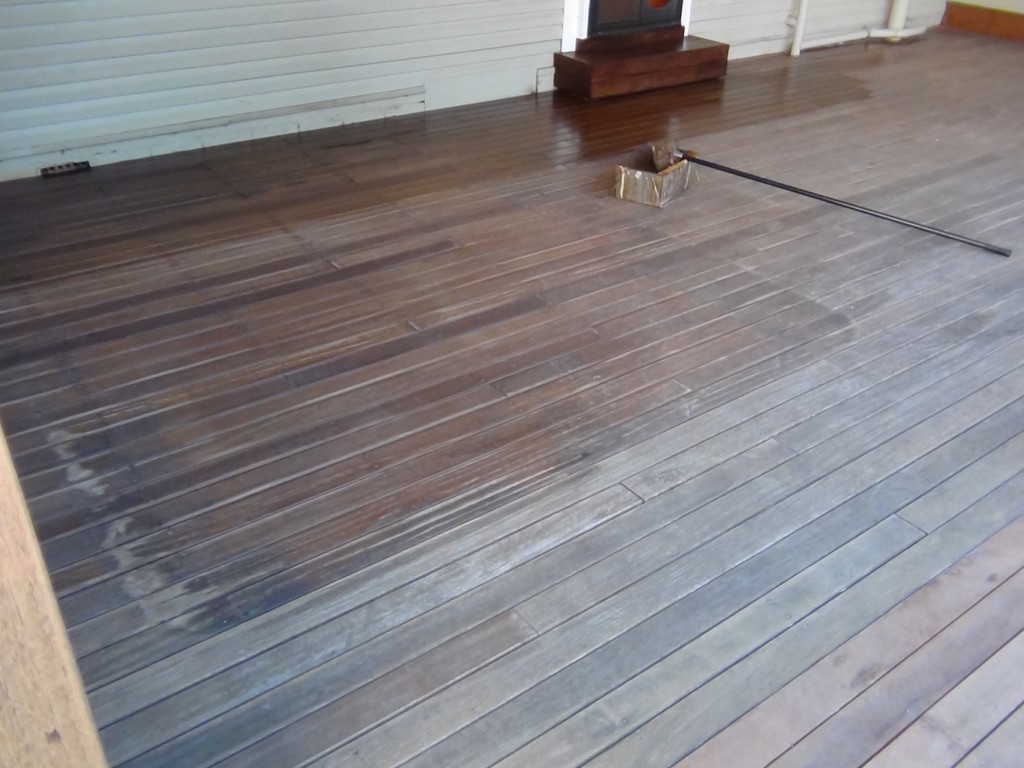
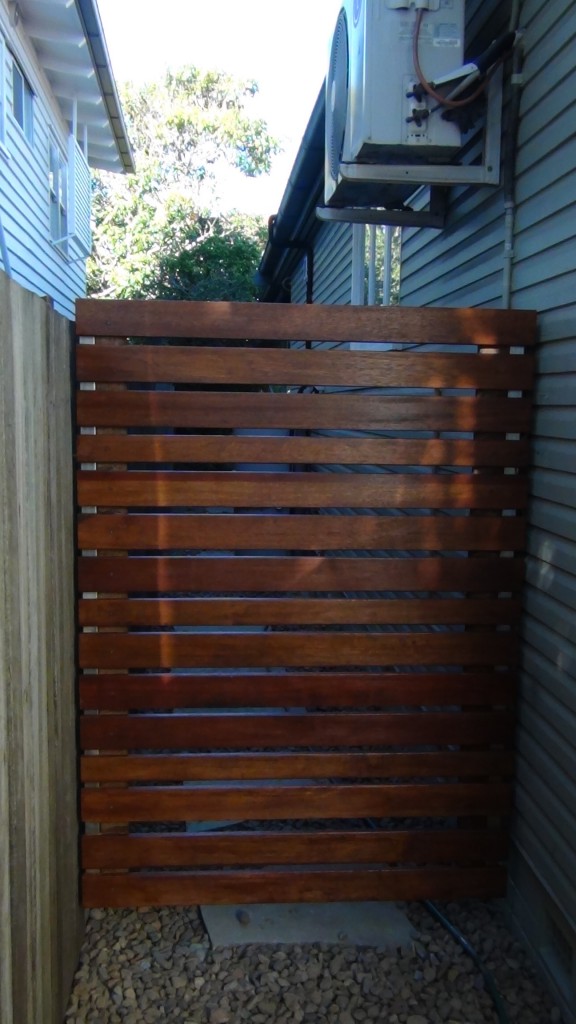
The existing deck was so low to the ground that the soil was touching the underside of the bearers in places. We removed the soil as well as loose timber laying there. The spa had to be removed and the deck sanded and stained to make the deck look new.  An extension had to be made to look original. Also a pair of gates had to be made.

DSC01106


DSC00725 copy

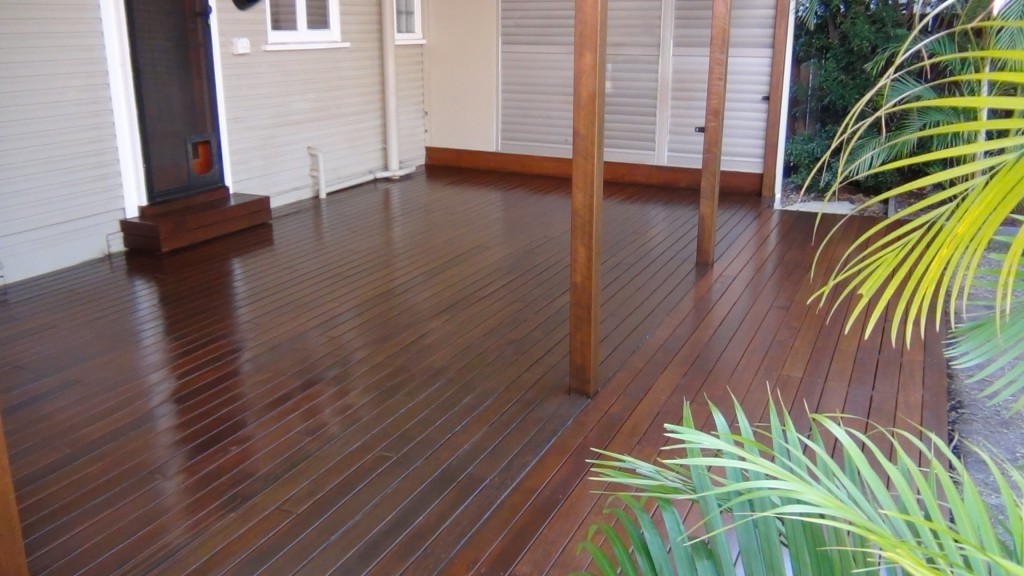
The Result

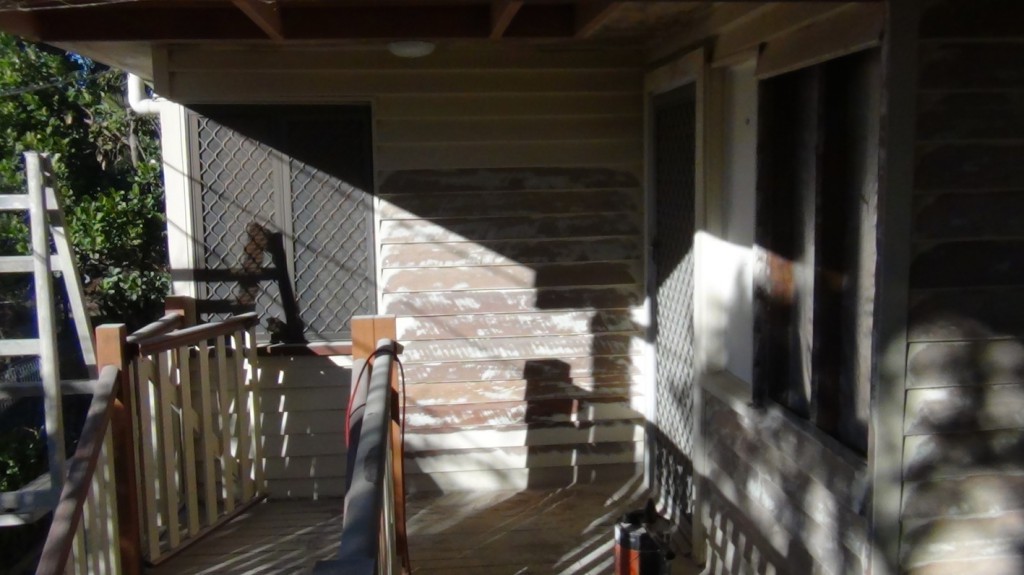
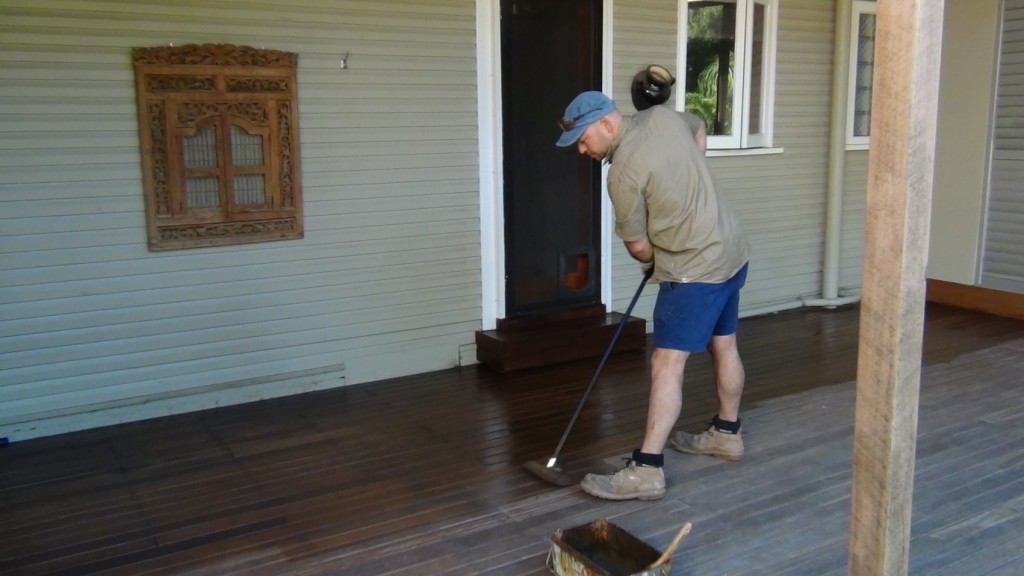
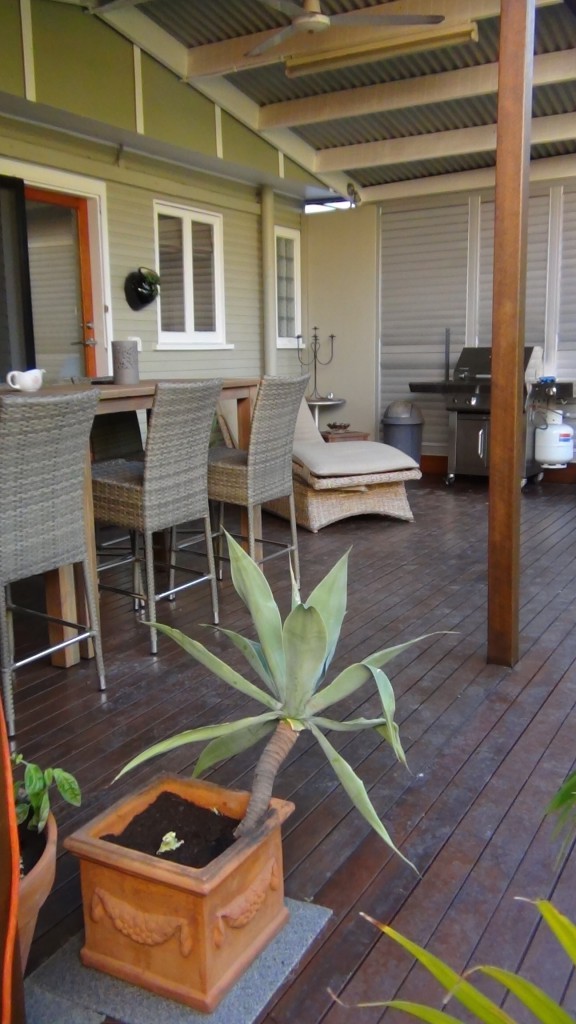
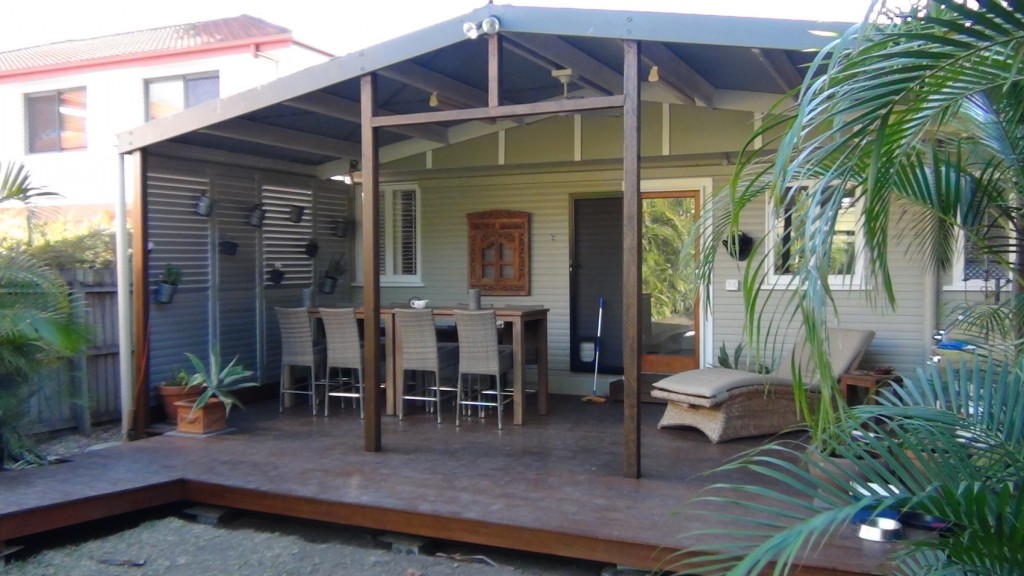
The  outcome was that the deck had more room and looked original as it matched the same height of the previous one.  Four coats of decking oil were applied to enhance the look and longevity of the deck. You will see that the clients pets are also using the deck. Two new gates had to be built as the old ones were cactus.

DSC01174

DSC01144

DSC01169